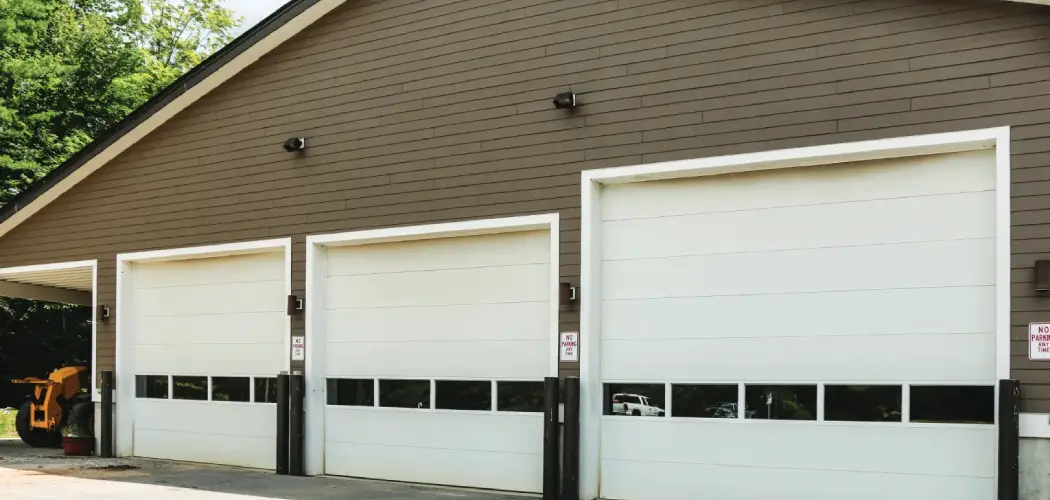
How to install overhead garage door requires careful preparation and attention to safety. Begin by ensuring that you have all the necessary tools and components, including the tracks, springs, rollers, and panels. It is essential to read the manufacturer’s instructions thoroughly before starting. Start by attaching the tracks securely to the walls, ensuring they are level and properly aligned.
Next, assemble the door panels from the bottom up, connecting them one at a time while securing them with hinges and rollers. Once the door panels are in place, install the spring system according to the specified tension settings, as this step is critical for the door’s smooth operation. Finally, test the door’s functionality to ensure it moves effortlessly along the tracks and that the opener, if included, works effectively.

Installing an overhead garage door can seem like a daunting task, but with the right guidance, it’s entirely achievable for homeowners, even beginners. Overhead garage doors not only provide security but also enhance the curb appeal of your home. This guide will walk you through the process step-by-step, using straightforward instructions to ensure a successful installation. Before you begin, it’s essential to gather the necessary tools, understand safety precautions, and follow each step carefully. By the end of this guide, you’ll have a fully functional garage door that improves the convenience and accessibility of your garage.
Why Install an Overhead Garage Door
Overhead garage doors are a popular choice for homeowners due to their practicality and versatility. They open vertically, making them an excellent solution for space-saving compared to traditional swing-out doors. This feature is particularly beneficial if you have a compact driveway or limited space inside the garage. Additionally, modern overhead garage doors come in a variety of styles and materials, which means you can choose one that complements the aesthetic of your home.
Another key advantage is the added security and insulation they provide. Overhead garage doors often come with advanced locking mechanisms, keeping your belongings safe. They are also available with insulating materials that help regulate the garage’s temperature, improving energy efficiency. Whether you’re looking to protect your tools, secure your vehicle, or add value to your property, an overhead garage door is a worthwhile investment. Now, let’s dive into the installation process to help you achieve these benefits.
Step-by-Step Guide to How to Install Overhead Garage Door
Installing an overhead garage door requires attention to detail and a systematic approach. Here’s how you can do it:
Step 1: Prepare Your Workspace and Gather Tools
Before starting, clear the garage space to ensure you have ample room to work. Remove any items or obstacles near where the door will be installed. Essential tools include a power drill, a level, a wrench set, a tape measure, and ladder. Safety equipment is also crucial—wear gloves and safety goggles throughout the process to protect against sharp edges and unexpected debris.
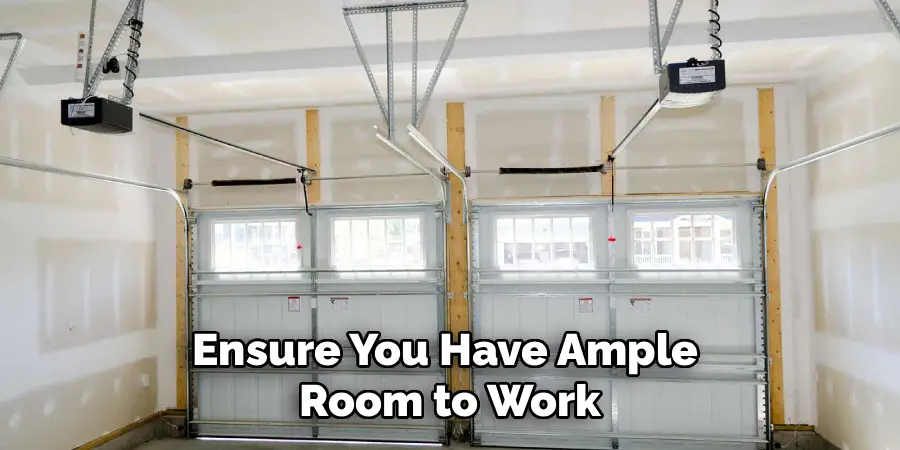
This preparation helps streamline the task ahead, ensuring that you won’t need to pause midway to fetch a tool. Double-check the garage’s structural integrity, especially around the frame where the door will be mounted. Weak or damaged areas should be repaired in advance of installation to guarantee stable and safe support for the overhead garage door.
Step 2: Attach the Door Tracks
Start by assembling the horizontal and vertical tracks included in your door kit. Lay them out on the floor, ensuring you follow the manufacturer’s guidelines for alignment. Secure the vertical tracks onto the doorframe sides, ensuring they are level. Uneven tracks can lead to alignment issues later, which could damage the door or make it difficult to operate.
Once the vertical tracks are in place, connect the horizontal tracks to them. These tracks will guide the movement of the garage door along its opening and closing path. Use bolts and screws from the kit to fasten them securely, checking that every connection is tight. Test the tracks with a level to confirm they are perfectly aligned.
Step 3: Install the Torsion Springs
Torsion springs are a critical component in garage door installation, as they bear the door’s weight during operation. Carefully slide the torsion springs onto the door shaft according to the manufacturer’s instructions. Each spring will need to be positioned correctly—typically, one spring goes on the left, and the other on the right.
Proceed with caution, as torsion springs are under high tension once installed, and improper handling can be hazardous. Use a winding bar to safely adjust the tension as specified in the installation guide. This step is critical for smooth and balanced garage door operation. Make sure to tighten the screws on the spring cones once the tension is set. Do not attempt this step without referring to the specific instructions provided with your garage door kit, as variations may apply.
Step 4: Assemble the Door Panels
Lay the garage door panels flat on the ground, and begin connecting them to form the door. Start with the bottom panel, attaching the necessary hardware before moving onto the next layer. Door hinges are typically positioned between the panels to ensure seamless movement.

Stack the panels on top of one another, and secure them using the fasteners provided. Ensure that all hinges are properly aligned, as misalignments could result in operational issues. If your door setup includes windows or insulation, this is also the step where you will install those features into the designated panels. Check periodically that the panels remain level as you build the door upward.
Step 5: Mount the Door Onto the Tracks
With the panels assembled, carefully place the bottom panel onto the vertical tracks. Use the hardware provided in the installation kit to secure it into position. Slowly attach the remaining panels by aligning them with the vertical tracks. This ensures the door’s weight is evenly distributed and helps prevent sagging.
Once all panels are attached, test their alignment by lifting and lowering the door slightly within the tracks. If you encounter resistance, double-check the track alignment from Step 2, as even slight deviations can affect movement. Tighten any loose bolts or screws during this process to promote stability.
Step 6: Install the Garage Door Opener
A garage door opener adds convenience and automation to your overhead garage door. Start by mounting the opener to the ceiling of your garage, aligning it with the center of the door. Attach the metal brackets from the opener to the top of the door.
Run the opener chain or belt along its designated path and connect it to the drive system. Plug in the opener and follow the manufacturer’s instructions for programming the remote, testing the door’s automatic functionality. Check for any irregularities in the door’s speed or balance when using the opener.
Step 7: Adjust the Springs and Test the Door
Once the opener is installed, revisit the torsion springs to fine-tune their tension. This final adjustment is crucial for reducing the door’s overall noise level and preventing unnecessary strain during operation. Use the winding bars to make small changes as needed.
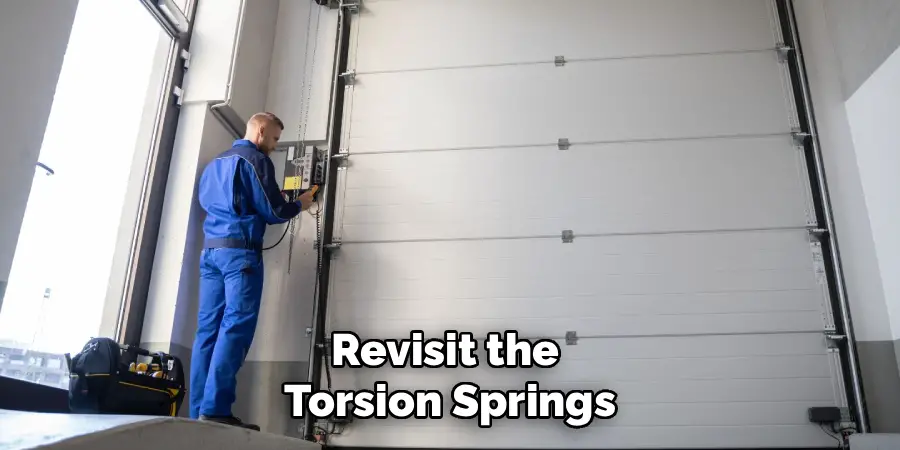
Carefully test the door by manually lifting it halfway. It should stay in place without sliding up or down—if it doesn’t, further spring adjustments are necessary. Lastly, operate the door using the opener to confirm smooth, automated functionality. Inspect all bolts, tracks, and hardware to ensure everything is secure.
Common Installation Challenges
Installing a garage door can present several challenges, even for experienced individuals. One of the most frequent issues is improper alignment of the tracks, which can cause the door to jam or operate unevenly. Ensuring the tracks are level and securely fastened is essential for smooth operation. Another common difficulty is incorrect spring tension. Springs that are either too tight or too loose can lead to poor balance, making the door difficult to lift manually or putting undue strain on the opener.

Additionally, securing the door panels evenly can be tricky, especially if the floor or framing is uneven, potentially resulting in gaps or misalignment. Finally, handling heavy components without proper tools or assistance can pose safety risks. Approaching these challenges with patience and attention to detail can help ensure a successful installation.
Frequently Asked Questions
How long does it take to install an overhead garage door?
It typically takes about 4–6 hours to install an overhead garage door, though this timeframe can vary depending on your experience level, the complexity of the installation, and the tools available. For seasoned DIYers, the process may be quicker, while beginners might take additional time to ensure every step is completed properly.
What tools are needed to install an overhead garage door?
Key tools include:
- Power drill
- Level
- Wrench set
- Tape measure
- Ladder
Some garage door kits may include specialized hardware or installation components, so check your kit before starting.
Are overhead garage doors safe for a DIY installation?
Yes, overhead garage doors can be safely installed by homeowners, provided you strictly follow safety guidelines. Always wear protective equipment, handle torsion springs with caution, and refer to the manual to avoid hazards. If you feel uncertain about a step, consulting a professional is recommended.
Can I replace an old garage door with a new overhead model?
Absolutely. Replacing an old door requires a similar process, starting with removing the existing door and hardware. Once removed, you can follow the installation steps outlined above for your new overhead garage door.
What maintenance does an overhead garage door require?
Overhead garage doors benefit from regular maintenance to prolong their lifespan. Key tasks include:
- Lubricating tracks and hinges every 6 months
- Tightening loose bolts
- Inspecting torsion springs for wear
- Checking the opener’s alignment regularly
This upkeep ensures smooth functionality and prevents costly repairs down the line.
Conclusion
Installing an overhead garage door can transform your home’s security, functionality, and appearance. By carefully following the steps in this guide, you’ll achieve a successful installation. Whether you’re enhancing your space for convenience or upgrading your home’s exterior, knowing how to install an overhead garage door is a valuable skill. With proper tools, preparation, and attention to detail, the process becomes manageable—even for beginners. Now is the perfect time to take on this project and enjoy the benefits of a fully functional overhead garage door in your home.
I am Rick. I grew up helping my dad with his handyman service. I learned a lot from him about how to fix things, and also about how to work hard and take care of business. These days, I’m still into fixing things- only now, I’m doing it for a living.
I’m always looking for new ways to help people grow and develop. That’s why I have created this blog to share all my experience and knowledge so
that I can help people who are interested in DIY repair.

