
Outdoor garage lights offer both functional and aesthetic benefits for any home. Not only do they illuminate pathways and entryways, but they also provide an added measure of security and make dramatic improvements to curb appeal. Although electrical projects can seem daunting, learning how to install outdoor garage lights is achievable for most DIYers who are willing to follow step-by-step instructions and adhere to strict safety practices. In this comprehensive guide, you’ll discover exactly how to update your exterior lighting with confidence and clarity.

Why Upgrading Your Outdoor Garage Lighting is a Bright Idea
A well-lit garage doesn’t just look good—it delivers tangible value and safety for homeowners.
Improving Security and Safety
Ample outdoor lighting is a proven deterrent to would-be intruders. Illuminated driveways and walkways help minimize the risk of trips and falls by ensuring that you and your guests can clearly see where you’re going, even after dark. Motion-activated garage lights, especially near doors and entry points, provide instant visibility the moment movement is detected, further reducing the chance of accidents or unwelcome surprises.
Enhancing Curb Appeal
Replacing outdated fixtures with sleek, modern garage lights gives your home’s exterior a quick facelift. With the enormous variety of designs and finishes available today, it’s simple to find a style that complements your home’s architecture—whether you’re aiming for a contemporary look, a traditional style, or even a rustic touch. Upgrading your lighting can turn a utilitarian garage into a visual asset.
Increasing Home Value
Attractive exterior upgrades, including quality lighting, subtly signal that a property is well cared-for. This attention to detail doesn’t just impress neighbors and visitors; it can also translate to a higher perceived home value when it comes time to sell.
Choosing the Right Outdoor Garage Lights
Selecting suitable outdoor garage lights is an essential part of the process, as different fixtures offer distinct advantages based on your needs and the structure of your home.
Types of Fixtures
Wall sconces remain a favorite for their balance of style and practicality, flanking the garage door and casting a warm, even glow. Floodlights, on the other hand, are perfect for broader illumination and security, brightening the driveway and any adjacent pathways. Consider which areas need the most light and which fixture best suits your goals—ambience or security.
Understanding Smart Features
Modern outdoor garage lights often come with smart technology. Features such as motion sensors automatically activate lighting when movement is detected, while dusk-to-dawn sensors ensure the lights turn on only when needed. Many fixtures are now compatible with smart home systems, integrating control and scheduling through smartphone apps—perfect for convenience and energy efficiency.
Bulb Selection: LED, Halogen, or CFL?
The lightbulb you choose affects not only brightness but also long-term performance and running costs. LEDs have become the gold standard due to their low energy consumption, long lifespan, and instant-on capability. Halogen and CFL bulbs are still in use, but they generally offer lower efficiency and shorter life. When in doubt, opt for LED bulbs rated for exterior use for bright, reliable, and cost-effective lighting.
Electrical Safety: The Non-Negotiable First Step
Before you begin any electrical work, prioritize safety above all else.
The Golden Rule: Turning Off the Power
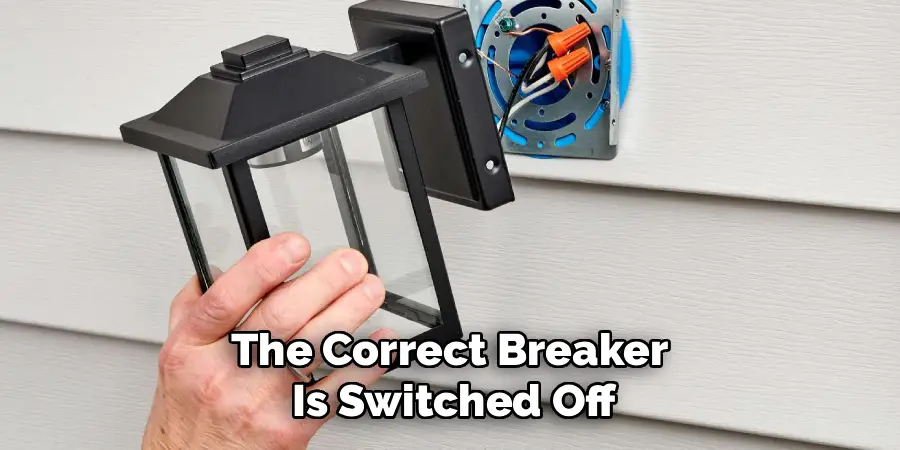
Begin by switching off the power to the garage lighting circuit at the breaker box. Even if the switch is off, the fixture wiring may still be live—assume nothing and check for yourself.
Verifying the Power is Off
After turning off the breaker, use a non-contact voltage tester to confirm there is no electricity running to the wires you’ll be handling. This simple tool adds an absolutely vital layer of protection before you start removing the old fixture or handling any electrical components.
When to Hire a Professional Electrician
If your installation goes beyond simply swapping fixtures—such as running new wiring, adding circuits, or if you feel at all uncertain—it’s smart and safe to call in a licensed electrician. Professional help may cost more up front, but it guarantees the installation meets all safety codes and local regulations.
Tools and Materials for the Installation
Preparation is key to a smooth, safe installation process.
Essential Electrical Tools
Gather a non-contact voltage tester for safety checks and basic electrician’s tools such as wire strippers, wire connectors (wire nuts), and both Phillips and flathead screwdrivers.
Mounting and Sealing Supplies
A sturdy ladder provides safe access to the garage’s exterior. Your new fixture will arrive with mounting hardware—usually nuts, screws, and a bracket. To make the installation weatherproof, have a tube of exterior-grade silicone caulk or a foam gasket on hand.
Safety Gear
Always wear safety glasses and durable work gloves while handling tools or working with wiring and metal to protect from accidental shocks or sharp edges.
Step-by-Step Guide: How to Install Outdoor Garage Lights
If you’re confident in your ability to work safely, follow these detailed steps to transform your garage lighting.
Step 1: Turn Off Power and Remove the Old Fixture
First, double-check that the correct breaker is switched off. When that’s confirmed, use a screwdriver to remove the old mounting screws and gently pull the fixture away from the wall. Carefully disconnect the existing wires: typically, you’ll see a black (hot), a white (neutral), and a bare or green (ground) wire. Unscrew or untwist the connectors, keeping track of which wire is which.
Step 2: Inspect the Existing Wiring and Junction Box
Look closely at the wires for fraying, discoloration, or other signs of damage. If you spot anything concerning, stop and consult a professional. Ensure the electrical box is firmly attached to the wall—loose boxes can result in unstable fixtures and may be a code violation.
Step 3: Install the New Mounting Bracket
Each new light comes with a mounting bracket, sometimes called a crossbar. Attach this bracket to the electrical box using the provided screws, making sure it is level and sits flush against the wall. This step determines how secure your finished fixture will be, so double-check the fit.

Step 4: Connect the Wires
Most fixtures use a straightforward color-matching system. Connect the black house wire to the black wire from the new fixture, the white house wire to the white fixture wire, and the bare or green house wire to the ground screw on the bracket or directly to the green fixture wire. Use wire nuts to secure each connection, twisting them until they are tight and no bare wires are exposed.
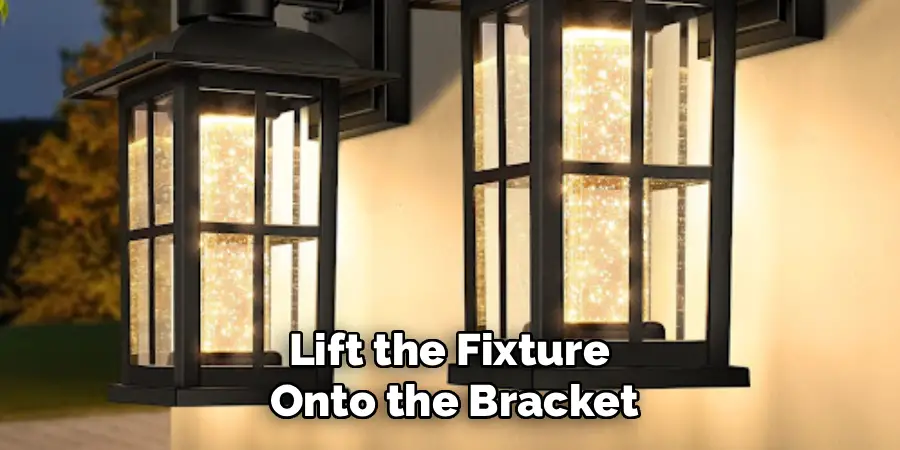
Step 5: Mount the New Light Fixture
With the wiring complete, gently tuck the wires back inside the electrical box. Lift the fixture onto the bracket, aligning it carefully, and attach it securely with the decorative nuts or screws included in your kit. Take care that the fixture is level and firmly anchored to avoid movement or sagging over time.
Step 6: Weatherproof the Fixture
Exterior lights must withstand rain and humidity, so create a seal by running a bead of exterior-grade caulk around the top and sides of the fixture’s base where it meets the wall. Leave the bottom uncaulked to allow moisture to escape and avoid trapping water inside the junction box.
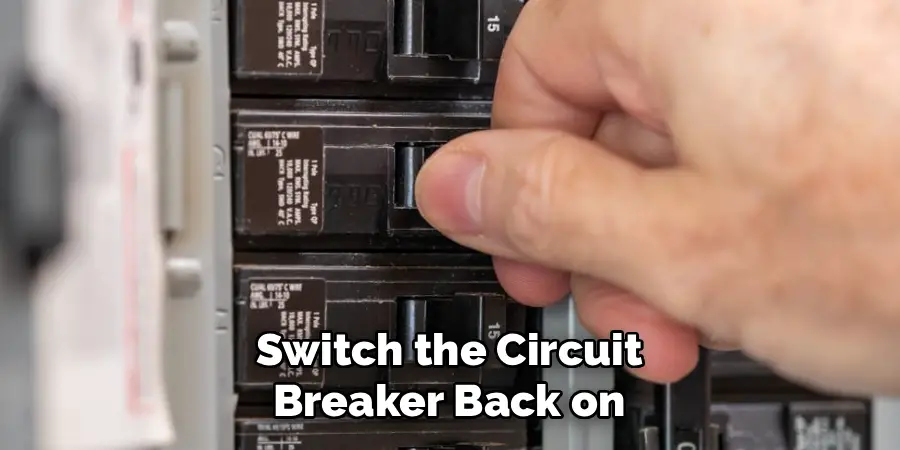
Step 7: Restore Power and Test the Light
Switch the circuit breaker back on and test your new light fixture using the wall switch or the built-in sensor. Make sure it lights up promptly. If your fixture has smart features, follow the manufacturer’s instructions for pairing it with your app or smart home system.
Troubleshooting Common Installation Issues
Even with the best preparation, minor issues can occur during installation.
The Light Doesn’t Turn On
If your new outdoor garage light fails to illuminate, check that the bulb is working and correctly installed. Double-check all wire connections to ensure nothing is loose or mismatched. Lastly, confirm that the breaker switch is on and supplying power to the fixture’s circuit.
The Breaker Trips Immediately
A tripped breaker often means a short circuit—where wires are touching or a ground wire is exposed. Turn off the breaker immediately and inspect each connection. If you cannot identify or resolve the issue, contact a licensed electrician to prevent any further risk.
Tips for Positioning and Aiming Your Lights
For the best results, position wall sconces or main fixtures at a height of roughly 66 to 72 inches from the ground, centered beside or above the garage door. This ensures broad, even illumination with minimal shadows. Floodlights or movable fixtures should be aimed downward and towards driveways or paths, brightening key areas without causing glare for neighbors or passing vehicles. An angled adjustment can reduce dark spots and improve overall security.
Conclusion
Upgrading your exterior lighting can seem overwhelming, but once you know how to install outdoor garage lights safely and effectively, the process becomes straightforward. By following a systematic approach—shutting off the power, preparing your tools, making careful wire connections, securing the new fixture, and applying weatherproofing—you’ll ensure your installation is both beautiful and long-lasting.
Quality lighting makes a dramatic difference in home safety, convenience, and appearance, so take pride in your accomplishment. With your new outdoor garage lights in place, you’ll enjoy both added security and an enhanced exterior every time you come home.
I am Rick. I grew up helping my dad with his handyman service. I learned a lot from him about how to fix things, and also about how to work hard and take care of business. These days, I’m still into fixing things- only now, I’m doing it for a living.
I’m always looking for new ways to help people grow and develop. That’s why I have created this blog to share all my experience and knowledge so
that I can help people who are interested in DIY repair.