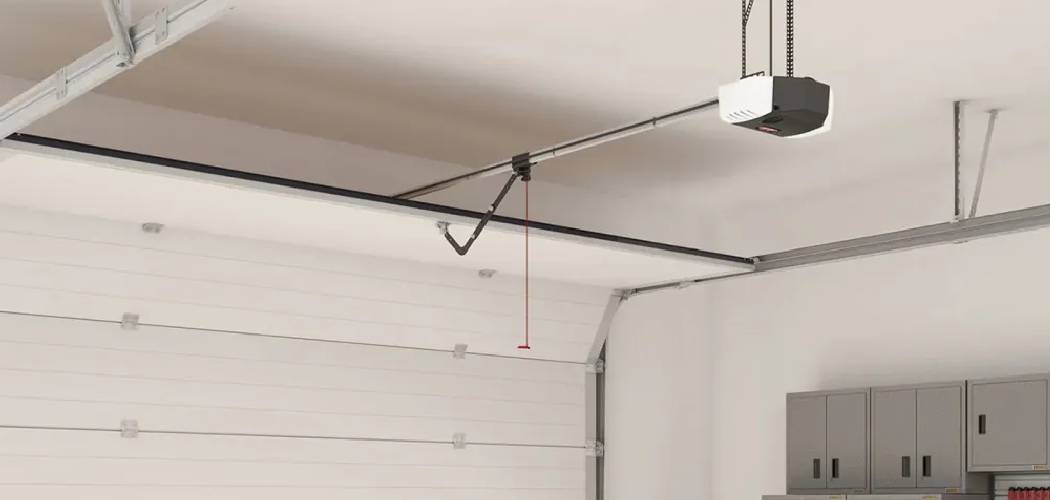
Genie garage door openers are synonymous with modern convenience, robust performance, and advanced features. Upgrading your garage with a Genie system not only offers quiet, reliable operation but also adds a layer of security and control to your home. While hiring a professional for installation is always an option, many homeowners discover substantial cost savings and peace of mind by learning to install these systems themselves. Undertaking the project helps you become familiar with the components and inner workings of your garage door opener, empowering you to handle routine maintenance and minor troubleshooting in the future.

This comprehensive guide covers how to install Genie garage door opener systems from start to finish. Whether you’re well-versed in DIY or just comfortable with basic hand tools, you’ll find that the process is manageable with some patience and careful attention to detail. From unboxing your unit and assembling the main rail to configuring safety sensors and programming remotes, each stage is broken down into easy-to-follow steps that will help you achieve a smooth and successful installation.
Understanding Genie Garage Door Openers
Overview of Genie Opener Models
Genie’s product line features a variety of opener types to cater to different garage layouts and user preferences. Belt-driven models are renowned for their whisper-quiet operation, perfect for attached garages or households sensitive to noise. Chain-driven openers, meanwhile, offer time-tested strength and durability, handling heavier or oversized doors with ease. Screw-driven openers represent a middle ground—fewer moving parts reduce maintenance needs and deliver reliable performance for many years. Across all models, Genie includes modern conveniences like rolling code security, integrated lighting, and compatibility with smart home ecosystems.
Compatibility Check
Before you start installation, ensure your Genie opener matches the type and size of your garage door. Consider the door’s weight, height, and construction—heavier or oversized doors may require a more robust unit. Confirm that you have sufficient ceiling space for mounting the rail and motor, and verify that electrical outlets and wall space for the control panel are available near installation points. Consulting your user manual and the included compatibility chart will help you avoid surprises once the installation begins.
Tools and Materials You’ll Need
Essential Tools
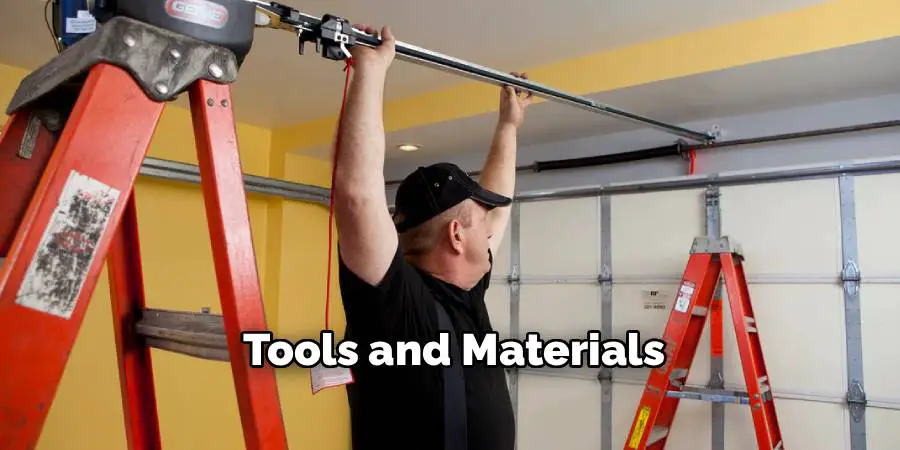
Effective installation begins with the right tools within arm’s reach. A drill helps you create holes for mounting brackets and control panels, while a socket wrench set and screwdrivers facilitate the assembly of the opener’s mechanical components. Don’t forget a sturdy ladder to reach ceiling mounts and upper rails, as well as a tape measure to ensure precise placement and alignment.
Items Included in the Genie Opener Kit
Open each box carefully and review the contents against your kit’s checklist. Typically, Genie includes the motor unit, rail assembly, hardware for mounting, garage door arms, brackets, a set of safety sensors, wall-mount control panels, and remote key fobs. Having all elements on hand before you begin will keep your workflow smooth and organized.
Preparing Your Garage for Installation
Safety Precautions and Preparations
Start by unplugging any existing opener system or cutting power at the breaker box. This step is crucial both for your safety and to protect sensitive electronic components. Clear the installation area—remove vehicles, bikes, and stored items to guarantee plenty of space to maneuver. Adequate lighting will help you see tasks clearly, minimizing mistakes and promoting efficiency.
Evaluating the Garage Door’s Condition
A successful opener installation hinges on the condition of your existing garage door. Inspect the door for balance by disconnecting the opener (if applicable) and manually opening it halfway—if it stays in position, spring tension is adequate; if it drops or shoots upward, address spring balance before proceeding. Look for damage or excessive wear on the panels, hinges, and tracks, and resolve any concerns so that your new opener isn’t forced to compensate for mechanical deficiencies.
How to Install Genie Garage Door Opener: Step-by-Step Guide
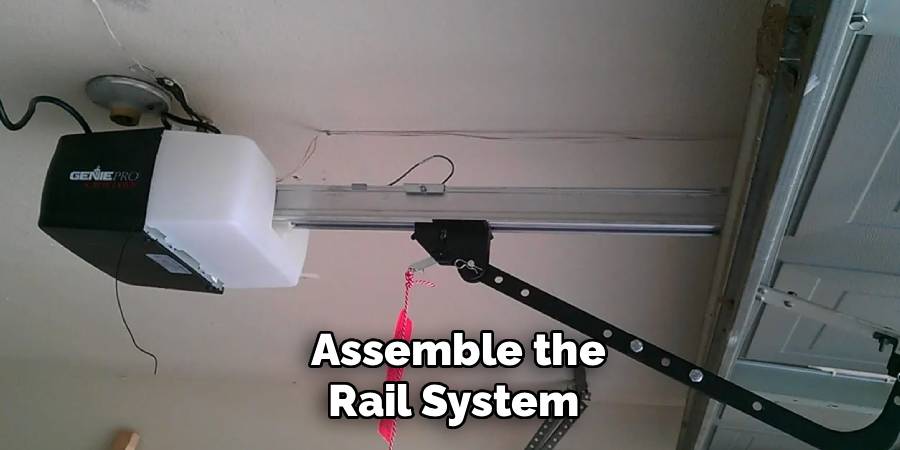
Step 1 – Assemble the Rail System
Refer to the model’s instructions and lay out the rail components on a flat work surface. Connect each section securely, typically using provided fasteners or locking pins, and ensure the final assembly is straight and aligned. Attach the rail to the motor unit, confirming that all connections are tight and that the rail sits in a direct line with where the garage door’s header bracket will later be mounted.
Step 2 – Attach the Pulley and Chain/Belt
Slide the pulley or sprocket onto the specified end of the rail, then thread the chain or belt assembly around the sprocket and through the trolley carriage. Use the included hardware to secure the chain or belt, following precise tensioning instructions from the manual—proper tension is key for smooth operation, minimizing sag and noise.
Step 3 – Align the Emergency Release System
Install and secure the emergency release cord and lever assembly onto the carriage or trolley, following the diagrams in your kit. This mechanism lets you disconnect the door from the opener for manual operation during power outages or emergencies—a vital safety feature that should operate smoothly without excessive slack.
Installing the Genie Opener on the Garage Ceiling
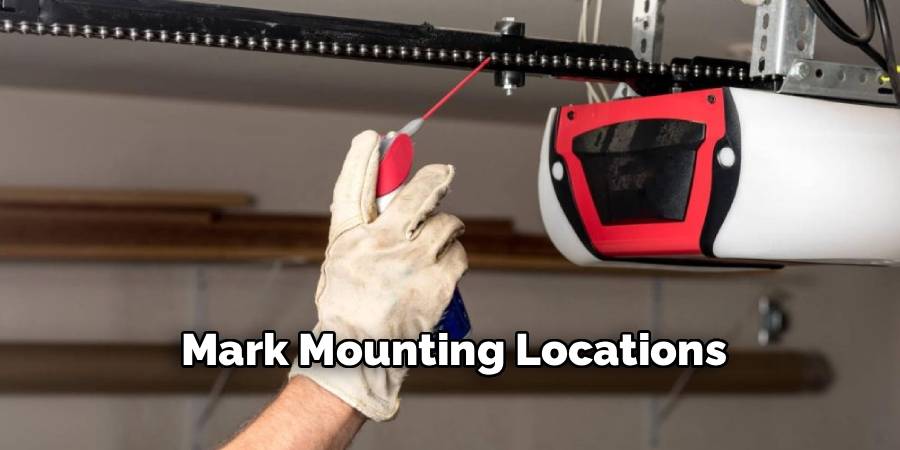
Step 1 – Mark Mounting Locations
Hold the assembled rail and motor unit in position parallel to the garage ceiling, adjusting placement to ensure the opener’s motor clears obstacles like lights or ceiling joists. Mark drilling locations for the front mounting bracket (at the header above the door) and for the hanging brackets or straps that will secure the rear of the motor to the ceiling supports. Accurate measurement is essential for proper alignment and smooth operation.
Step 2 – Secure the Opener to the Ceiling
Drill pilot holes and install lag bolts or anchors as specified, securing the opener’s hanging brackets to stable ceiling joists or beams. Attach the motor housing to these brackets, using adjustable straps or solid mounts to achieve a horizontal orientation with the assembled rail—this prevents strain on both opener and door. Double-check connections for tightness and stability, making sure nothing wobbles or sags.
Step 3 – Attach the Rail to the Door Header
Mount the provided header bracket above the center of your garage door, drilling anchor holes and fastening it securely. Carefully align the front end of the opener’s rail with this bracket, insert connecting pins or bolts, and make sure the joint is stable and the rail remains straight. This connection bears significant force, so take your time to get it right.
Connecting the Genie Opener to the Garage Door
Step 1 – Attach the Door Arm
With the opener and rail assembly in place, focus on linking the system to your garage door. Attach the curved and straight door arms (included in your kit) to both the trolley carriage and the door’s top bracket. Use provided fasteners, making sure the assembly is sturdy yet allows a full range of motion as the trolley moves back and forth.
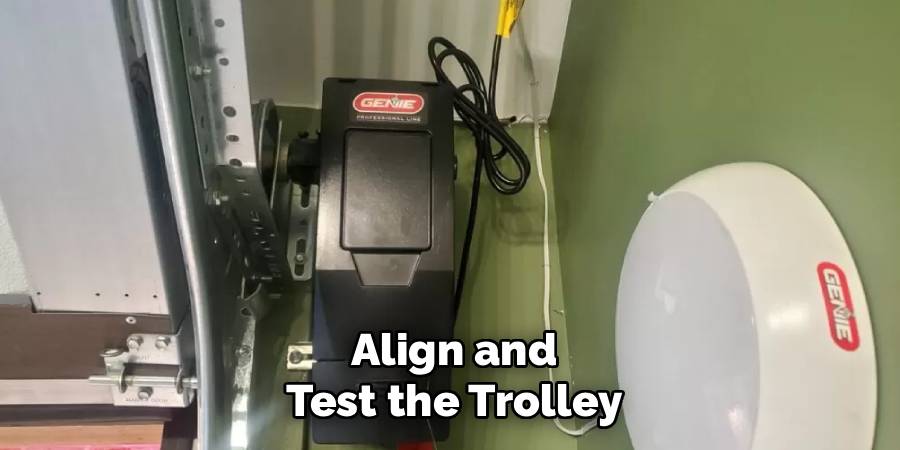
Step 2 – Align and Test the Trolley
Manually slide the trolley back and forth along the rail, ensuring smooth and stable movement throughout its travel. Check for obstructions, misaligned hardware, or anything that causes resistance. The door should move evenly, and the trolley must remain fully engaged on the rail, setting the stage for reliable, trouble-free automation.
Wiring and Configuring the System
Installing the Wall-Mounted Control Panel
Select a convenient and visible spot near your entryway for the wall control panel. Mark screw holes, drill as necessary, and mount the panel with included screws. Run wiring from the control panel to the motor unit, following manufacturer guidelines for routing wire along walls and ceilings to avoid pinching, tangling, or damage.
Connecting Safety Sensors
Mount safety sensors a few inches off the ground, aligned directly across from one another on both sides of the garage door opening. Secure them to the door tracks and ensure that their infrared beams will not be interrupted by obstacles or debris. Align both sensors so their indicator LEDs remain lit—misalignment or blocked lenses will prevent the opener from closing the door.
Wiring the System
Connect wires from the wall control panel and safety sensors to the specified terminals on the motor unit. Use the wiring diagram to avoid mix-ups. Secure all wires with staples or clips as you go, keeping them neat, out of harm’s way, and providing slack for adjusting as needed. Before plugging the opener into power, double-check each connection according to the manual.
Programming the Genie Garage Door Opener
Synchronizing Remotes and Keypads
Plug in the opener and energize the system. Using the “Learn” button on the motor unit, program each remote control and wireless keypad by following the provided pairing procedure. Typically, this involves pressing the button until a light blinks, then activating each remote within a set time window. Confirm that the system recognizes all controls and operates as expected.
Configuring the Door Travel and Force Settings
To optimize the system’s performance, adjust the opener’s travel limits—how far the door moves up and down—as well as the force sensitivity for opening and closing. These settings ensure the door opens completely yet doesn’t slam or stop short, and that it will automatically reverse if it meets resistance. Use the control dials or digital settings on the motor unit, testing and refining until the door moves smoothly and safely each cycle.
Testing the System and Making Adjustments
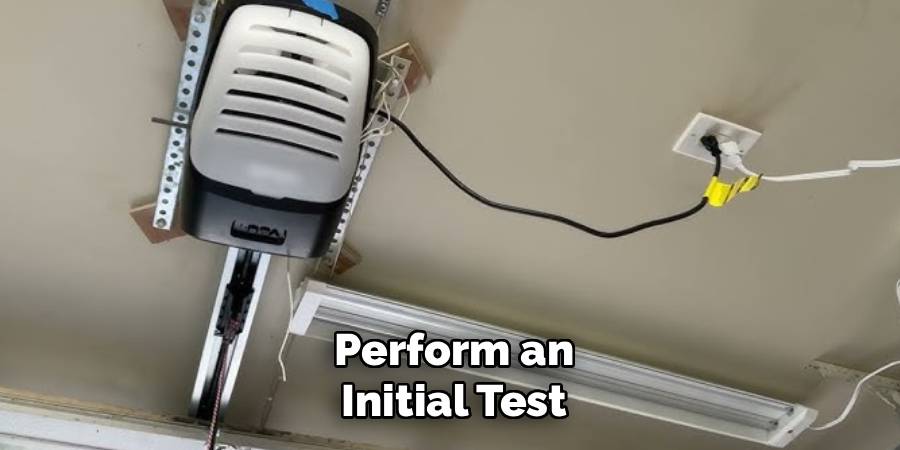
Perform an Initial Test
With all assembly and settings complete, use both the wall control and remotes to open and close your garage door several times. Observe the movement for smoothness, even speed, and full travel from closed to open and back again. The door should respond promptly and stop if the safety beam is interrupted.
Troubleshooting Common Issues
If the opener doesn’t respond, confirm that all wire connections are secure, the power outlet is live, and the safety sensors’ indicator lights are both on. Should the door fail to close, review sensor alignment and ensure nothing blocks the beam. Listen for unusual noises that might indicate misaligned tracks or loose hardware, and address these before relying on the opener for daily use.
Maintenance Tips for Your Genie Opener
Routine Inspections
Conduct visual checks of your opener and related components every few months. Look for signs of wear or damage in the chain, belt, or rail system, examine safety sensors for dust or misalignment, and confirm that all wires and wall controls are intact. Early detection helps prevent breakdowns and extends the life of your installation.
Cleaning and Lubricating Moving Parts
Maintaining your opener also means keeping it clean. Use a soft cloth to remove dust from motor vents and rail assemblies. Apply a light, recommended lubricant to the chain or screw drive and other moving metal parts—avoid greasing the belt or plastic components unless specifically advised. A well-maintained system runs quieter and resists corrosion.
Final Thoughts
Investing the time to learn how to install Genie garage door opener devices offers lasting rewards in home convenience, security, and confidence. By carefully following each step—from preparation to initial test and periodic upkeep—you empower yourself to maintain control over an essential system. Genie’s detailed instructions, combined with the tips and practical advice in this guide, make the entire process approachable for most determined homeowners. With your new opener in place, you’ll enjoy smoother, safer, and smarter garage access for years to come. If you haven’t started yet, there’s no better time to take the first step toward an expertly installed Genie system—your household will thank you for it every day.
I am Rick. I grew up helping my dad with his handyman service. I learned a lot from him about how to fix things, and also about how to work hard and take care of business. These days, I’m still into fixing things- only now, I’m doing it for a living.
I’m always looking for new ways to help people grow and develop. That’s why I have created this blog to share all my experience and knowledge so
that I can help people who are interested in DIY repair.