Installing a garage refrigerator heater kit can help maintain your fridge’s performance in colder environments. When temperatures drop, refrigerators in unheated spaces like garages may struggle to regulate cooling, potentially causing temperature fluctuations that affect the storage of your food and beverages. A heater kit solves this issue by ensuring the appliance operates efficiently even in cold conditions.
This guide on how to install garage refrigerator heater kit will walk you through the steps to install a garage refrigerator heater kit, providing you with a reliable solution for year-round refrigeration.
Why Install a Garage Refrigerator Heater Kit?
There are several reasons why you should consider installing a garage refrigerator heater kit. First, it ensures that your refrigerator operates efficiently and effectively in cold temperatures, preventing any potential damage to the appliance.
Additionally, it helps maintain a consistent temperature inside the refrigerator, which is crucial for food preservation. With the heater kit installed, you can confidently store your food and beverages in the garage without worrying about fluctuations in temperature.
6 Steps on How to Install Garage Refrigerator Heater Kit
Step 1: Check for Compatibility
- Before purchasing a garage refrigerator heater kit, make sure it is compatible with your specific fridge model. You can find this information in the product manual or by contacting the manufacturer.
- It is important to note that not all refrigerators are suitable for use in the garage. Some may not have the necessary insulation or temperature controls to withstand extreme temperatures.
- If your fridge is not compatible with a heater kit, you may need to consider purchasing a new one specifically designed for garage use.

Step 2: Prepare the Garage
- Before beginning installation, it is important to prepare your garage for the new heater. This includes clearing any clutter or debris from the area where the heater will be installed.
- Make sure there is enough space around the designated area for proper ventilation and airflow.
- If necessary, install insulation on the walls and ceiling to retain heat and improve efficiency.
- Check for any cracks or holes in the garage walls or foundation that may need to be sealed to prevent drafts and heat loss.
- Consider using a sealant or weather stripping around the garage door to further prevent heat from escaping.
- If your garage has windows, make sure they are properly sealed and consider adding curtains or blinds to help insulate against cold air.
- Keep flammable materials and liquids away from the heater, at least 3 feet in all directions.
- Install a carbon monoxide detector near the heater for added safety.
In addition to preparing the physical space for the new heater, it is also important to understand h
Step 3: Turn Off Power
- Safety should always come first when working with electrical components. Be sure to turn off the power to your garage at the circuit breaker before beginning installation. This will prevent any potential electric shocks or accidents.
- If you are unsure about how to turn off the power, consult a professional or contact your local utility company for assistance.
- Remember to also unplug any appliances or tools that may be connected to an outlet in your garage before turning off the power.
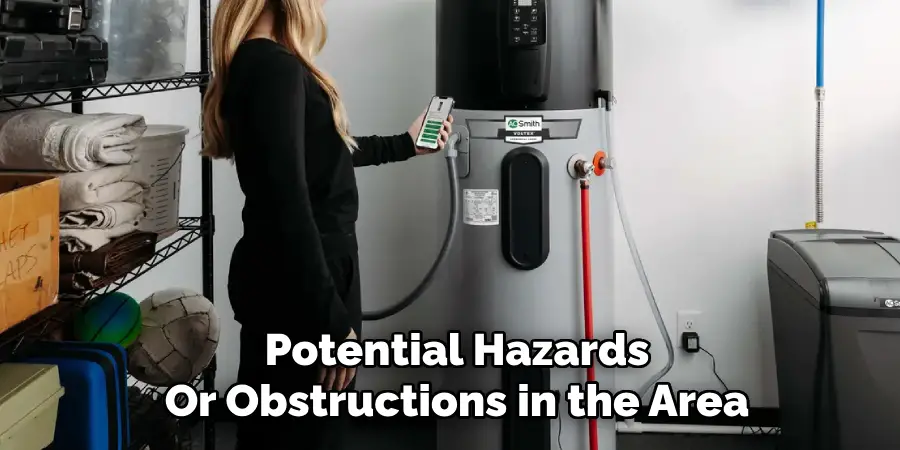
Step 4: Choose the Location of Your Heater
Before installing your new garage heater, it is important to determine the best location for it. Consider factors such as available wall space, proximity to an electrical outlet, and any potential hazards or obstructions in the area.
If you are installing a gas-powered heater, make sure that it is located near a gas line for easy connection. It is also important to consider ventilation requirements and keep the heater at least 12 inches away from any combustible materials.
Step 5: Mounting the Heater
Now that you have gathered your tools and materials, it’s time to mount the heater onto the wall. Follow these steps:
- Choose a location for your heater that is at least 12 inches away from any combustible materials.
- Using a level, mark where the mounting holes need to be drilled on the wall.
- Use a hammer drill or power drill to create holes in the wall for the mounting bolts.
- Insert the mounting bolts into the holes and tighten them with a wrench or pliers.
- Hang the heater onto the mounting bolts, making sure it is securely attached.
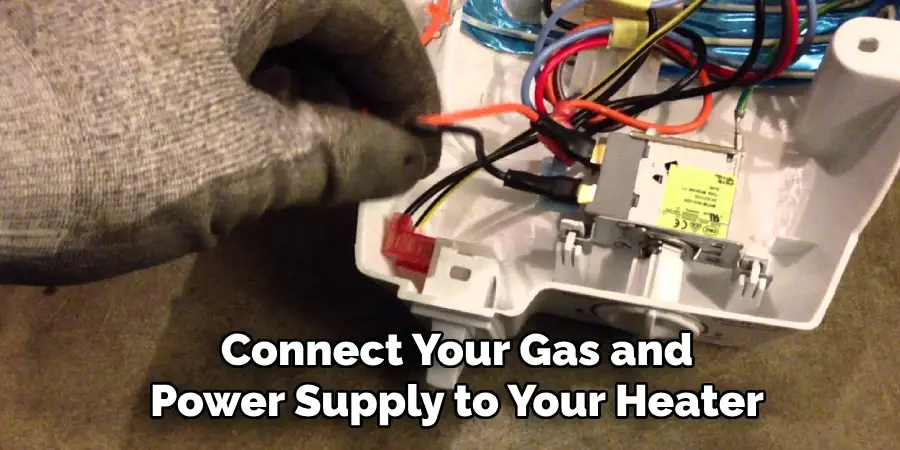
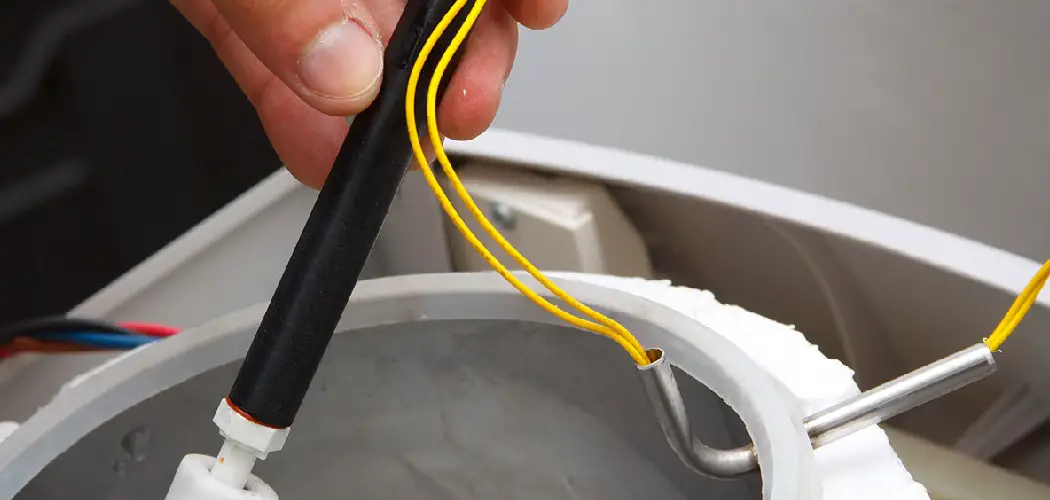
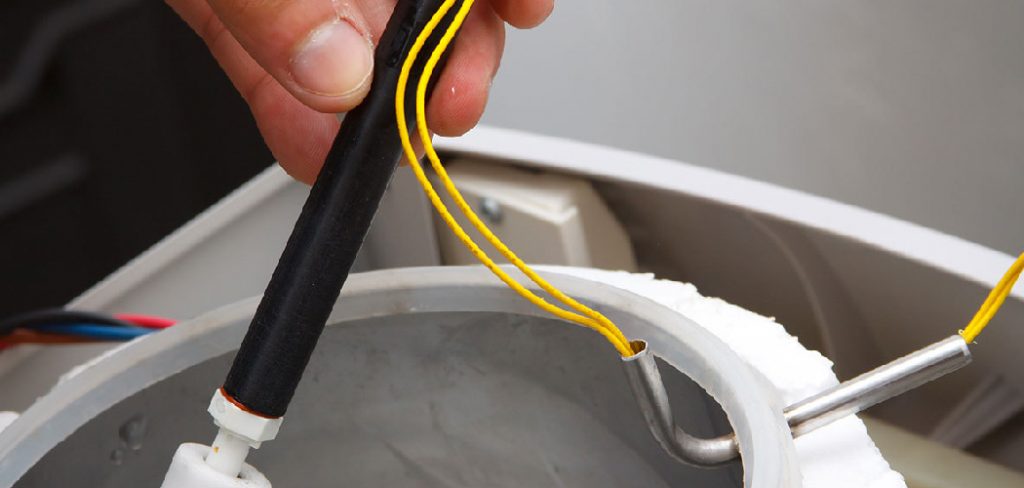
Step 6: Connecting Gas and Power
Next, you will need to connect your gas and power supply to your heater. Follow these steps:
- Shut off the gas supply to your home before connecting any gas lines.
- Use a pipe cutter to cut the existing gas line at the location where you want to connect your heater.
- Install a shut-off valve on the cut end of the gas line.
- Connect a flexible gas hose from the shut-off valve to the gas inlet on your heater.
- Use Teflon tape or pipe sealant on all threaded connections to ensure a tight seal.
- Once the gas line is connected, turn on the gas supply and check for any leaks using a mixture of soap and water. Bubbles will form at the location of any leaks.
- For power connection, you will need an electrical outlet within reach of your heater. If there is no outlet nearby, you may need to hire an electrician to install one.
- Plug in your heater into the electrical outlet and make sure it has proper grounding.
- Turn on your heater and test its functions before fully securing it in place.
- If everything is working properly, secure your heater in place using the mounting brackets or screws provided.
- It is important to regularly check and maintain your heater to ensure it continues to function efficiently. This includes cleaning any dust or debris from the unit, checking for any leaks or loose connections, and replacing any worn out parts.
Following these steps on how to install garage refrigerator heater kit will help you safely and effectively install a wall-mounted electric heater in your home. Remember to always read the manufacturer’s instructions carefully and consult a professional if you are unsure about any step in the process.
Do You Need to Use Professionals?
While installing a garage refrigerator heater kit can be a straightforward process for those with basic DIY skills, there are instances where consulting a professional is highly recommended. If you are unfamiliar with electrical work or feel uncertain about handling wiring connections, hiring a licensed electrician can ensure the installation is completed safely and up to code.
Additionally, if your garage has unique structural challenges or an older electrical system, a professional can assess and address these issues efficiently. While this might increase your upfront costs, it reduces the risk of mistakes and potential hazards, giving you peace of mind.
Frequently Asked Questions
Q1: Can I Install a Garage Refrigerator Heater Kit by Myself?
A: Yes, it is possible to install a garage refrigerator heater kit by yourself. However, if you are not familiar with electrical work or are unsure about any step in the process, it is best to consult a professional for assistance.
Q2: Do I Need to Have a Dedicated Electrical Circuit for My Wall-Mounted Electric Heater?
A: It is recommended to have a dedicated electrical circuit for your wall-mounted electric heater. This ensures that there is enough power available for the heater and reduces the risk of overloading the circuit.
Q3: How Long Will It Take to Install a Wall-Mounted Electric Heater?
A: The installation time may vary depending on your level of experience and the specific heater model. On average, it can take anywhere from 1-3 hours to install a wall-mounted electric heater. The process involves mounting the heater on the wall, connecting it to a dedicated electrical circuit, and potentially making adjustments to ensure proper ventilation. It is always recommended to follow the manufacturer’s instructions for installation to ensure safety and efficiency. If you are not confident in your abilities, it is best to hire a professional electrician for the installation.
Q4: Can I Install a Wall-Mounted Electric Heater Myself?
A: If you have experience with electrical wiring and feel confident in your abilities, it is possible to install a wall-mounted electric heater yourself. However, it is always recommended to hire a licensed electrician for the installation to ensure the safety and proper functioning of the heater. Improper installation can also void any warranties on the heater.
Conclusion
Wall-mounted electric heaters are a convenient and efficient solution for maintaining a comfortable indoor temperature. While installation can occasionally be a DIY project for those with electrical experience, consulting a licensed electrician is the best way to ensure safety and proper functionality.
By doing so, you can enjoy the full benefits of your heater while avoiding potential risks or warranty issues. With the right approach, a wall-mounted electric heater can serve as a reliable and effective heating option for your home or office. Thanks for reading this article on how to install garage refrigerator heater kit.
I am Rick. I grew up helping my dad with his handyman service. I learned a lot from him about how to fix things, and also about how to work hard and take care of business. These days, I’m still into fixing things- only now, I’m doing it for a living.
I’m always looking for new ways to help people grow and develop. That’s why I have created this blog to share all my experience and knowledge so
that I can help people who are interested in DIY repair.