Installing garage door springs and cables can seem like a challenging task, but with the right tools and careful attention to detail, it’s manageable for most DIY enthusiasts. Proper installation is crucial to ensure the safe and efficient operation of your garage door.
This guide will walk you through the necessary steps of how to install garage door springs cable safely and effectively, helping you save time and avoid costly repairs.
Understanding Garage Door Springs and Cables
Garage door springs and cables are essential components that work together to ensure the smooth operation of your garage door. Springs provide the tension needed to lift and lower the door, taking the bulk of the weight off the opener. There are two main types of springs commonly used in garage doors: torsion springs, which are mounted above the door, and extension springs, which are located on either side of the door.
Cables, on the other hand, play a key role in transferring the spring’s tension to the door itself. These cables are typically made of strong, durable materials like steel to withstand the significant tension and force exerted during operation. Together, springs and cables enable the door to open and close efficiently, while also contributing to safety by preventing the door from falling in the event of a malfunction. Understanding how these components function is vital before attempting any installation or maintenance work.
Tools and Materials Needed
Proper tools and materials are essential for working on garage door springs and cables to ensure safety and efficiency. Below is a list of commonly required items:
- Safety Gloves and Goggles: To protect your hands and eyes from potential injuries.
- Ladder: A sturdy ladder for reaching high components safely.
- Winding Bars: Specifically designed to safely adjust tension in torsion springs.
- Socket Wrench Set: For loosening and tightening bolts and nuts.
- Screwdrivers: A selection of flathead and Phillips screwdrivers for various screws.
- C-Clamps or Vice Grips: To secure the door and prevent accidental movement during repair.
- Replacement Springs or Cables (if needed): Ensure you have the correct type and size for your specific door model.
- Lubricant: Garage door lubricants to keep moving parts functioning smoothly.
- Measuring Tape: Useful for measuring spring length and cable dimensions.
Having these tools and materials on hand will help streamline the process while maintaining safety at all times. Always consult your garage door manual or a professional if unsure about any aspect of the work.
10 Methods How to Install Garage Door Springs Cable
1. Understand the Types of Garage Door Springs and Cable System
Before starting any installation, it’s important to understand whether your garage door uses torsion springs or extension springs, as cable installation varies accordingly. Torsion springs sit horizontally above the door and work with cables wound around drums on each side, while extension springs run parallel to the horizontal tracks with cables connected to pulleys.
Knowing your system will guide you on the correct cable length, routing, and tension required for your specific setup. Proper identification of your springs and cable type reduces mistakes and ensures safety.
2. Gather Proper Tools and Safety Equipment
Installing garage door cables requires specific tools like winding bars (for torsion springs), locking pliers, a ladder, adjustable wrenches, and gloves. Equally important is safety gear—eye protection, sturdy gloves, and closed-toe shoes—because garage door springs hold enormous tension and can cause injury if mishandled. Ensuring you have the right tools and personal protective equipment on hand before you begin is a fundamental preparatory step that sets the stage for a smooth installation process.
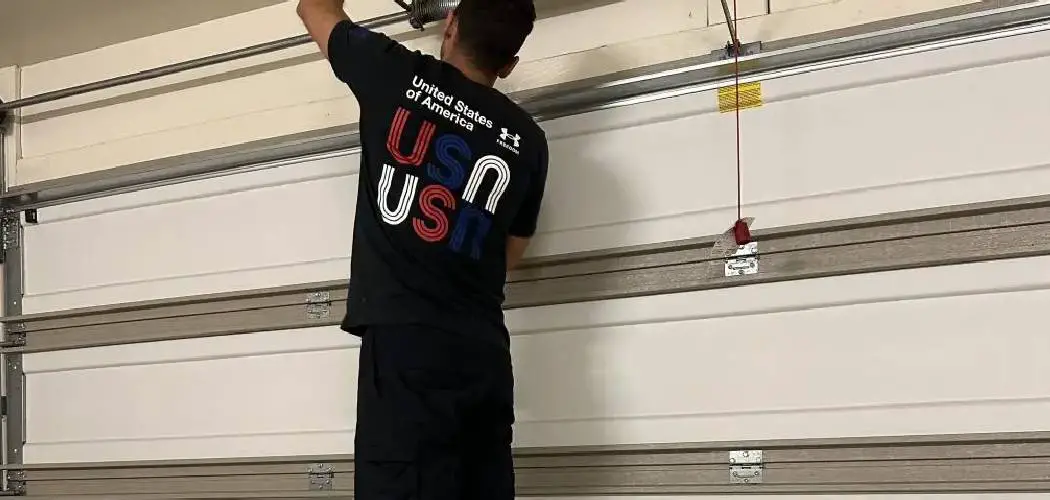
3. Release Tension from Existing Springs Safely
If you are replacing or installing new cables on a door with existing springs, safely releasing the tension on those springs is crucial. For torsion springs, this involves using winding bars inserted into the winding cone to slowly unwind the spring tension, typically by a half-turn at a time, while securing the springs in place with locking pliers.
For extension springs, you need to carefully detach the spring from its hooks or pulleys to relieve tension. This step must be done carefully and methodically, as improper release can cause the springs to snap violently, risking serious injury.
4. Detach and Remove Old or Damaged Cables
After tension is released, the next step is to remove any old or worn cables. For torsion spring systems, this means loosening the cable drums by removing the set screws, then carefully unwinding and slipping the cable off the drum and through the cable anchor on the bottom bracket.
In extension spring systems, cables are usually attached to the spring pulley and bottom roller bracket; these connections must be unscrewed or unclipped. Removing old cables fully clears the way for the new ones and also gives you a chance to inspect the springs and other hardware for wear or damage.
5. Measure and Select the Correct Cable Length
Choosing the right length of replacement cable is vital to ensure proper tension and safe operation. Measure the existing cable length from end to end, accounting for any loops or bends around pulleys and drums.
If the old cable is missing or damaged beyond recognition, consult your garage door’s manual or manufacturer specifications for recommended cable length and gauge (thickness). Cutting the cable slightly too long is better than too short, as you can trim excess later, but a cable too short will not function correctly or safely.
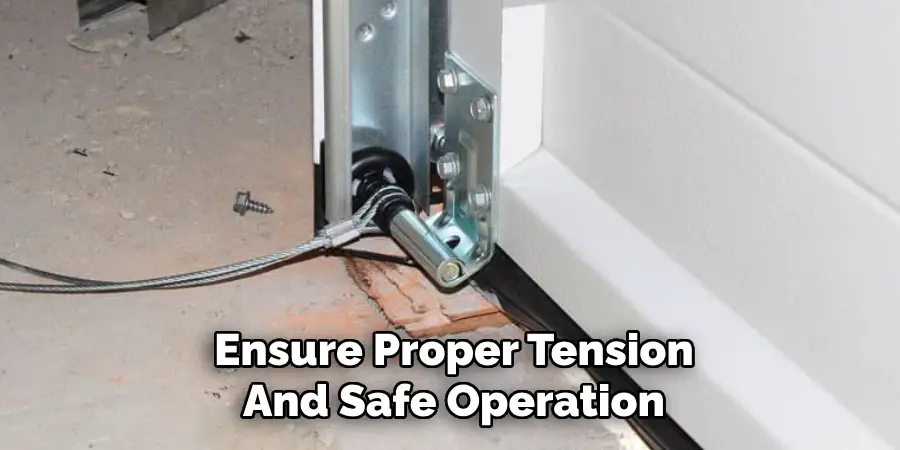
6. Attach the New Cable to the Bottom Bracket
The bottom bracket (or cable anchor bracket) is the fixed point where the cable is secured at the base of the door. Thread the new cable through the hole or loop in this bracket and ensure it is fastened tightly, usually by crimping or securing with a cable clamp if provided.
This anchor must be secure because it transfers the door’s weight to the spring and cable system. Double-checking this connection early on prevents the cable from slipping loose during operation, which could cause the door to fall or the cable to snap.
7. Route the Cable Through the Cable Drum and Pulley System
For torsion spring systems, carefully wind the cable onto the cable drum attached near the spring. Ensure the cable lies neatly in the grooves of the drum and is not twisted or overlapping. In extension spring systems, route the cable through the pulley wheel near the spring and along the track rollers.
The cable must follow the exact path of the original system to maintain correct tension and function. Any deviations, twists, or slack can lead to uneven lifting force, premature wear, or unsafe door movement.
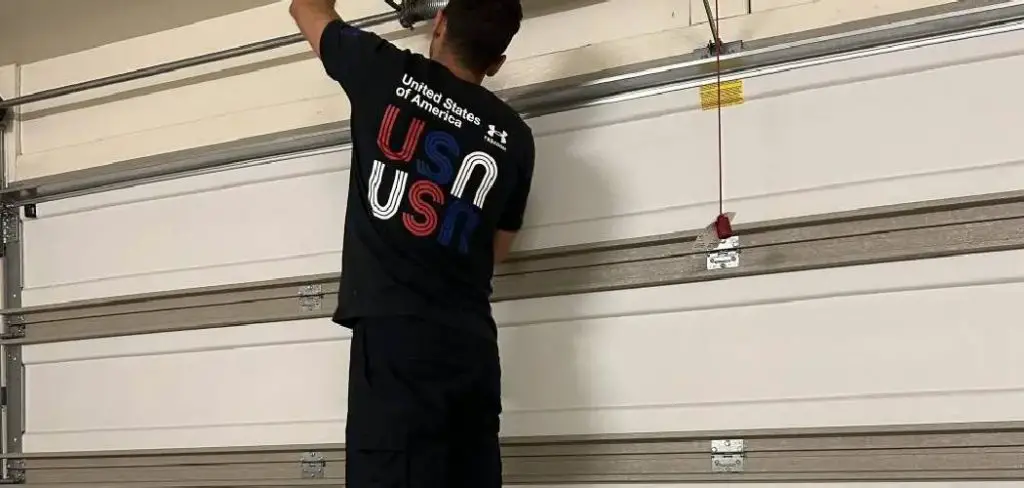
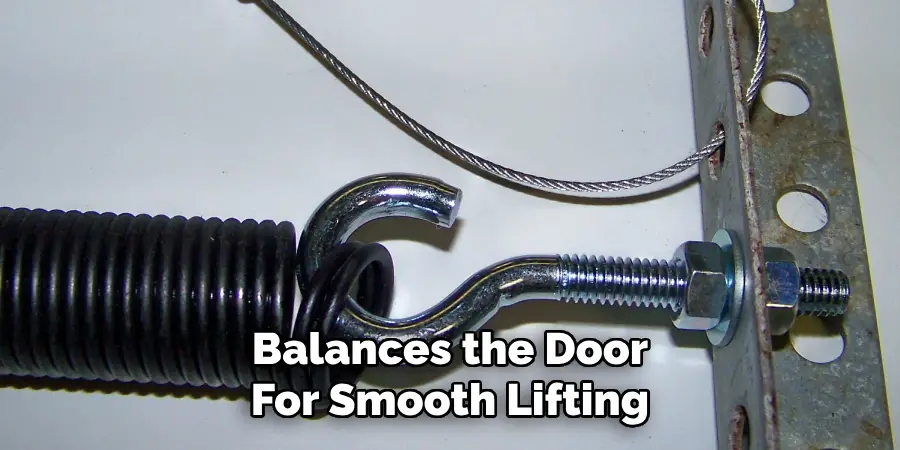
8. Apply Proper Tension and Wind the Springs
Once the cable is properly routed and secured at both ends, the springs must be re-tensioned to support the door’s weight. For torsion springs, use winding bars inserted into the winding cones to turn the spring in small increments, carefully counting turns based on your door’s size and weight.
This winding pulls the cable taut and balances the door for smooth lifting. For extension springs, tension is usually set by stretching the springs slightly when reattaching to their anchor points. Proper tensioning prevents the door from slamming down or being too heavy to lift.
9. Test the Door for Smooth Operation and Cable Security
After installation and tensioning, manually test the door by lifting it halfway and checking the cable tension on each side. Both cables should be taut and move in sync without slack or excessive noise.
If the door feels unbalanced, or the cables slip, adjustments are necessary—either by re-tightening cable clamps or fine-tuning spring tension. Lower the door slowly to ensure cables wind and unwind smoothly around drums or pulleys without catching. This thorough testing step confirms that the installation is secure and functioning as intended.
10. Perform Regular Maintenance and Safety Checks Post-Installation
Once your new garage door springs cable installation is complete, routine maintenance is crucial to prolong cable life and ensure safety. Regularly inspect cables for signs of wear, fraying, or rust and lubricate moving parts such as pulleys, springs, and rollers with a silicone-based lubricant.
Periodically check cable tension and alignment, especially after extreme weather or heavy use. Addressing small issues early prevents dangerous failures and costly repairs. Always prioritize safety by using the right tools and, if unsure, consulting a professional for maintenance or adjustments.
Conclusion
Installing garage door springs cable involves a careful, step-by-step process that begins with understanding your specific spring system, safely handling tension, and selecting the correct replacement cables.
Each step—from releasing old tension, removing worn cables, routing the new cable correctly, to winding springs with the right tension—is crucial to ensuring the door operates smoothly and safely. Testing and routine maintenance after installation are equally important to prevent future malfunctions. Thanks for reading our blog post on how to install garage door springs cable! We hope you found it helpful and informative.
I am Rick. I grew up helping my dad with his handyman service. I learned a lot from him about how to fix things, and also about how to work hard and take care of business. These days, I’m still into fixing things- only now, I’m doing it for a living.
I’m always looking for new ways to help people grow and develop. That’s why I have created this blog to share all my experience and knowledge so
that I can help people who are interested in DIY repair.