
Garage door sensors play a crucial role in ensuring the safety and security of your home. These devices prevent accidents by detecting obstructions in the door’s path and stopping the door from closing if something is in the way. Proper installation of garage door sensors is essential for their effective operation, and with some basic tools and guidance, it can be done efficiently. This guide will walk you through the steps of how to install garage door sensors.

What Are Garage Door Sensors?
Garage door sensors are safety devices designed to prevent accidents and injuries by ensuring the garage door does not close on people, pets, or objects in its path. These sensors usually consist of a pair of photoelectric devices, positioned on either side of the garage door near the ground. They work by emitting an invisible infrared beam from one sensor to the other. If this beam is interrupted by an obstruction, the sensors signal the garage door opener to stop closing and reverse direction. Garage door sensors are a critical component of modern garage door systems, designed to enhance safety and provide peace of mind for homeowners.
When to Replace or Install Garage Door Sensors
Garage door sensors should be replaced or installed when signs of malfunction or damage become evident. Some common indicators include the garage door failing to close properly, reversing unexpectedly, or the sensor lights blinking or not illuminating at all. Additionally, if your garage door system pre-dates modern safety standards or operates without sensors, installing new sensors can significantly enhance safety and compliance. Regular maintenance and inspections can help detect potential issues early, ensuring the sensors function correctly and reliably. If in doubt, consulting a professional technician is recommended to ensure proper installation or replacement and to keep your garage door system functioning safely.
Tools and Materials Needed
To install or replace garage door sensors, you’ll need the following tools and materials:
- Screwdriver set (Phillips and flathead)
- Adjustable wrench
- Drill and drill bits
- Wire strippers
- Measuring tape
- Level (to ensure proper alignment)
- Replacement sensors (compatible with your garage door system)
- Mounting brackets (if not included with the sensors)
- Cable ties (for securing wires neatly)
- Electrical tape
Having these tools and materials on hand will make the process smoother and ensure that the sensors are installed correctly and securely. Always refer to the manufacturer’s instructions for any additional specifications.
10 Methods How to Install Garage Door Sensors
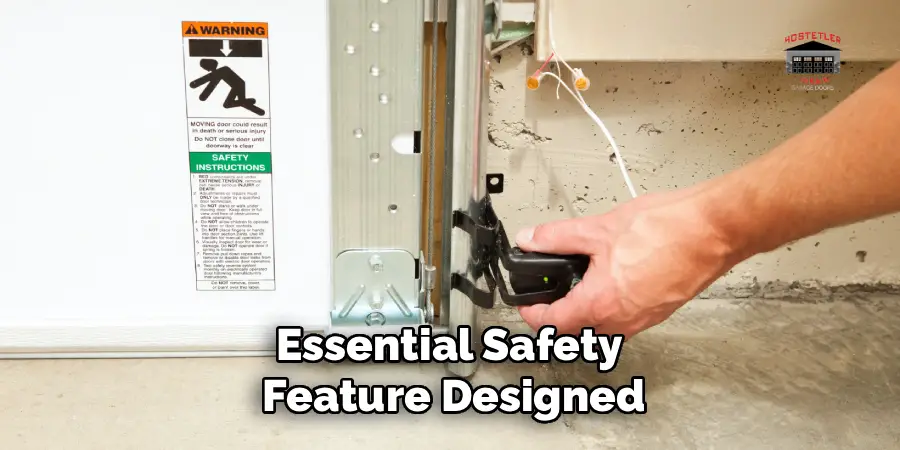
1. Understand the Purpose and Operation of Garage Door Sensors
Garage door sensors are an essential safety feature designed to prevent the door from closing on objects, pets, or people. These sensors use an invisible infrared beam between two photo-eye units mounted on either side of the garage door, typically 4 to 6 inches above the ground. When the beam is broken—by a foot, object, or obstruction—the door automatically stops or reverses. Understanding their basic function helps guide a proper installation. Before beginning, review your garage door opener’s manual for any specific sensor model instructions or compatibility notes.
2. Disconnect the Garage Door Opener from Power
Safety should always be the first step. To prevent accidental activation of the garage door during installation, unplug the garage door opener from the power outlet or switch off the breaker at the electrical panel. This eliminates the risk of electrical shock or the door moving while you work on the sensors. With the opener disabled, you can proceed safely and without interruption, ensuring that the sensor installation will be secure and compliant with safety regulations.
3. Identify the Ideal Mounting Height and Location
Garage door sensors must be installed at the same height on both sides of the door to allow for an uninterrupted beam. The standard mounting height is approximately 4 to 6 inches from the garage floor. Use a tape measure and pencil to mark equal heights on both sides of the garage door frame. Avoid areas with obstructions, uneven flooring, or direct exposure to sunlight if possible, as these factors may interfere with sensor performance. Consistency in height ensures proper alignment and reliable function.
4. Mount the Sensor Brackets Firmly
Most sensor kits come with adjustable brackets that can be mounted directly to the garage door track or to the wall near the track. Use the manufacturer-provided screws and brackets for optimal fit. Position the brackets at your marked height and secure them using a screwdriver or drill. If the wall material is concrete or brick, consider using wall anchors or masonry bits to ensure a tight grip. Make sure each bracket is level and sturdy; loose or slanted brackets can cause the sensors to become misaligned easily.
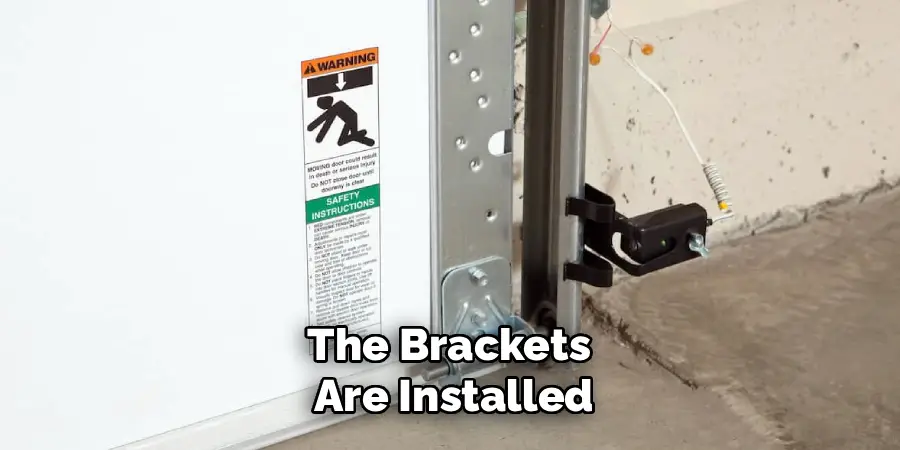
5. Attach the Sensors to the Brackets
Once the brackets are installed, attach the sensor units to them. Most sensors will snap into the bracket or fasten using wing nuts or screws. The sensor with the amber or solid LED typically connects to the sending side, while the one with the green LED is the receiving unit. Position the sensors so they face each other directly across the garage door opening. The lens of each sensor should be squarely aligned to form a straight infrared beam across the floor-level opening. This initial positioning will be adjusted later for final alignment.
6. Route and Secure the Wiring Neatly
Garage door sensor wires must run from the sensors to the motor head of the garage door opener, usually located on the ceiling. Run the wires along the garage wall, door track, or ceiling, securing them every few feet with insulated staples, wire clips, or adhesive-backed cable clamps. Avoid running wires in high-traffic areas or across sharp corners where they could be damaged. If your garage is unfinished, consider running the wires inside plastic conduit for additional protection. Keep wire slack minimal to reduce the risk of movement or accidental disconnection.
7. Connect the Wires to the Opener Terminal
Locate the low-voltage terminal strip on the back or side of your garage door opener. You’ll typically find labeled terminals for “Sensor,” “Safety,” or similar designations. Strip about 1/2 inch of insulation from the ends of each wire, then insert them into the appropriate terminal screws or push-in connectors, depending on your model. Commonly, one wire from each sensor goes into the “white” terminal, and the other wire goes into the “black” or “gray” terminal. Match the color coding exactly on both sides. Secure the connections tightly to ensure consistent electrical contact.
8. Restore Power and Test the Sensor Lights
Once everything is connected, plug the garage door opener back into the power source or turn on the circuit breaker. The sensors should activate immediately. You’ll see an indicator light on each sensor. A steady amber light on the sending sensor and a solid green light on the receiving sensor usually indicate correct power and alignment. If one or both lights are off or blinking, it means the sensors are misaligned or the beam is blocked. Use these lights as your guide to fine-tune the sensor direction and confirm that both are operating as expected.
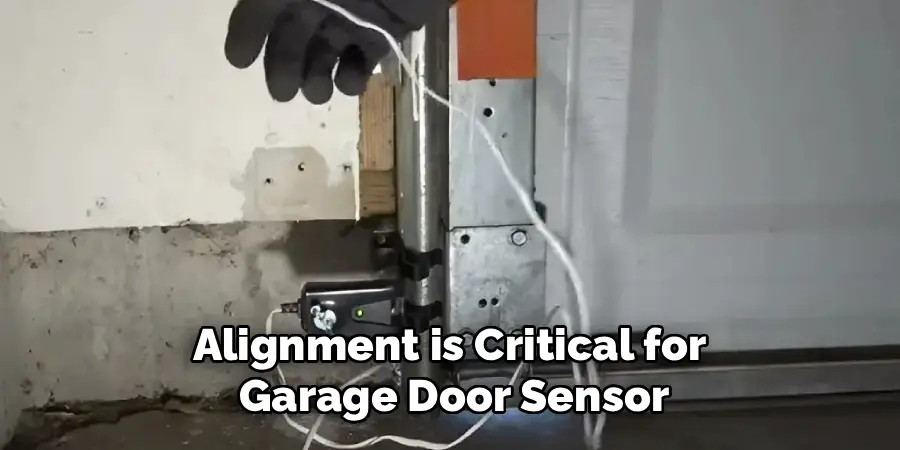
9. Align the Sensors for a Clear Infrared Beam
Alignment is critical for garage door sensor functionality. Gently adjust the sensor heads by tilting or rotating them slightly within their brackets until the green indicator light on the receiving sensor stays solid. Use a string level or laser line to ensure both sensors are perfectly aligned horizontally. Once the beam is continuous and both lights are solid, tighten the sensor mounting screws to lock them in place. A properly aligned beam ensures the garage door will respond accurately to any interruption and maintain its safety integrity.
10. Test the Safety Reverse Mechanism Thoroughly
Finally, verify that your sensor installation works by performing a few functional tests. With the door open, place a cardboard box or similar lightweight object in the path between the sensors and press the garage door remote to close the door. The door should stop and reverse as soon as the beam is broken. Remove the obstruction and test again to ensure the door closes fully. If the door closes with an obstruction in the path, recheck the wiring, alignment, and sensor lights. Performing this test confirms that your installation was successful and safe.
Troubleshooting Common Issues
- Sensors Not Working Properly
If the garage door sensors don’t seem to be functioning, check that they are properly aligned. Misalignment is a common issue and can be solved by ensuring the sensor lights are visible and steady. Clean the sensor lenses as dirt or debris can obstruct the beam. Additionally, inspect the wiring for any loose connections or damage.
- Garage Door Does Not Reverse
If the door fails to reverse when an obstruction is placed in its path, verify that the sensors’ beam is not being interrupted by an external object and that they are correctly aligned. Run a test to ensure the sensor’s lights are operating as expected. If the issue persists, consult the product manual or contact a technician for assistance.
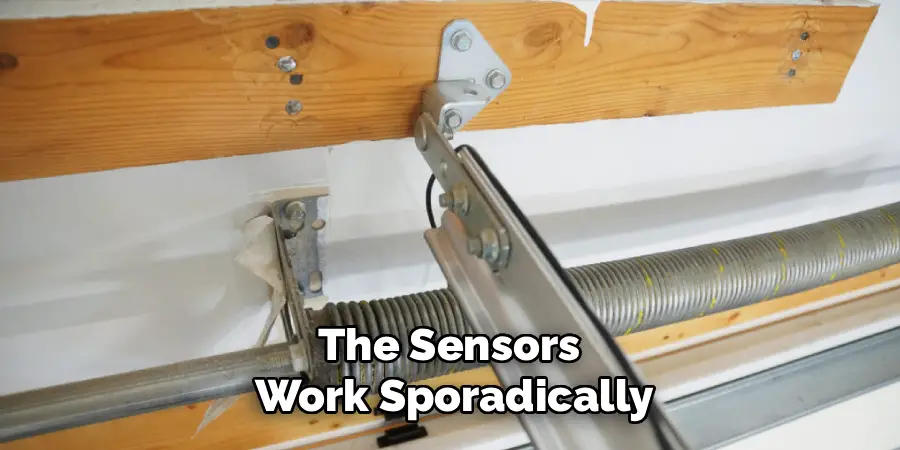
- Intermittent Functionality
If the sensors work sporadically, this could indicate faulty wiring or electrical interference. Inspect the wires for wear or corrosion and ensure connections are secure. Additionally, check for items in the area that might cause signal disruptions and relocate them if necessary.
Conclusion
Proper maintenance and troubleshooting of your sensors are essential for ensuring their reliable performance. By following the outlined steps, you can resolve common issues such as misalignment, power failures, or intermittent functionality. Now that you know how to install garage door sensors, try it yourself today and feel good about completing such a big DIY job!
I am Rick. I grew up helping my dad with his handyman service. I learned a lot from him about how to fix things, and also about how to work hard and take care of business. These days, I’m still into fixing things- only now, I’m doing it for a living.
I’m always looking for new ways to help people grow and develop. That’s why I have created this blog to share all my experience and knowledge so
that I can help people who are interested in DIY repair.