Installing garage door rails is an essential step in ensuring your garage door operates smoothly and safely. Properly installed rails provide the necessary support and alignment for the door as it opens and closes.
Whether you are setting up a new garage door system or replacing existing rails, this guide on how to install garage door rails will walk you through the process with clear instructions and helpful tips. With the right tools and a bit of effort, you can successfully install garage door rails and improve the functionality of your garage.
Why is the Proper Installation of Garage Door Rails Important?
Properly installed garage door rails play a crucial role in the smooth and safe operation of your garage door. They provide the necessary support and alignment for the door as it moves up and down along the tracks. If your rails are not installed correctly, it can cause various issues such as noisy operation, uneven movement, or even damage to the door itself.
Additionally, installing new rails during a garage door replacement can help improve the overall look and functionality of your garage. New rails may be stronger and more durable than your old ones, providing better support for your door over time.
Tools Needed for Installing Garage Door Rails
Before you begin installing garage door rails, make sure you have the necessary tools on hand. These may include:
- Tape Measure
- Level
- Wrench or Socket Set
- Power Drill
- Hammer
- Saw (If Rails Need to Be Cut to Size)
- Safety Glasses
- Step Ladder or Scaffolding (Depending on Ceiling Height)
11 Steps on How to Install Garage Door Rails
Step 1: Measure and Cut Rails
Begin by measuring the width and height of your garage door opening to ensure the rails are appropriately sized. Use your tape measure to take precise measurements and mark any adjustments needed on the rails. If the rails are too long, carefully use a saw to cut them to the required length.
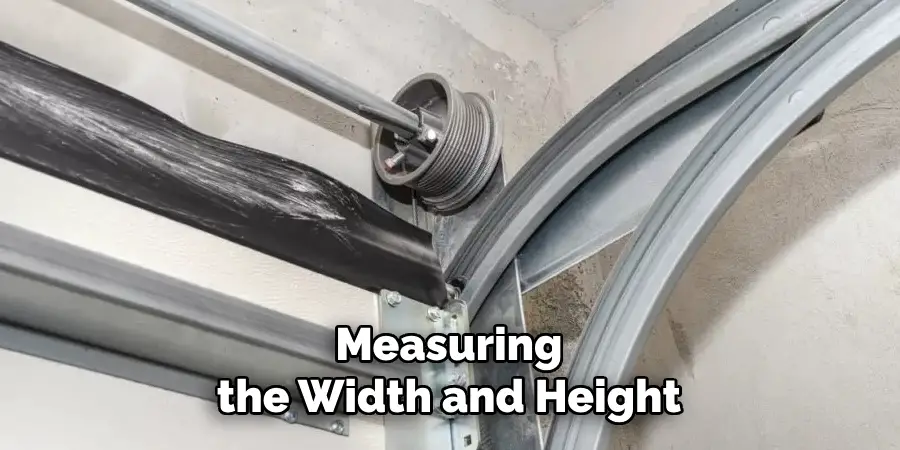
Always confirm your measurements before cutting to avoid mistakes. Once cut, smooth any rough edges with a file to ensure a clean finish and prevent injury during installation. Wear safety glasses while cutting to protect your eyes.
Step 2: Attach End Brackets
Begin by locating the end brackets provided in your garage door installation kit. Position the brackets at the ends of the rails, ensuring they align correctly with the structure of the door. Secure the brackets in place using the screws or bolts supplied with the kit.
Tighten the fasteners firmly but avoid over-tightening, as this could damage the brackets or the rails. Double-check the alignment to ensure the brackets are straight and securely mounted. Properly attached end brackets are critical for the stability and operation of the garage door system.
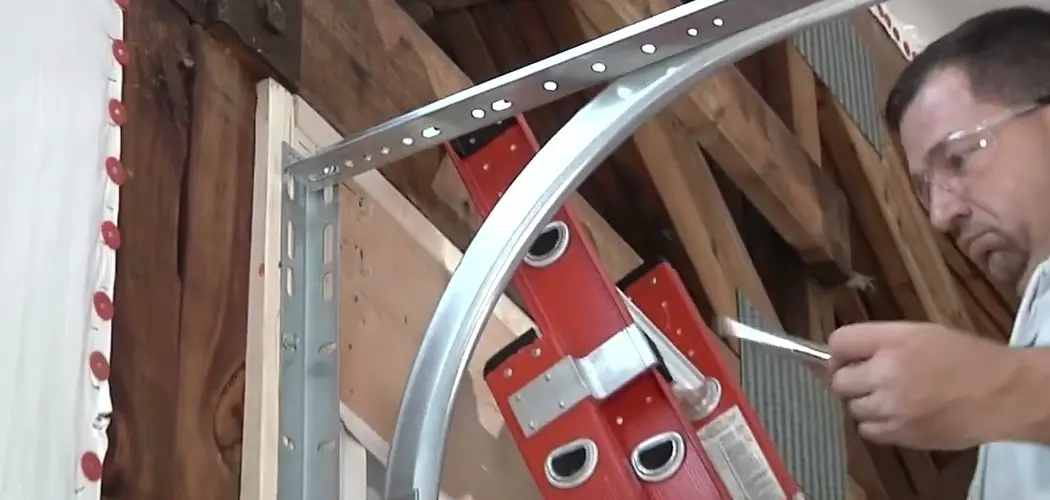
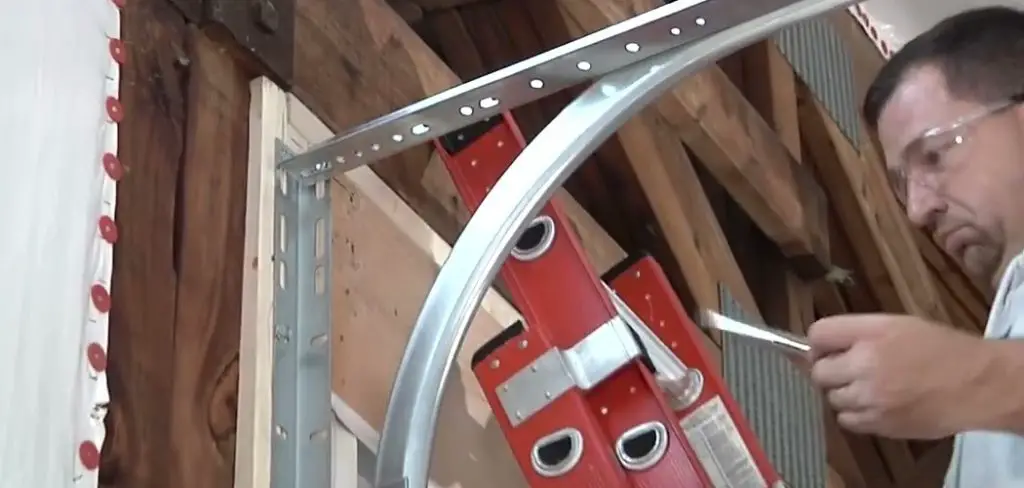
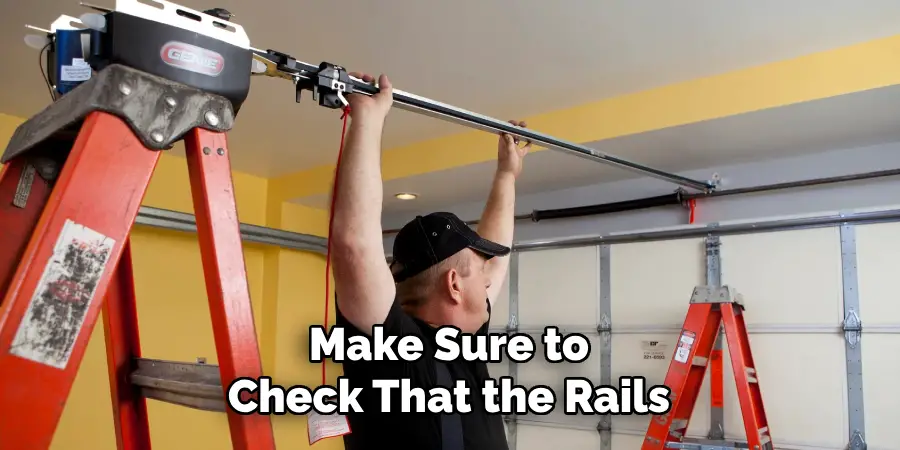
Step 3: Install Vertical Rails
Align the vertical rails with the end brackets installed in the previous step. Ensure the rails are positioned upright and flush against the sides of the garage door opening. Secure the rails to the brackets using the provided hardware, such as screws or bolts.
Make sure to check that the rails are level and plumb, as any misalignment can interfere with the smooth operation of the door. Once properly aligned, firmly tighten the fasteners, taking care not to overtighten. The vertical rails serve as a guide for the door’s movement, so their correct placement is essential for functionality.
Step 4: Add Center Support Bracket (If Needed)
If your garage door system requires additional support for the horizontal tracks, install the center support bracket at this stage. Begin by identifying the midpoint of the garage door opening and marking it on the wall above the opening. Align the center support bracket with this mark and fasten it securely using the appropriate hardware.
Ensure that the bracket is firmly attached to a structural part of the wall, such as a stud or beam, to provide adequate support for the tracks. Once installed, double-check that the bracket is level and properly aligned to avoid unnecessary strain on the door mechanism during operation.
Step 5: Install Torsion Springs
Safety is critical during the installation of torsion springs, as these components are under high tension. Begin by sliding the torsion springs onto the spring tube, ensuring they are oriented correctly for the type of door being installed. Attach the spring to the center bracket, securing it tightly with bolts or screws. Next, affix the winding cone to the end of the spring, using it to apply the necessary tension.
Carefully turn the cone in small increments with a winding bar, following the manufacturer’s specifications for the correct number of turns to ensure proper balance and functionality. Be sure to secure the spring with locking bolts once the required tension is achieved. Always wear safety goggles and gloves to protect yourself during this step.
Step 6: Attach Cable Drums
Begin by sliding the cable drums onto each end of the torsion tube, ensuring they are oriented correctly. The cable drums are marked for their respective sides, with one labeled for the left side (L) and the other for the right side (R).
Once positioned, insert the lift cables into the grooves of the drums, making sure they are aligned properly and free of any tangles. Gradually tighten the set screws on the drums to secure them in place, but do not overtighten as this may damage the components. Ensure the cables are taut and evenly wound to promote smooth operation. Double-check the alignment and tension before proceeding to the next step.
Step 7: Connect Cables
Carefully connect the lift cables to the corresponding brackets or fasteners on the lifting mechanism. Ensure that each cable is securely attached and properly seated within the designated slots or hooks. Double-check that the cables are fully engaged and there is no slack that could affect the system’s performance.
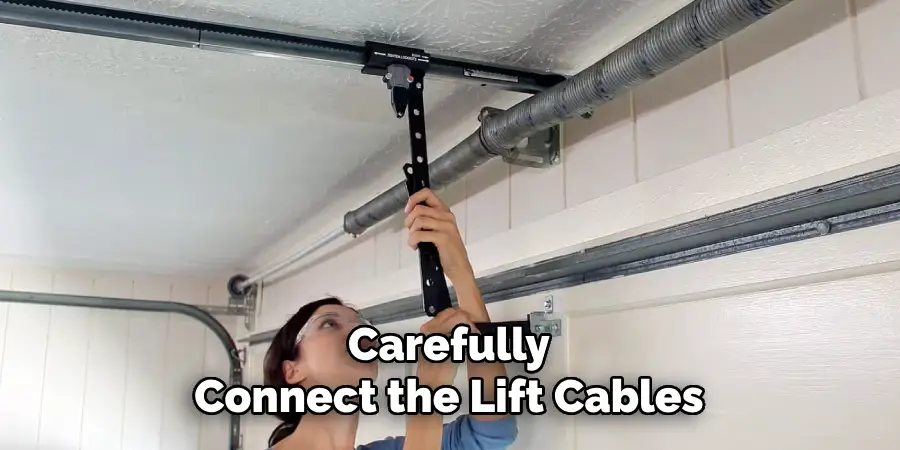
If adjustments are necessary, use the tensioning tools provided to achieve the correct tautness. Once all cables are properly connected, inspect the entire assembly to verify that everything is secure and ready for operation.
Step 8: Install Safety Cables
Safety cables are a crucial component to ensure the stability and reliability of the system. Begin by identifying the designated attachment points for the safety cables on both the lifting mechanism and the supporting structure. Carefully thread each safety cable through its respective points, ensuring they run parallel to the primary support cables without entanglement.
Secure the ends of the safety cables with the appropriate fasteners, tightening them firmly to prevent any movement or loosening over time. After installation, double-check the tension and alignment of the safety cables to confirm they are properly installed and free of obstructions. This step enhances the overall safety and resilience of the system during operation.
Step 9: Test and Adjust
Once the installation is complete, thoroughly test the system to ensure all components are functioning as intended. Begin by applying gradual stress to the structure, monitoring for any signs of instability or irregular tension in the safety cables. Inspect all fasteners to confirm they remain secure under pressure and make adjustments as necessary to eliminate slack or misalignment.
Additionally, perform a visual and manual inspection to ensure there are no obstructions or defects in the system. Repeat the testing process as needed until the system demonstrates consistent performance and stability under operating conditions. Document the results of the test for reference and future maintenance requirements.
Step 10: Regular Maintenance
Garage door springs will wear out over time and may need to be replaced every 5-7 years. It’s important to regularly inspect them for signs of wear and tear, such as rust or cracks. Lubricating the springs and other moving parts of your garage door can also help extend their lifespan.
In addition to maintaining the springs, it’s important to regularly clean and lubricate all components of your garage door, including hinges, rollers, and tracks. This will help keep your door functioning smoothly and prevent any unnecessary wear and tear.
Step 11: Safety Tips
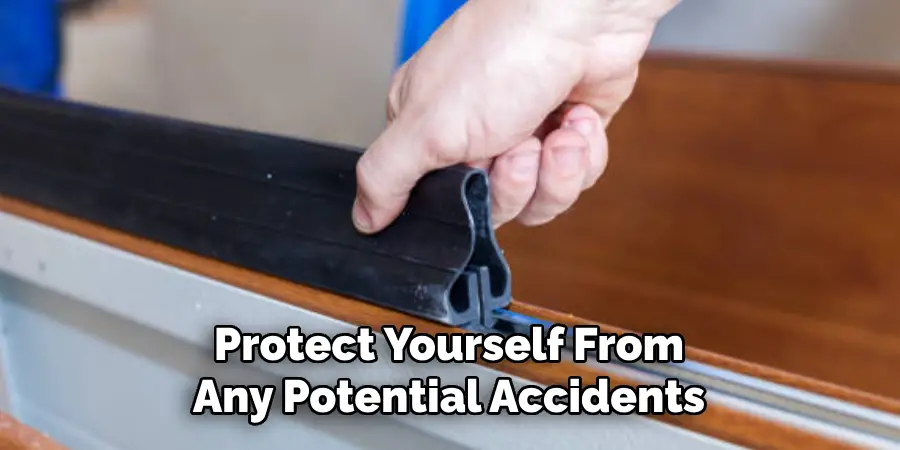
When working with garage door springs, always take proper safety precautions. Wear protective eyewear and gloves to protect yourself from any potential accidents. It’s also important to never attempt to adjust or replace springs on your own if you are not experienced in this type of work. Instead, hire a professional technician who is trained and knowledgeable in handling garage door springs.
Following these steps on how to install garage door rails can help ensure the safe and proper functioning of your garage door. Remember to also regularly inspect and maintain your garage door to prevent any potential issues or accidents. With proper care and maintenance, your garage door will continue to function smoothly for years to come. So, it is essential to follow these safety tips while working with garage door springs.
Conclusion
Proper installation, maintenance, and safety precautions are crucial for ensuring the longevity and smooth operation of your garage door. By following the outlined steps on how to install garage door rails and prioritizing regular inspections, you can prevent potential issues and enhance the safety of your household.
Always remember that certain tasks, especially those involving garage door springs, are best left to trained professionals. With the right care and attention, your garage door can remain a reliable and functional part of your home for many years to come.
I am Rick. I grew up helping my dad with his handyman service. I learned a lot from him about how to fix things, and also about how to work hard and take care of business. These days, I’m still into fixing things- only now, I’m doing it for a living.
I’m always looking for new ways to help people grow and develop. That’s why I have created this blog to share all my experience and knowledge so
that I can help people who are interested in DIY repair.