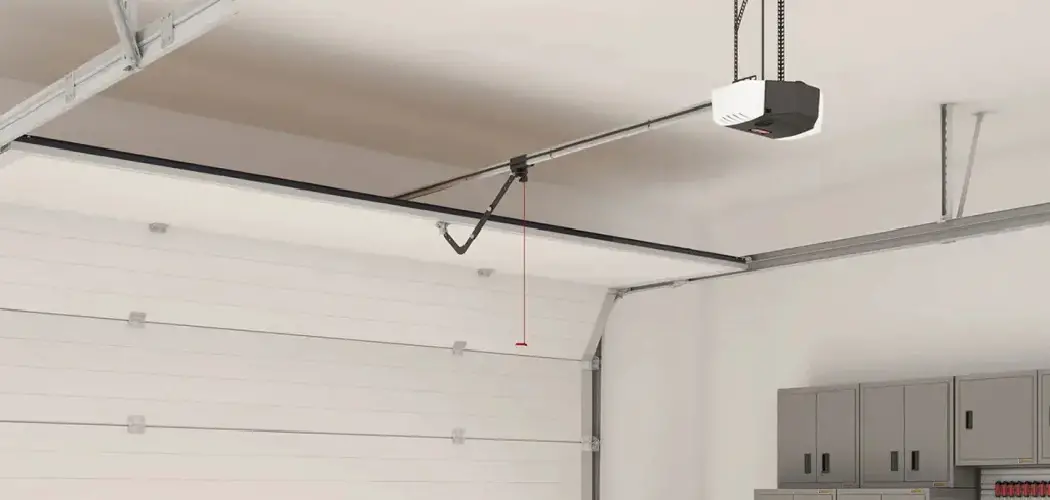
If you’ve been contemplating upgrading your garage door by adding a motorized opener, you’re not alone. Learning how to install garage door motor can save you money on professional installation and provide the satisfaction of completing a handy DIY project. Whether you’re tired of manually lifting a heavy garage door or want the convenience of a remote-controlled entry system, this guide will walk you through the process step by step.
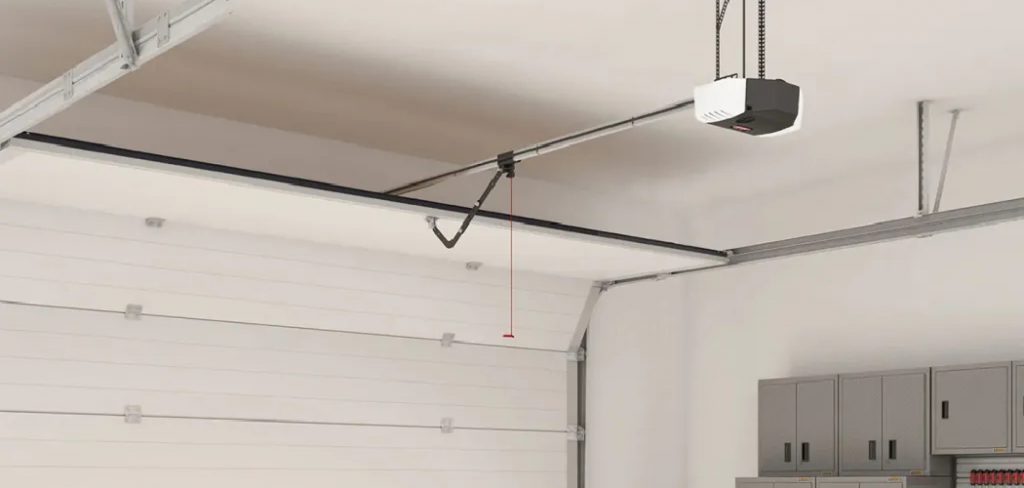
Before beginning the installation, ensure you have all the necessary tools and materials on hand. Common items include a power drill, screwdriver, measuring tape, ladder, wrenches, and the garage door motor kit, which typically comes with a track, motor, remote controls, and mounting hardware. It’s essential to read the manufacturer’s instructions thoroughly to understand specific requirements and compatibility with your garage door system. Additionally, for safety reasons, disconnect any existing power to the garage door and confirm the door is balanced and free of damage before proceeding.
Installing a garage door motor might sound daunting at first, but it’s a task you can accomplish with the right tools and guidance. This article breaks down each part of the installation process so that even beginners feel confident tackling the job. Read on to understand why it’s worth your time and follow the detailed steps to get the job done correctly.
Why Installing a Garage Door Motor Matters
Garage doors are among the heaviest moving parts of any home. Without a motorized opener, you rely on manual strength to lift and lower the door, which can be inconvenient and even risky over time. A garage door motor offers numerous benefits, making it an essential upgrade for many homeowners.
First, a motorized opener enhances convenience. Imagine arriving home during bad weather—having the ability to stay inside your car and simply press a remote button to open your garage is a game-changer. Beyond convenience, garage door motors provide added security, as most are equipped with lock features to protect your home from unauthorized entry.
Additionally, installing a garage door motor improves accessibility for everyone, including seniors and people with physical limitations. It’s a modern upgrade that aligns well with smart home technology, offering integration with Wi-Fi connections and voice assistants. For a relatively simple DIY investment, the benefits of installing a motor are vast.
Step-by-Step Guide: How to Install Garage Door Motor
When you’re ready to install your garage door motor, follow these steps for a seamless process. Remember, patience and attention to detail are key to a successful installation.
Step 1: Gather Tools and Materials
Before beginning, ensure you have all the necessary components and tools. Typical tools include a power drill, ladder, wrenches, screwdriver set, tape measure, and level. Your garage door motor kit should include the motor unit, rail system, belt or chain, mounting brackets, and hardware.
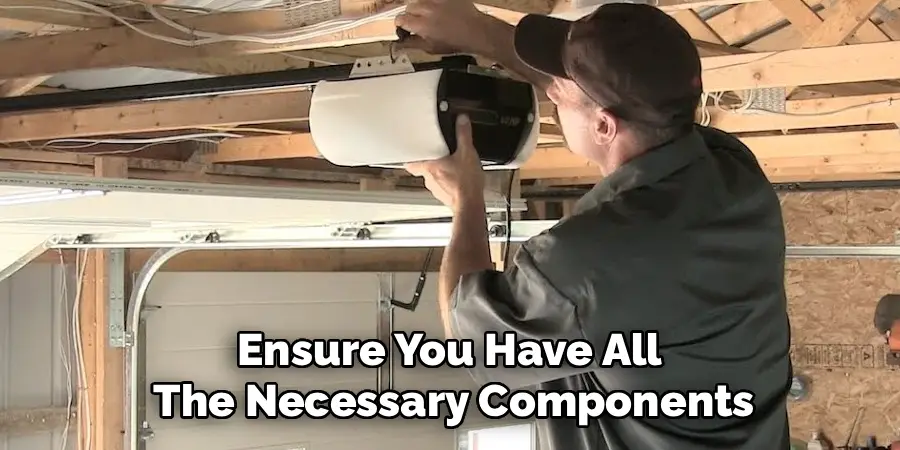
Start by reading the manufacturer’s instructions that come with your garage door motor kit. These instructions supplement this guide and ensure compatibility with your specific motor model. Having all materials at hand will save you time and reduce interruptions mid-project, so double-check your inventory against the parts list.
Step 2: Secure the Door in Place
Safety is paramount when working with garage doors, especially since they can be heavy and unpredictable if not secured. Disconnect any existing garage door opener and ensure the door is closed. Use clamps or locking pliers to hold the door steady, ensuring it does not move while you work on the installation.
By stabilizing the door, you reduce the risk of accidentally injuring yourself during the process. Test the door to ensure it doesn’t wobble or shift before moving on to the next step. It’s best to work in pairs for added safety and efficiency.
Step 3: Assemble the Rail System
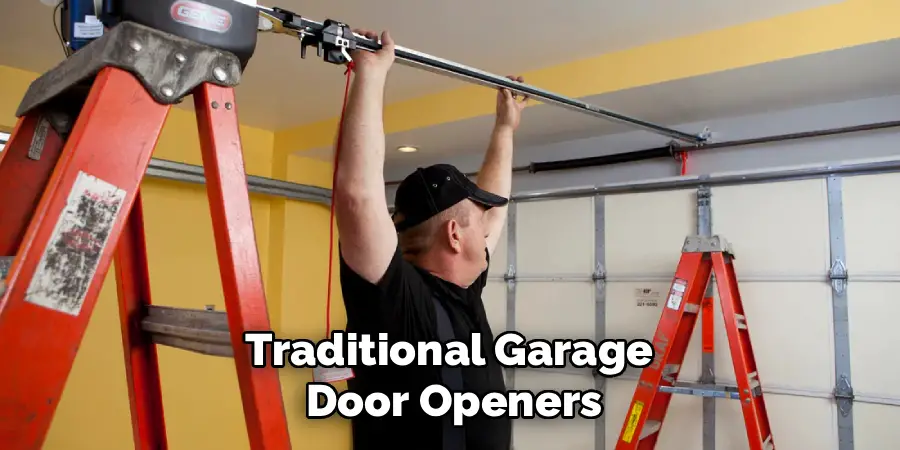
The rail system serves as the track for your motor’s belt or chain to operate on. Lay out the rails and follow the manufacturer’s guide to connect them securely. Rails must be aligned evenly to ensure smooth operation of the garage door motor.
Attach the trolley to the rail, positioning it according to the specified location in the instructions. The trolley is the moving part that pulls the garage door open and shut. At this step, you may also attach the drive system, whether it’s a chain or a belt, depending on your motor model.
Step 4: Mount the Motor Unit
Find a secure location on the ceiling to mount the motor unit. Typically, this should be right above the center of the garage door. Use a ladder to position the motor and secure it with the provided mounting brackets and hardware.
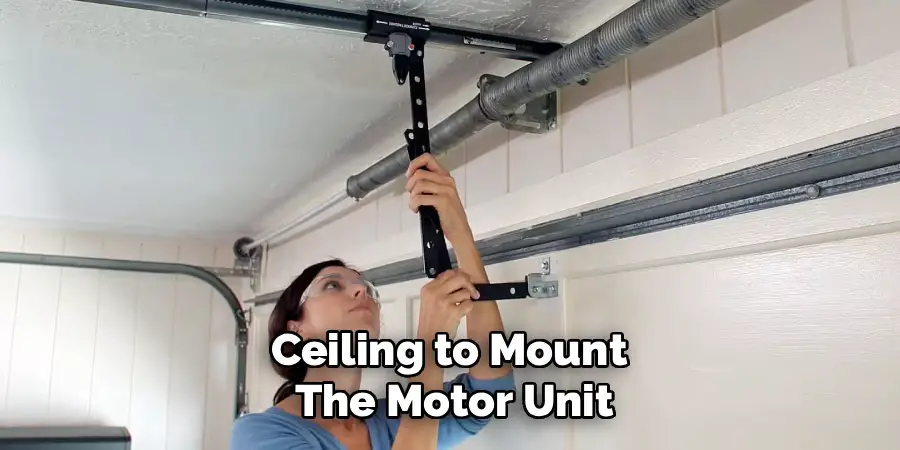
Ensure that the motor unit is level; an uneven placement could lead to problems in the motor’s operation. Use a level tool to verify proper alignment after mounting. Attach the rail system to the motor unit, tightening all connections for a firm setup.
Step 5: Install the Header Bracket
The header bracket anchors the rail system to the wall above the garage door. Attach the bracket to a sturdy part of the wall, typically near the top-center of the door’s opening. Secure it with screws, ensuring it’s bolted firmly for stability.
Connect the rail to the header bracket using any fasteners provided in the kit. This linkage is crucial for the smooth functioning of your garage door motor, so take the time to verify each connection before proceeding.
Step 6: Connect the Door Arm
The door arm connects the trolley to the garage door itself. This enables the trolley to pull the door open and push it closed. Attach one end of the door arm to the trolley, and the other to the bracket on the garage door.
Ensure that the arm is securely fastened and aligned properly. Misalignment at this stage could cause issues with the motor’s performance, leading to uneven door movement or excessive noise during operation.
Step 7: Wire the Motor Unit
Most modern garage door motors come with straightforward wiring instructions. Connect the motor to a power source according to the manufacturer’s directions. This typically involves plugging the motor into a ceiling-mounted outlet or wiring it directly to your home’s electrical system.
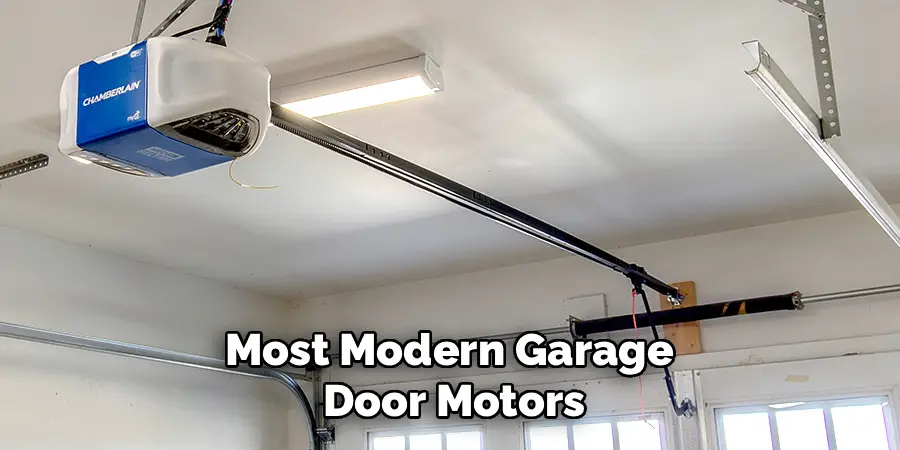
Additionally, connect any safety sensors that come with the motor kit. These sensors ensure that the door stops if an obstruction is detected, preventing accidents and equipment damage. Test all connections to ensure they’re properly fitted before proceeding.
Step 8: Program the Remote Control
Garage door motors often include a remote control and/or a wall-mounted keypad. Program these devices according to the instructions in your motor kit. Pairing the remote to the motor unit is usually a quick process involving pressing a “Learn” button on the motor unit.
Test the remote functions by opening and closing the garage door. Make adjustments as needed to ensure smooth operation. Ensure the remote is set securely to avoid unauthorized access.
Step 9: Test the Motorized System
Now it’s time to test the entire installation. Remove the clamps or locking pliers holding the garage door in place. Press the remote control to open and close the door, observing its movement for any unusual sounds or delays.
If the door operates smoothly, your installation is successful. If not, revisit earlier steps to check for misaligned parts or loose connections. Ensure the motion sensors are functioning correctly to enhance safety.
Step 10: Maintain Your Garage Door Motor
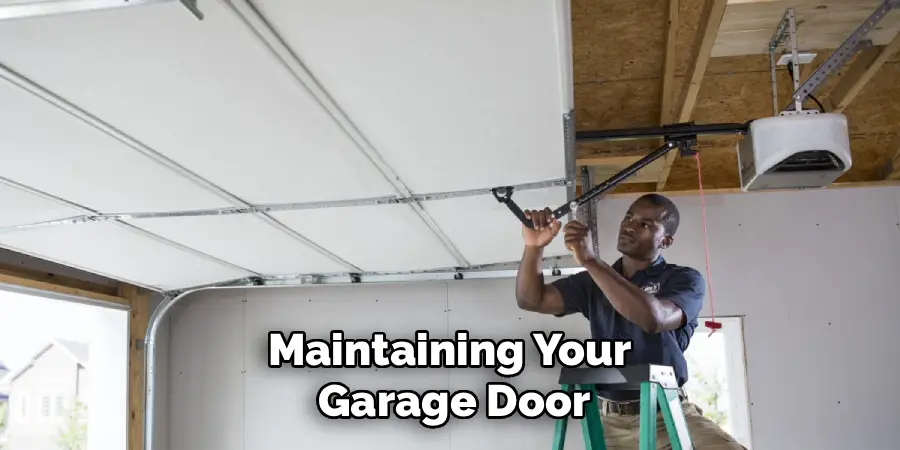
Once the motor is up and running, proper maintenance ensures its longevity. Include tasks like lubricating the rail system, inspecting cables and chains, and cleaning the motor unit in your routine. Regular maintenance also helps identify any wear and tear before they escalate into larger problems.
Step 11: Consider Upgrading to a Smart Garage Door Opener
With advancements in technology, traditional garage door openers are being replaced by smart ones. These allow remote control access via a smartphone app and come with features like automatic closing and notification alerts. Investing in a smart garage door opener adds an extra layer of convenience and security to your home.
Common Problems with Garage Doors
Like any mechanical system, garage doors can encounter issues over time. One common problem is misaligned tracks, which can cause the door to be noisy or even jam. Another frequent issue is worn-out springs, leading to difficulty in opening or closing the door. Additionally, malfunctioning sensors or remote controls can hinder operation, often due to dead batteries or obstructed signals. Regular inspections and prompt repairs can help address these problems before they become major inconveniences.
When it comes to maintaining your garage door, lubrication plays a crucial role in ensuring smooth operation. Applying lubricant to the moving parts, such as hinges, rollers, and springs, can reduce friction and prevent unnecessary wear and tear. It’s also important to use the right type of lubricant, as not all products are suitable for garage door components. Silicone-based or lithium-based lubricants are often recommended for their durability and effectiveness. Regular lubrication not only extends the lifespan of your garage door but also helps minimize noise and operational issues.
Frequently Asked Questions
How long does it take to install a garage door motor?
Installing a garage door motor typically takes 4 to 8 hours for someone with basic DIY skills. Complex models or unforeseen obstacles, such as incompatible wiring or missing tools, may extend the duration. Allocating a full day ensures you have ample time to complete the process and troubleshoot any potential issues.
Do I need to hire an electrician for the wiring?
Not necessarily. Many garage door motor kits are plug-in models that connect to a standard electrical outlet. However, if your garage lacks nearby outlets or if you prefer a hardwired unit, hiring an electrician ensures the system is installed safely and up to code.
Are garage door motors loud?
This depends on the type of motor you choose. Chain-driven motors are generally noisier compared to belt-driven models, which offer smoother and quieter operation. If minimizing noise is a priority, consider a motor with a belt drive or one specifically designed for ultra-quiet performance.
What safety features should I look for in a motor?
Key safety features to seek include motion sensors, auto-reverse functions, and manual release mechanisms. These features prevent accidents, ensuring the door stops when it contacts an obstruction and allowing manual control during power outages.
Can I install a smart garage door opener?
Yes! Many modern garage door motors are compatible with smart home systems. They can be controlled using mobile apps or voice assistants like Alexa or Google Assistant. If smart features are important, look for a motor with Wi-Fi connectivity.
Conclusion
Now that you’ve learned how to install garage door motor, it’s time to upgrade your garage’s functionality and convenience. By following the steps outlined above, you can successfully complete the installation yourself and save on costly professional services. The process may take a little time, but the payoff is well worth the effort.
Take the leap, install your garage door motor, and enjoy the enhanced comfort, security, and efficiency it brings to your home.
I am Rick. I grew up helping my dad with his handyman service. I learned a lot from him about how to fix things, and also about how to work hard and take care of business. These days, I’m still into fixing things- only now, I’m doing it for a living.
I’m always looking for new ways to help people grow and develop. That’s why I have created this blog to share all my experience and knowledge so
that I can help people who are interested in DIY repair.

