
A reliable garage door opener is essential for the safety and efficiency of any modern home. Craftsman has long been a leader in the industry, trusted for producing durable garage door openers that offer years of trouble-free service. For homeowners looking to upgrade or replace their existing garage door system, learning how to install Craftsman garage door opener models can deliver both significant cost savings and lasting satisfaction.
This comprehensive, step-by-step guide is designed to help you confidently tackle installation yourself. With some basic tools, attention to detail, and this guide as your resource, you’ll be able to streamline the process, make informed choices, and enhance your home’s convenience and security.
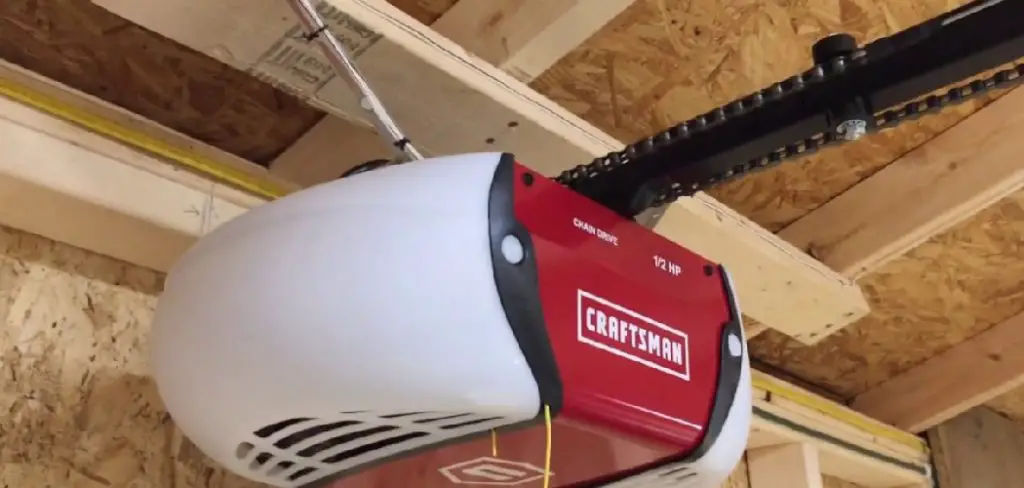
Understanding Craftsman Garage Door Openers
The Right Model for Every Garage
Craftsman offers a variety of opener models to fit different needs. Chain-driven options are valued for their rugged power and affordability, making them a reliable choice for heavier or oversized doors. Belt-driven openers run more quietly—an advantage for garages attached to living spaces or bedrooms where noise reduction is important.
Newer Craftsman models often include smart technology integration, providing users with remote operation and status alerts via smartphones or voice assistants. Consider your own preferences for noise levels, door weight, and the need for smart features when evaluating the right opener for your setup.
Assessing Your Needs
Before making a purchase, factor in the size and weight of your garage door as well as any preferences for smart controls or quiet operation. Heavier doors typically require more powerful openers, while double doors may need additional horsepower. Smart-enabled models appeal to those who want to manage access remotely or integrate with other home automation systems. Whichever model you choose, rest assured that Craftsman designs each opener with durability, safety, and ease of use at the forefront.
Tools and Supplies You’ll Need
Essential Tools for Installation
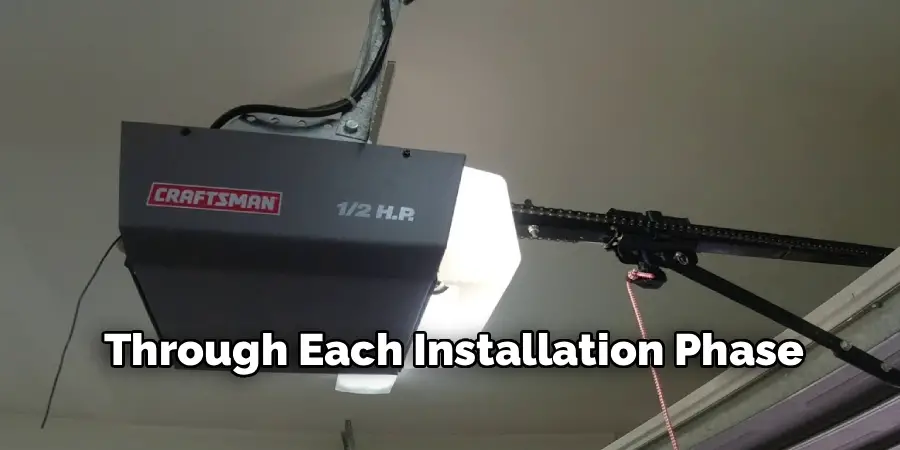
Preparation is key to a successful installation. Gather the following items: a power drill (with assorted bits), a sturdy ladder, a socket wrench set, Phillips and flathead screwdrivers, a tape measure, and protective gloves. Having all your tools organized and within arm’s reach will allow you to move smoothly through each installation phase.
What’s Included with Your Craftsman Opener
Inside the Craftsman opener kit, you’ll typically find a motor unit, rail assembly, belt or chain mechanism, ceiling and door brackets, safety sensors, wall-mounted control panel, remote controls, and detailed installation instructions. It’s smart to review the contents and compare them with the included checklist before beginning to ensure nothing is missing.
Preparing Your Garage for Installation
Safety First
Before starting, ensure complete safety by disconnecting power to the existing garage door opener at the breaker box or unplugging it from the outlet. Clear out vehicles and large objects to create ample workspace. Well-lit, unobstructed working conditions will reduce the chance of mistakes or accidents.
Inspecting the Garage Door Mechanism
Check your garage door’s condition by manually opening and closing it. It should move smoothly and stay in place when raised halfway, indicating balanced springs. Inspect for signs of wear, rust, or damage on the tracks and rollers. Any issues found during inspection should be resolved before installing the new opener, as a faulty door can affect the overall performance and safety of your new system.
How to Install Craftsman Garage Door Opener: Step-by-Step Guide
Step 1 – Assemble the Rail System
Lay out the rail sections and connect them according to your model’s instructions. Secure the rail’s joints using the provided fasteners, ensuring it remains straight along its length. For chain-driven models, follow the steps to thread the chain through the trolley and around the sprocket; belt-driven systems require attaching the belt and adjusting the tension accordingly. Proper tension in the chain or belt is critical for safe, smooth operation.
Step 2 – Attach the Trolley and Pulley
Install the trolley (carriage) on the assembled rail, making sure it moves freely from end to end. Place the pulley at its designated position and route the chain or belt over it as instructed. Double-check alignment, as this part is crucial for future door travel and reliability.
Step 3 – Connect the Rail to the Motor Unit
With the rail assembled, connect it securely to the motor unit (head assembly). Attach and secure all bolts to ensure the connection is tight and stable. Position the motor so that its base is parallel to the rail assembly, setting you up for a level installation.
Installing the Opener to the Ceiling
Step 1 – Position the Motor Unit
Find the appropriate location to mount the opener’s motor on the ceiling, usually centered above the garage door and away from obstructions like lights or beams. Use a tape measure to verify the placement, allowing enough room for the rail to connect with the door at the correct height.
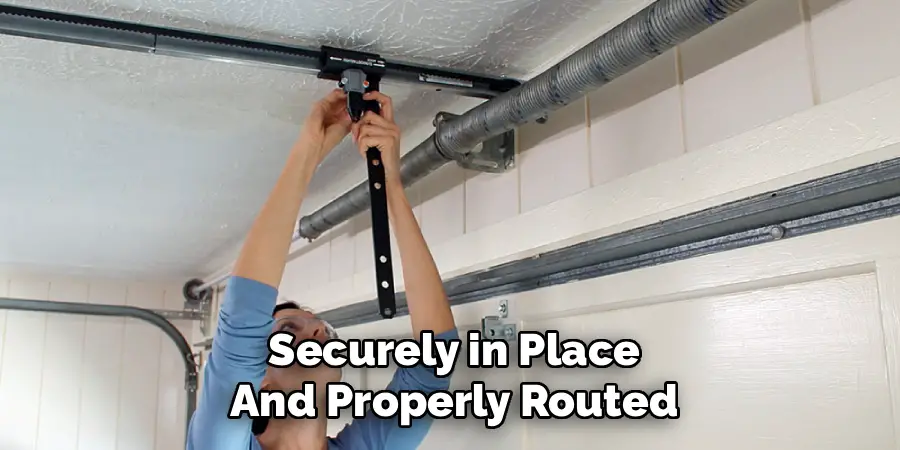
Step 2 – Secure the Brackets
Attach the ceiling mounting brackets to a joist or strong crossbeam using lag screws or other recommended hardware. Ensure the brackets are tight and will support the opener’s weight. The motor unit must hang plumb and square to avoid vibrational issues or misalignment.
Step 3 – Align the Opener with the Door
With the brackets in place, align the rail so it runs perpendicular and level with the top center of the garage door. This ensures even force on the door as it moves and prevents unnecessary strain on the opener or door mechanism.
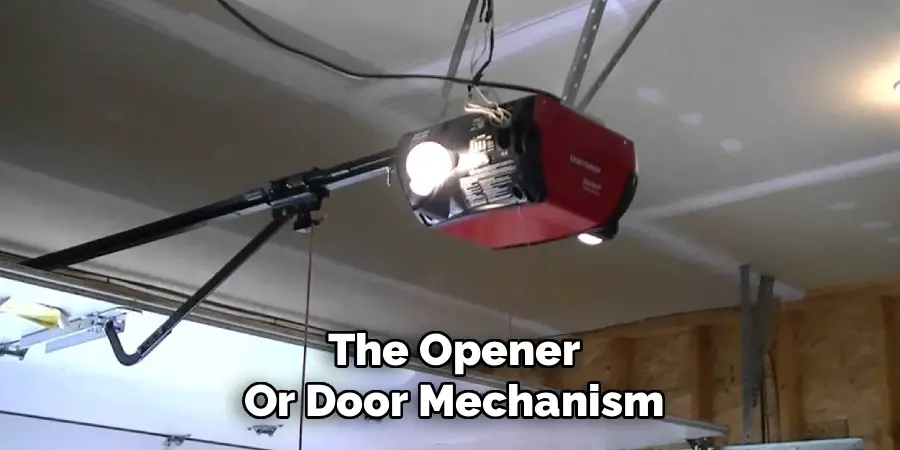
Connecting the Opener to the Garage Door
Step 1 – Attach the Door Arm
Mount the curved and straight sections of the door arm to the trolley and the garage door’s top bracket. Secure all attachment points carefully. Make sure the arm moves freely, with no binding, throughout the door’s travel path.
Step 2 – Test Movement of the Track and Rail
With power still disconnected, manually open and close the garage door using the release mechanism on the opener. The trolley and door arm should move smoothly along the rail. Check that the movement is straight and that there’s no sticking or resistance—which could indicate misalignment in the track or hardware.
Wiring the Craftsman Garage Door Opener
Step 1 – Install Safety Sensors
Position the safety sensors near the bottom of the door tracks, about six inches above the floor and directly facing each other. Fasten them securely and make sure their lenses are clean and unobstructed, as this alignment is necessary for operation.
Step 2 – Wire the Wall-Mounted Control Panel
Choose a convenient location for the wall control panel that’s within reach of the connecting wires and away from direct exposure to the elements. Run wires along the wall and ceiling to the opener’s main terminal block, securing them neatly as you go.
Step 3 – Connect Power to the Opener Unit
Plug the opener into a dedicated garage outlet or, if hardwiring is required, follow your model’s instructions and local electrical codes. Do not restore power until all wiring is securely in place and properly routed.
Configuring and Programming Your Craftsman Opener
Programming Remote Controls and Keypads
Restore power to the opener. Use the Learn or Program button on the motor unit to sync the included remotes and wireless keypads. Follow the instruction manual’s sequence, usually involving pressing specific buttons until indicator lights flash. Test each control to confirm successful programming and operation.
Adjusting Door Travel Limits
Configure the opener’s up and down travel limits so the door opens fully and closes securely without slamming or leaving a gap. Most Craftsman models have clearly marked adjustment screws or digital settings. Fine-tune these settings until the door moves through its complete cycle smoothly.
Testing the System and Fixing Issues
Performing an Initial Test Run
With all connections and programming complete, perform a series of test cycles using the control panel and remotes. Observe the door’s motion, stopping points, and responsiveness to the safety sensors—interrupting the sensor beam during closure should immediately halt or reverse the door.
Addressing Common Problems
Should problems arise, check the alignment and wiring of the safety sensors, confirm all moving parts are lubricated and free of obstruction, and ensure the rail is level. If the opener makes unusual noises, investigate for loose hardware. Most minor issues can be resolved by revisiting the relevant installation step and making careful adjustments.
Maintenance Tips for Longevity
Routine Inspections
Every few months, inspect your installation—look for loose or worn hardware, signs of rust, slack in the chain or belt, or debris in the tracks. Confirm the wall controls and remotes remain responsive and the opener operates quietly.
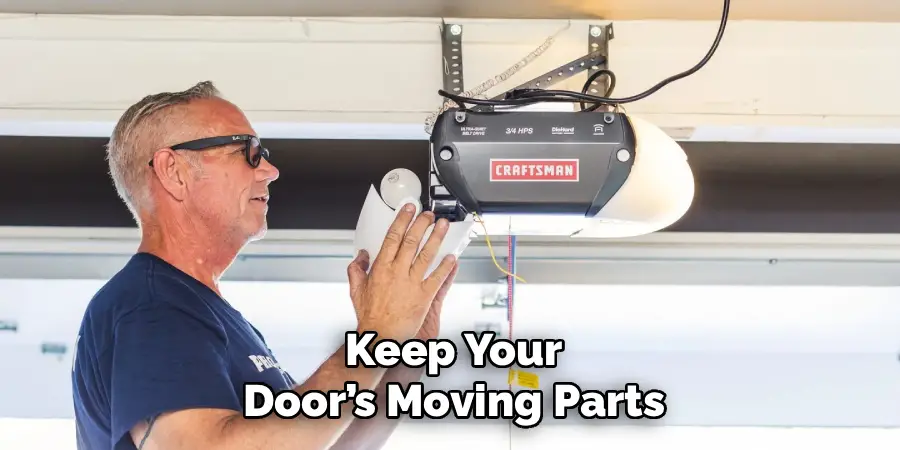
Cleaning and Lubrication
Keep your door’s moving parts and opener components clean from dust or cobwebs. Lubricate hinges, rollers, and the rail with a recommended garage door lubricant, but avoid getting lubricant on sensor lenses, belts, or plastic parts.
Final Thoughts
Successfully learning how to install Craftsman garage door opener systems is an empowering and rewarding home improvement project. With the right preparation, a handful of basic tools, and step-by-step instructions, you can transform your garage with enhanced security, quiet operation, and modern convenience.
Craftsman openers are engineered for straightforward installation and robust performance, making this upgrade approachable for most homeowners. Take your time with each phase, double-check alignments and connections, and don’t hesitate to revisit earlier steps if an adjustment is needed. By following this guide on how to install Craftsman garage door opener, you’re not just saving on professional costs—you’re gaining confidence and control over an essential part of daily life. Enjoy the peace of mind that comes from a job well done and a home that operates at its best.
I am Rick. I grew up helping my dad with his handyman service. I learned a lot from him about how to fix things, and also about how to work hard and take care of business. These days, I’m still into fixing things- only now, I’m doing it for a living.
I’m always looking for new ways to help people grow and develop. That’s why I have created this blog to share all my experience and knowledge so
that I can help people who are interested in DIY repair.