
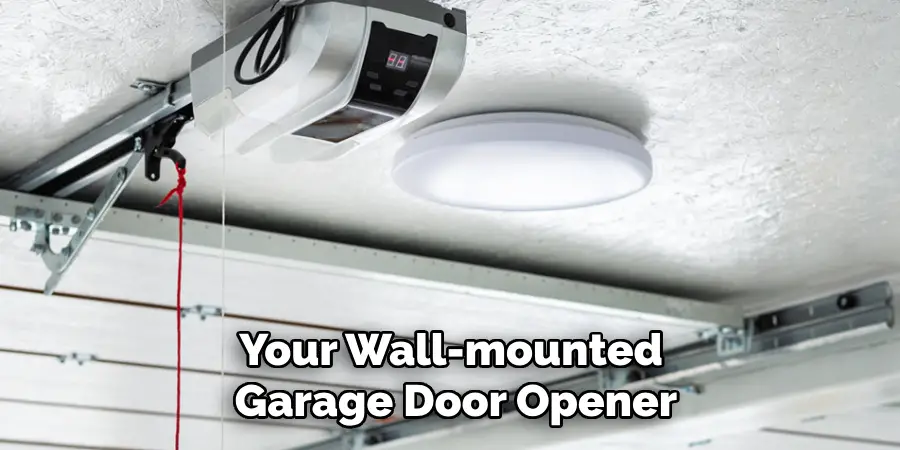
Installing a wall-mounted garage door opener can significantly enhance the functionality of your garage space while providing added convenience and security. Unlike traditional ceiling-mounted units, wall-mounted openers free up ceiling space, making it easier to store items or install lighting. This installation process may seem daunting at first, but with the right tools, a clear
understanding of the steps, and careful attention to safety guidelines, you can complete the installation efficiently. In this guide, we will walk you through the necessary steps of how to install a wall mounted garage door opener, ensuring that you can enjoy the benefits of this modern solution with ease.
Why Choose a Wall Mounted Garage Door Opener?
Choosing a wall-mounted garage door opener over a traditional ceiling-mounted model comes with numerous advantages that cater to both practical and aesthetic needs. First and foremost, wall-mounted units save valuable ceiling space, allowing homeowners to maximise their garage’s vertical storage capacity. This is particularly beneficial for those who utilise their garages for
more than just parking, such as creating a workshop or additional storage area. Furthermore, these models typically offer quieter operation since they are located away from the overhead mechanisms, providing a more pleasant environment. Additionally, wall-mounted openers often boast enhanced security features, as they are installed closer to the entry point, making
tampering more difficult. Overall, opting for a wall-mounted garage door opener can improve efficiency, convenience, and the overall look of your garage.
Tools and Materials Needed
Before starting the installation of your wall-mounted garage door opener, it’s essential to gather all necessary tools and materials to ensure a smooth process. Here’s a list of what you’ll need:
Tools
- Drill with drill bits
- Screwdriver (flathead and Phillips)
- Measuring Tape
- Level
- Stud Finder
- Wrench Set
- Pencil for marking
Materials
- Wall-Mounted Garage Door Opener Kit
- Mounting Brackets (usually included with the opener)
- Screws and Anchors (included in the kit)
- Electrical Wire (if required for power supply)
- Safety Gear (gloves and safety glasses)
Having these tools and materials on hand will help ensure that your installation goes as smoothly as possible.
10 Methods How to Install a Wall Mounted Garage Door Opener
1. Understand the Advantages of a Wall-Mounted Garage Door Opener
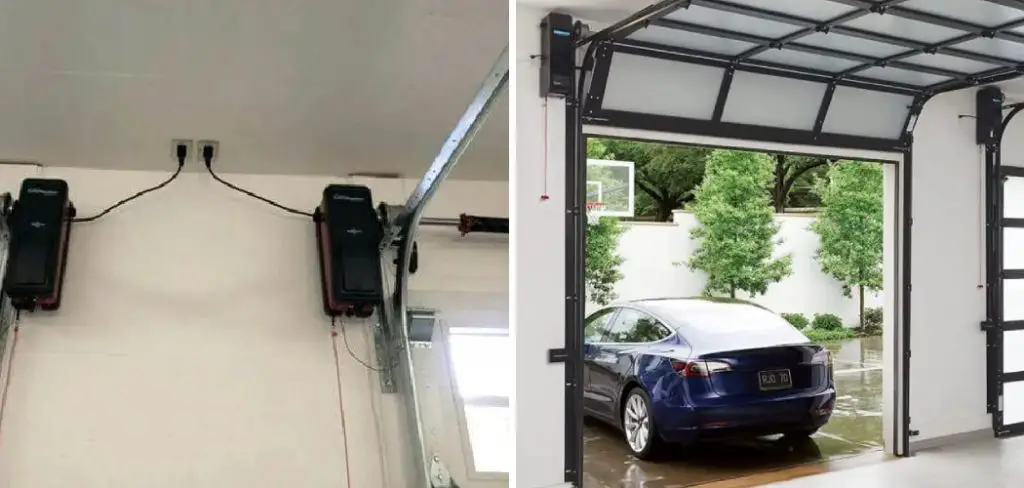
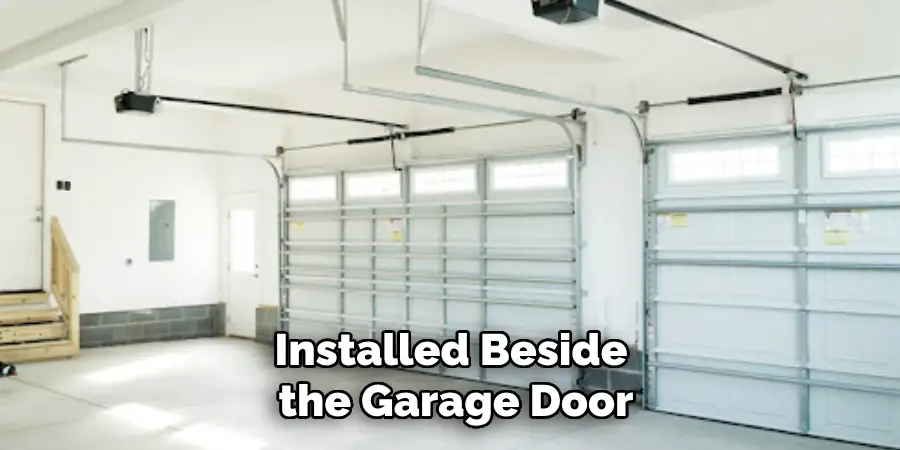
Before starting the installation process, it’s important to understand why a wall-mounted garage door opener might be a preferable choice over traditional ceiling-mounted units. Wall-mounted openers, also known as jackshaft openers, are ideal for garages with high or obstructed ceilings, as they are installed beside the garage door, freeing up overhead space. They operate
quietly, are often more aesthetically pleasing, and come with advanced features like integrated battery backups and Wi-Fi connectivity. Understanding these benefits will give you the confidence to proceed with the installation, knowing you’re making a smart choice for your garage.
2. Gather Necessary Tools and Equipment
To ensure a smooth installation, gather all the necessary tools and equipment before you begin. Typically, you’ll need a drill with various bits, a level, a tape measure, wrenches, sockets, a ladder, and the components included with your wall-mounted opener kit, such as the motor unit, brackets, mounting hardware, and control panel. Additionally, having the instruction manual handy
is crucial for reference during the installation. Being fully prepared with the right tools and materials helps streamline the process, preventing unnecessary delays and ensuring a successful installation.
3. Choose the Optimal Location for Installation
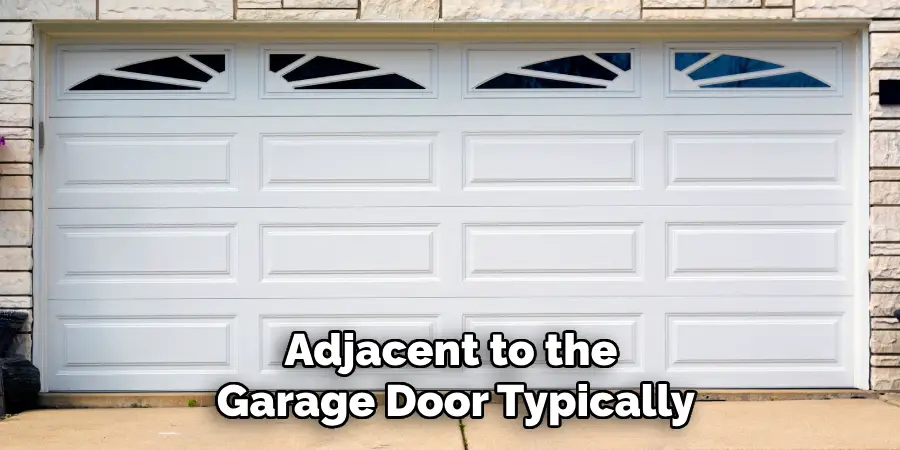
Selecting the right location for your wall-mounted garage door opener is crucial for its performance and ease of use. The opener should be installed on the wall adjacent to the garage door, typically on the same side as the torsion bar. Ensure the area is clear of any obstructions and that there is sufficient space to mount the opener securely. The location should also provide easy
access to a power outlet. Choosing the optimal location ensures that the opener can function efficiently and that you can access it easily for operation and maintenance.
4. Install the Mounting Bracket
Once you’ve chosen the location, the next step is to install the mounting bracket for the opener. Use a tape measure and level to mark the position of the bracket on the wall. It’s important to ensure that the bracket is level and securely attached to the wall, as this will provide the necessary support for the opener. Drill pilot holes and use the provided screws or bolts to attach the
bracket firmly to the wall. Proper installation of the mounting bracket is essential for the stability and safety of the garage door opener.
5. Mount the Opener on the Bracket
With the bracket securely in place, the next step is to mount the garage door opener onto the bracket. Carefully lift the opener and align it with the bracket, then secure it using the provided hardware. Depending on the weight of the opener, you might need assistance to hold it in place while you attach it to the bracket. Make sure all bolts and screws are tightened securely to prevent any
movement or shifting. Mounting the opener correctly is crucial for ensuring that it operates smoothly and reliably without any risk of detachment or misalignment.
6. Connect the Opener to the Torsion Bar
After mounting the opener, you need to connect it to the torsion bar, which is the rod that runs along the top of your garage door. The opener typically comes with a collar or coupler that attaches to the torsion bar. Slide the collar onto the bar and secure it with the provided bolts or set screws, ensuring that it’s firmly in place. The connection between the opener and the torsion bar is
vital for the opener to effectively raise and lower the garage door, so it’s important to ensure a secure and accurate connection.
7. Install the Safety Sensors
Safety sensors are a critical component of your garage door system, preventing the door from closing if there is an obstruction in its path. Install the sensors on each side of the garage door, typically about 6 inches above the ground. Align the sensors so that they face each other directly and connect them to the garage door opener using the provided wires. Secure the wires along the
wall to prevent them from getting tangled or damaged. Installing the safety sensors correctly ensures that your garage door operates safely, protecting people and pets from accidents.
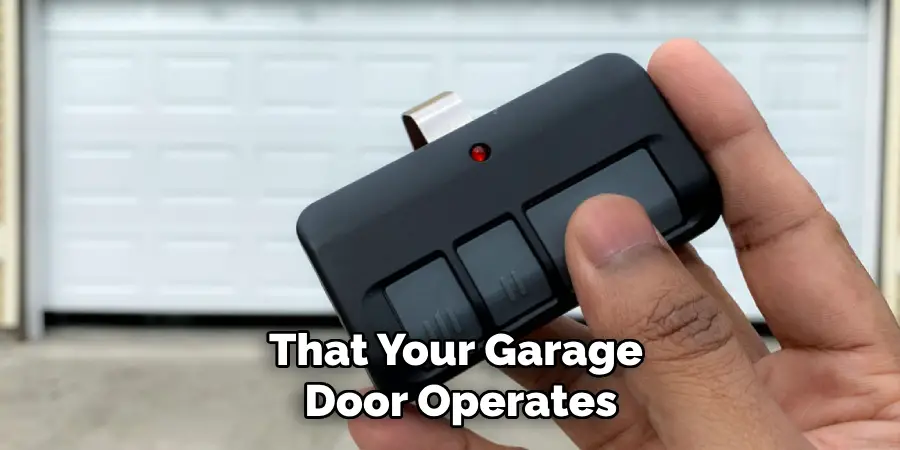
8. Set Up the Control Panel or Remote
Most wall-mounted garage door openers come with a control panel or remote that allows you to operate the door from inside your garage. Install the control panel on the wall near the entrance to the garage, within easy reach. Connect it to the opener according to the manufacturer’s instructions, typically by running a wire from the control panel to the opener. If your opener uses a
wireless remote, follow the instructions to pair it with the opener. Setting up the control panel or remote ensures convenient and reliable operation of your garage door.
9. Test the Opener and Adjust Settings
Once all components are installed, it’s crucial to test the garage door opener to ensure it operates correctly. Use the control panel or remote to open and close the garage door, checking for smooth operation without any unusual noises or jerky movements. If necessary, adjust the opener’s settings, such as the force and travel limits, according to the manufacturer’s instructions.
Testing and adjusting the opener is essential to ensure that it functions properly and safely, providing reliable performance every time you use it.
10. Perform Regular Maintenance and Troubleshooting
After the installation is complete, it’s important to perform regular maintenance to keep your wall-mounted garage door opener in good working condition. Periodically check the mounting bracket, torsion bar connection, and safety sensors to ensure everything remains secure and properly aligned. Lubricate moving parts as recommended by the manufacturer, and replace the
remote batteries as needed. If you encounter any issues, refer to the troubleshooting section of the manual or contact customer support. Regular maintenance and prompt troubleshooting help extend the life of your garage door opener, ensuring it remains a reliable and convenient part of your home.
Conclusion
Installing a wall-mounted garage door opener adds convenience and efficiency to your daily routine while enhancing the security of your garage. By carefully following the outlined steps, from selecting the optimal location to performing regular maintenance, you can ensure a successful installation that operates smoothly for years to come. Remember that safety is paramount, so
consistently check and maintain all components to prevent issues and prolong the life of your opener. With proper care and attention, your garage door opener will provide reliable access, granting you peace of mind and improved functionality in your home. Thanks for reading, and we hope this has given you some inspiration on how to install a wall mounted garage door opener!
I am Rick. I grew up helping my dad with his handyman service. I learned a lot from him about how to fix things, and also about how to work hard and take care of business. These days, I’m still into fixing things- only now, I’m doing it for a living.
I’m always looking for new ways to help people grow and develop. That’s why I have created this blog to share all my experience and knowledge so
that I can help people who are interested in DIY repair.