A well-installed garage roof plays a crucial role in protecting your garage and its contents from the elements, including rain, snow, and harsh sunlight. Ensuring your garage roof is durable and properly installed not only safeguards vehicles, tools, and storage but also enhances the overall value and appearance of your property.

Common reasons for installing a new roof include replacing damaged or aging roofing, upgrading to more durable or energy-efficient materials, or constructing a new garage altogether.
This guide is designed to help homeowners understand how to install a garage roof step-by-step, offering clear and practical instructions for traditional pitched roofs with shingles. Keep in mind that flat or metal roofs may require unique materials and techniques, so they are not covered in this guide. By following these guidelines, you can achieve a safe and professional-quality roof installation, ensuring your garage remains secure and reliable for years to come.
Planning and Preparation
Obtain Necessary Permits
Before starting your garage roof installation, it’s crucial to check with your local building authorities regarding roofing regulations and permits. Building codes vary from region to region, and obtaining the necessary permits ensures that your project aligns with local requirements. Non-compliance can lead to fines or even the need to redo the work, so address this step early in the process.
Safety First
Roof installation involves working at heights, so prioritizing safety is essential. Use appropriate safety gear, including a helmet, gloves, a safety harness, and non-slip shoes. Additionally, ensure you have a sturdy ladder and a stable working platform to prevent accidents. Always check weather conditions, as working on a roof during strong winds or rain can be hazardous.
Choose the Right Roofing Materials
Selecting appropriate roofing materials is a key aspect of preparation. Asphalt shingles are a popular choice due to their affordability and durability. However, you may also consider metal panels, corrugated roofing, or other materials that suit your needs and preferences. Review factors like cost, longevity, and aesthetic appeal when selecting.
Tools Needed
Gather all the tools required for the job. These include a hammer, roofing nails, roofing felt, chalk line, utility knife, ladder, measuring tape, and the roofing shingles or panels of your choice. Having the right tools readily available will streamline installation and prevent unnecessary delays.
Removing the Old Roof (if applicable)
Tear-Off Process
Use a roofing shovel or pry bar to remove the old shingles from the roof carefully. Start at the top and work your way down to strip away the material efficiently. Be sure to remove all nails, as any remnants can interfere with the new roofing installation. Collect and dispose of the discarded materials in a designated area or dumpster to maintain a clean workspace.
Inspect and Repair Roof Decking
Once the old roofing material is removed, thoroughly inspect the roof decking for signs of damage. Look for rotting or weakened wood sheathing that could compromise the structural integrity of the new roof. Replace any damaged or deteriorating sections with new material to ensure a solid foundation for the coming layers. This step is crucial for the durability and longevity of your roof.

Clean the Surface
After verifying the condition of the roof decking, sweep off any remaining dust, debris, or loose particles from the surface. A clean, smooth surface will help the underlayment adhere properly, ensuring a secure and reliable base for the new roofing materials. Taking the time to prepare the roof deck thoroughly sets the stage for a successful installation process.
How to Install a Garage Roof: Installing the Underlayment
Install Drip Edge
Begin by attaching a metal drip edge along the eaves of the roof. This crucial component helps to redirect water off the roof and away from the fascia, preventing water damage to the structure. Use roofing nails to secure the drip edge, ensuring it is properly aligned for maximum effectiveness.
Lay Roofing Felt or Synthetic Underlayment
Once the drip edge is in place, start installing the underlayment, which provides an additional layer of protection beneath the roofing materials. Start at the bottom edge of the roof, working your way upward. Overlap each row by at least 4 inches to ensure full coverage and prevent water infiltration. Secure the underlayment using roofing nails or staples, making sure it lies flat and without wrinkles to avoid future complications.
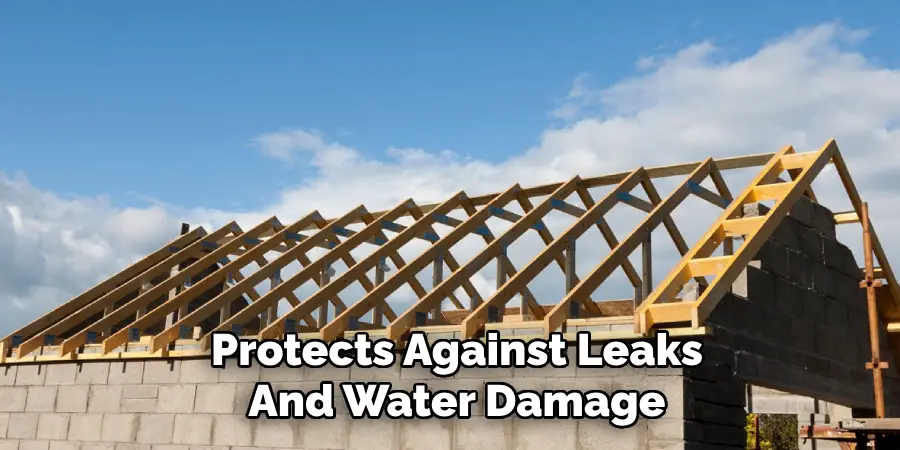
Apply Ice and Water Shield (if required)
Certain regions or roofing codes may necessitate the use of ice and water shields, especially in areas prone to ice dams or heavy rainfall. Apply this self-adhesive, waterproof material along the eaves, valleys, or any vulnerable areas where water may accumulate. Carefully smooth it out as you apply it, creating a watertight barrier that protects against leaks and water damage.
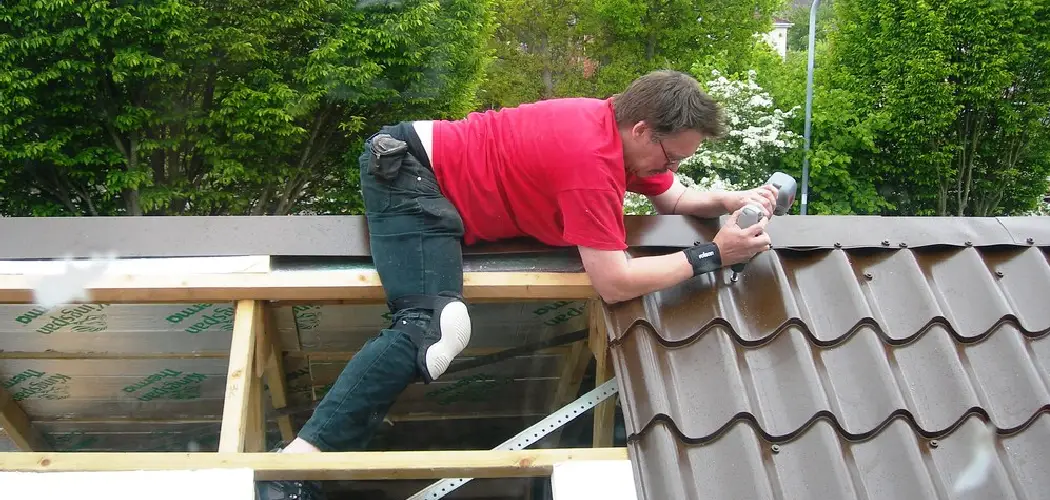
Laying the Shingles or Roofing Panels
Start with a Starter Strip
Begin by applying a starter shingle layer along the bottom edge of the roof. This crucial step helps prevent water infiltration by creating a solid base for the remaining shingles. Ensure the starter strip is aligned properly and extends slightly beyond the roof’s edges to guide water into the gutters.
Lay First Row of Shingles
With the starter strip in place, align your first row of shingles along its edge. Secure each shingle by nailing it as recommended by the manufacturer, ensuring nails penetrate securely into the decking. Use a chalk line as a guide to maintain straight, uniform rows, giving your roof a professional and clean appearance.
Continue Installing Upward
Progress upward by overlapping each subsequent row of shingles according to the manufacturer’s instructions. This overlap is essential for creating a water-tight barrier. Stagger the seams of the shingles to avoid weak points and ensure better protection against leaks. Work methodically, double-checking alignment regularly to avoid mistakes and ensure consistency.
Install Ridge Cap Shingles
Once all shingle rows are installed, complete the roof by adding ridge cap shingles. These specialized shingles cover the peak of the roof, sealing the top seam and providing additional weather resistance. Make sure the ridge cap shingles are properly aligned and fastened to guarantee durability against extreme weather conditions.
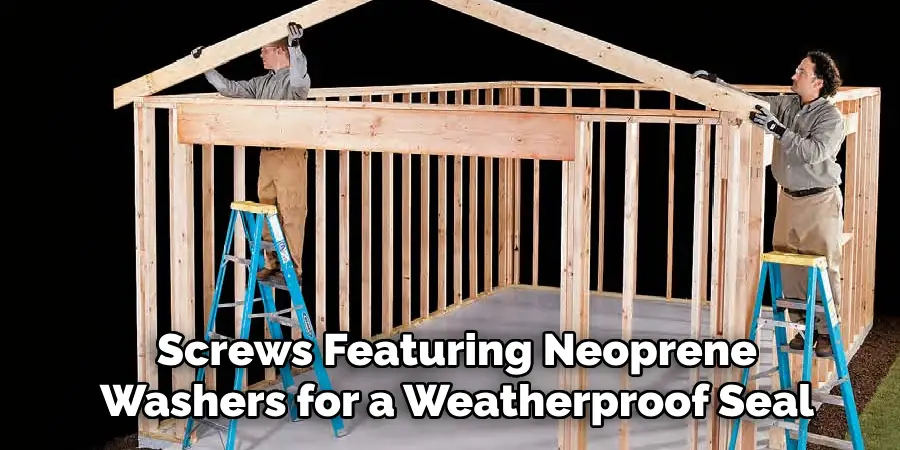
For Metal Roofs
If you’re working with a metal roof, the process involves overlapping the metal panels and securing them in place with screws featuring neoprene washers for a weatherproof seal. Pay close attention to sealing all seams and edges to prevent water intrusion and ensure long-term protection.
Flashing and Ventilation
Install Roof Flashing
Place flashing around chimneys, skylights, and any roof penetrations to prevent leaks and ensure a watertight barrier. Flashing can be made from aluminum, galvanized steel, or copper, offering both durability and flexibility. Secure the flashing in place using roofing nails, ensuring it is firmly attached to resist wind and other weather conditions. Apply roofing cement to seal the edges of the flashing, creating an additional layer of protection against water intrusion. Regularly inspect these areas to ensure the flashing remains intact and effective over time.
Ensure Proper Ventilation
Proper ventilation is crucial to maintaining the structural integrity of your roof and preventing issues such as moisture buildup. Install ridge vents along the roof’s peak or gable vents at the ends of the structure to promote airflow. Ventilation allows hot, moist air to escape from the attic or garage space, reducing the risk of mold, mildew, and rot in the roofing materials. Additionally, a well-ventilated roof can help control temperatures inside the garage, increasing overall energy efficiency. Make sure to follow manufacturer recommendations for vent placement and sizing to ensure optimal performance and extend the lifespan of your roofing system.
Final Inspection and Cleanup
Inspect All Seams and Edges
Carefully inspect all seams and edges of the roof to ensure proper installation and durability. Look for any exposed nails, loose shingles, or gaps in the flashing that could lead to water infiltration. Address any irregularities promptly to prevent potential damage and maintain the roof’s integrity.
Check for Proper Drainage
Verify that water flows smoothly from the roof surface into the gutters and away from the structure. Ensure that the gutters are free from obstructions and are correctly sloped to facilitate proper drainage. Poor drainage can lead to water pooling, which may cause leaks or additional strain on the roof over time.
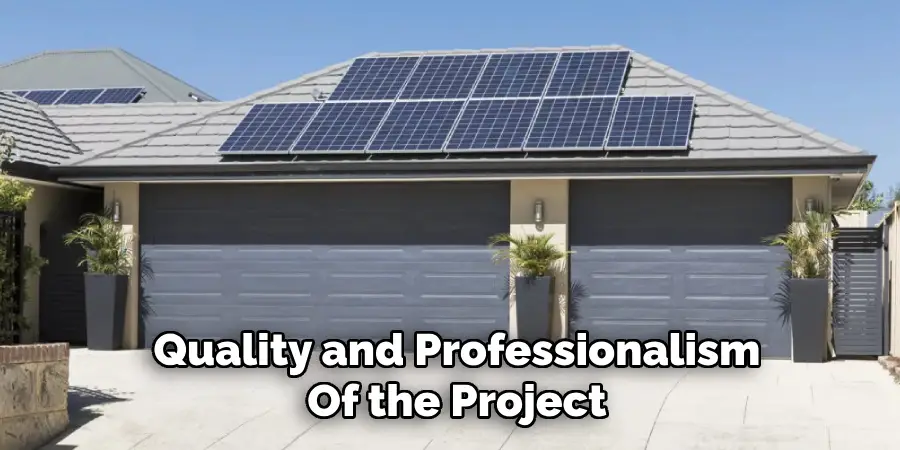
Clean the Site
After the installation and inspection are complete, thoroughly clean the site to leave the area in pristine condition. Remove all leftover materials, packaging, and debris from the roof and surrounding property. Use a magnet roller or similar tool to locate and collect any stray nails on the ground, reducing safety hazards. A tidy site not only ensures safety but also reflects the quality and professionalism of the project.
Conclusion
Learning how to install a garage roof involves careful planning and execution of key steps, including proper preparation, installing the underlayment, laying shingles, adding flashing, and conducting a final inspection.
Throughout the process, prioritize safety measures and ensure compliance with local building codes to avoid complications. If you feel uncertain at any stage, hiring a professional roofer is a wise choice to guarantee the safety and structural integrity of your project. A properly installed garage roof not only enhances your property’s value but can also last for decades, serving as a reliable and durable addition to your home.
I am Rick. I grew up helping my dad with his handyman service. I learned a lot from him about how to fix things, and also about how to work hard and take care of business. These days, I’m still into fixing things- only now, I’m doing it for a living.
I’m always looking for new ways to help people grow and develop. That’s why I have created this blog to share all my experience and knowledge so
that I can help people who are interested in DIY repair.