A garage door seal is an essential component that helps protect your garage from external elements such as rain, dust, and pests. Over time, seals can wear out, leaving gaps that compromise the insulation and cleanliness of your garage. Installing a new garage door seal is a straightforward process that can improve energy efficiency and maintain the overall condition of your space. This guide will walk you through the steps of how to install a garage door seal.

What is a Garage Door Seal and Why It Matters?
A garage door seal is a strip of durable material, typically made from rubber, vinyl, or other weatherproof substances, that lines the edges of your garage door. Its primary purpose is to create a barrier between your garage and the outside environment, effectively sealing any gaps that may exist when the door is closed.
This barrier prevents rain, snow, dirt, and debris from entering your garage, while also deterring pests such as insects and rodents. Additionally, a well-installed garage door seal aids in maintaining a consistent indoor temperature by minimizing drafts, which can help reduce energy costs. Without a proper seal, your garage is more susceptible to moisture damage, loss of insulation, and pest infestations, making the garage door seal a crucial component in protecting and preserving your space.
Types of Garage Door Seals
There are several types of garage door seals designed to suit different needs and setups. The most common types include:
- Bottom Seals
These are installed at the bottom edge of the garage door to create a tight seal with the ground. Bottom seals are often made of rubber or vinyl and can help block drafts, water, and pests from entering.
- Threshold Seals
Threshold seals are attached to the garage floor rather than the door itself. They create a raised barrier, providing extra protection against heavy rain or debris. These seals work well in combination with bottom seals for maximum effectiveness.
- Weatherstripping
Weatherstripping is applied along the edges and sides of the garage door to fill gaps between the door and the frame. It prevents air leaks, improving insulation and temperature control.
- Brush Seals
Brush seals feature bristles attached to an aluminum strip and are typically used at the bottom or edges of the door. The bristles are effective in keeping out small debris, insects, and drafts while also allowing the door to move freely.
- Vinyl Door Stops
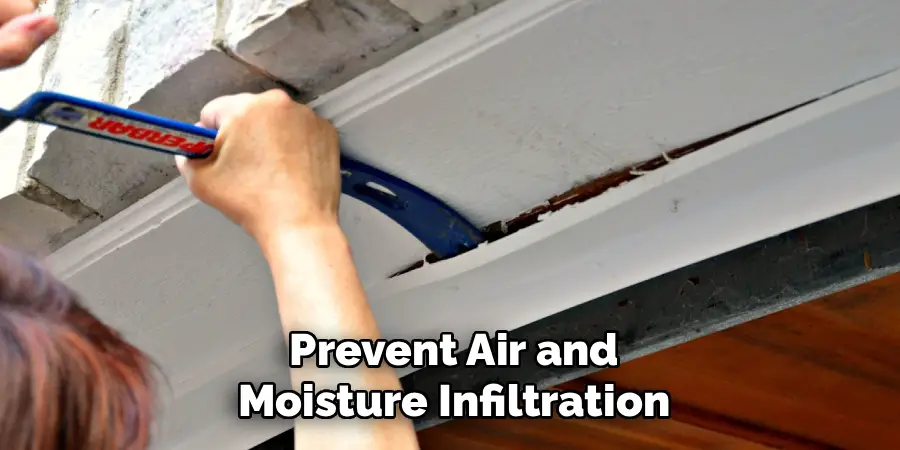
These are installed along the sides and the top of the garage door. Vinyl door stops have a flexible edge that presses against the door when closed, creating a tight seal to prevent air and moisture infiltration.
Choosing the right type of garage door seal depends on your specific needs, such as your garage’s location, the climate, and the level of protection required. Combining multiple types of seals can provide enhanced protection and efficiency.
10 Methods How to Install a Garage Door Seal
1. Identify the Type of Seal Required for Your Garage Door
The initial and most important step in installing a garage door seal is determining the correct type for your specific door and needs. Garage door seals come in several varieties, including bottom seals, threshold seals, weatherstripping for the sides and top, and brush seals. A bottom seal is ideal for blocking debris and small pests, while threshold seals create a raised barrier to prevent water from seeping inside. Carefully inspect your garage door’s construction—whether it’s a roll-up, sectional, or one-piece tilt-up—and consider environmental factors such as rainfall, snow, or wind exposure. Matching the appropriate seal to the door ensures a more effective and durable installation.
2. Gather the Necessary Tools and Materials
Before beginning the installation process, gather all the tools and materials required for the job. Most garage door seal projects will need a utility knife, a flathead screwdriver, a tape measure, a drill, appropriate screws or nails, a caulking gun if adhesives are required, and safety gloves. If you’re replacing an old seal, you may also need a putty knife or pry bar to remove the existing material. Acquiring everything in advance helps the installation go smoothly and minimizes interruptions.
3. Remove the Old Seal or Weatherstripping
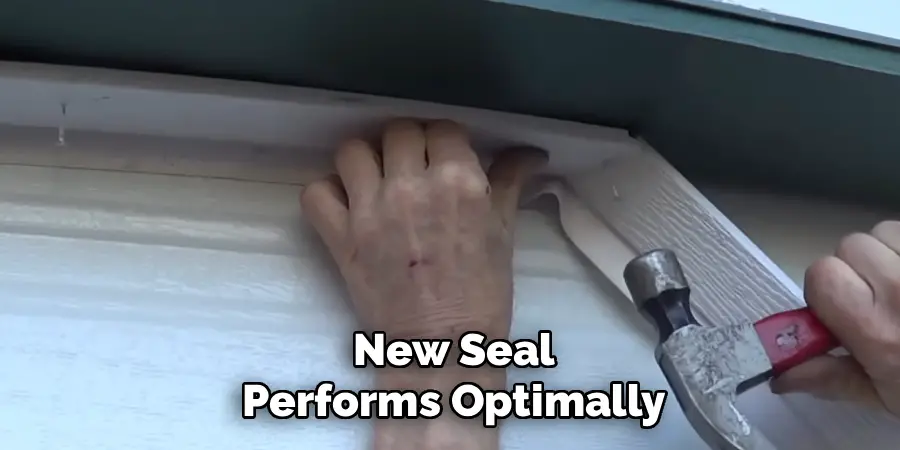
If there is an existing garage door seal, it must be removed before installing a new one. Using a flathead screwdriver, utility knife, or putty knife, pry the old seal off carefully, taking care not to damage the garage door frame or bottom retainer. Remove all remnants, including staples, screws, or adhesive residue. Cleaning the surface thoroughly afterward with a damp cloth or mild detergent allows the new seal to adhere better or fit snugly. Proper removal of the old material ensures the new seal performs optimally without interference or gaps.
4. Clean and Inspect the Mounting Surface
With the old seal removed, inspect the surface where the new seal will be mounted. Look for rust, cracks, splinters, or any unevenness that may affect the installation. Clean the entire edge of the garage door with a dry cloth or brush to remove dirt and debris. For aluminum or metal doors, use a rust remover if necessary. For wooden surfaces, ensure the wood is free of rot and consider sanding down any rough patches. A clean, smooth, and level surface is crucial for an airtight seal and secure attachment.
5. Measure the Length of the Garage Door Accurately
Use a measuring tape to determine the exact length of the garage door where the seal will be installed. Accurate measurements are essential, especially for bottom and threshold seals that need to match the door’s width perfectly to function correctly. It’s a good idea to double-check your measurements to avoid errors. If your door is sectional, measure each panel if you’re sealing multiple joints. Write down the measurements clearly and take them with you if you are purchasing the seal from a hardware store.
6. Cut the Seal to the Appropriate Length
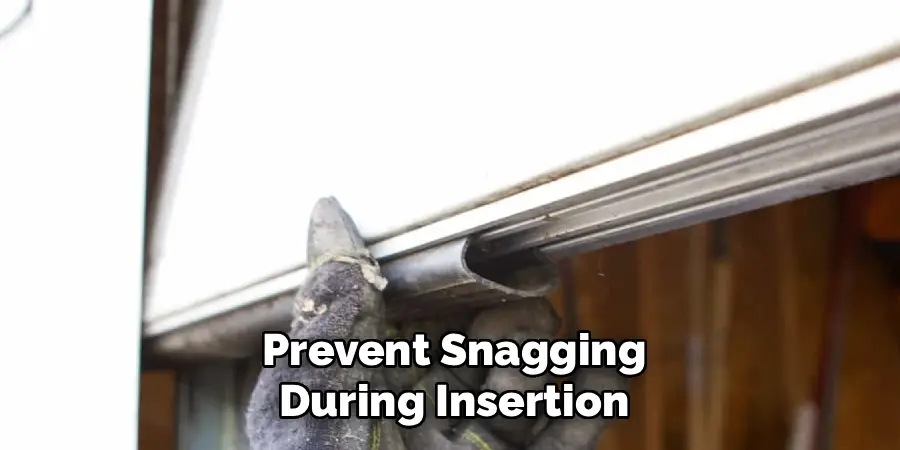
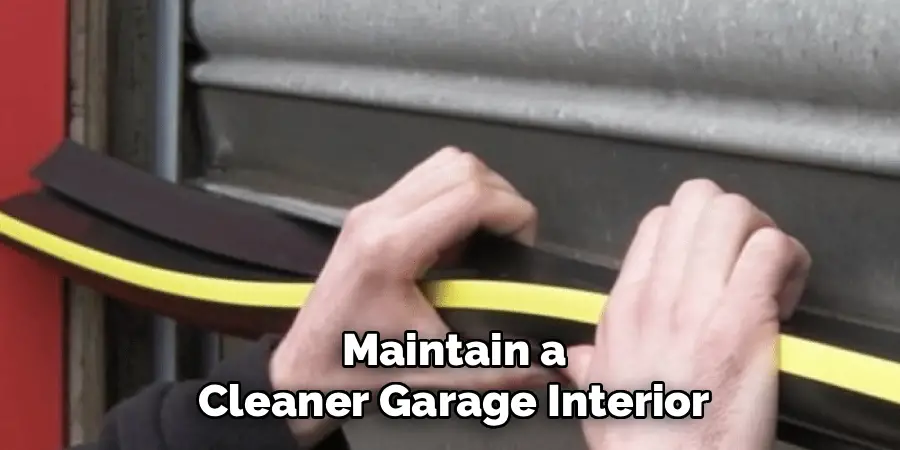
Once you’ve acquired the new seal, lay it flat and use your tape measure to mark the appropriate length based on your earlier measurements. Use a sharp utility knife or heavy-duty scissors to make a clean, straight cut. Some rubber or vinyl seals can be stiff, so take your time and wear gloves to protect your hands. Avoid jagged cuts or uneven ends, as these can compromise the fit and leave gaps. If you’re installing a seal that slides into a metal retainer channel, ensure the cut end has smooth edges to prevent snagging during insertion.
7. Install the Bottom Seal into the Retainer Channel or Screw Mount
Most garage doors come with a metal retainer channel that holds the bottom seal in place. Slide the new seal into the channel, feeding it through slowly and evenly. If the seal resists sliding, apply a small amount of soapy water to reduce friction. For doors without a channel, position the seal evenly along the bottom and use screws, nails, or an adhesive to secure it. Make sure the seal sits flush against the ground with no bulges or kinks. Press down firmly to ensure a strong attachment, and avoid over-tightening screws, which can deform the seal.
8. Apply a Threshold Seal for Extra Protection (Optional)
For garages prone to flooding or heavy rain, installing a threshold seal on the floor beneath the garage door provides extra protection. These seals are adhered directly to the concrete and form a barrier that prevents water from flowing underneath the door. Begin by marking the area where the threshold will be placed and clean the floor thoroughly. Apply the adhesive that comes with the seal in a straight line, press the threshold strip firmly into place, and allow it to cure as per the manufacturer’s instructions. This creates a dual-sealing effect when paired with a bottom seal.
9. Install Side and Top Weatherstripping for a Complete Seal
To fully weatherproof your garage door, don’t neglect the sides and top edges. Purchase weatherstripping made specifically for garage doors, typically constructed of foam or rubber and backed with a metal or plastic flange. Cut each piece to size, and align it so that it contacts the door surface when closed. Use nails or screws to affix the stripping, ensuring a tight, continuous seal around the perimeter. Overlapping the edges slightly ensures there are no open gaps, which helps keep out drafts, insects, and dust.
10. Test the Seal for Effectiveness and Make Adjustments
Once the seal is installed, test it by closing the garage door and observing the contact it makes with the ground and frame. There should be no visible gaps along the bottom, sides, or top of the door. Use a flashlight or run your hand around the edges from inside the garage to check for drafts or light penetration. If gaps are detected, adjust the position of the seal or re-tighten screws as needed. Over time, seals may compress, so periodic inspections ensure long-term effectiveness. A properly installed seal will enhance insulation, block moisture, and maintain a cleaner garage interior.
Conclusion
Ensuring your garage door is properly sealed is a simple yet effective way to improve energy efficiency, protect your belongings, and maintain a comfortable environment. Regular inspections and minor adjustments can extend the life of the seal and prevent unnecessary wear and tear. Now that you know how to install a garage door seal, try it yourself today and feel good about completing such a big DIY job!
I am Rick. I grew up helping my dad with his handyman service. I learned a lot from him about how to fix things, and also about how to work hard and take care of business. These days, I’m still into fixing things- only now, I’m doing it for a living.
I’m always looking for new ways to help people grow and develop. That’s why I have created this blog to share all my experience and knowledge so
that I can help people who are interested in DIY repair.