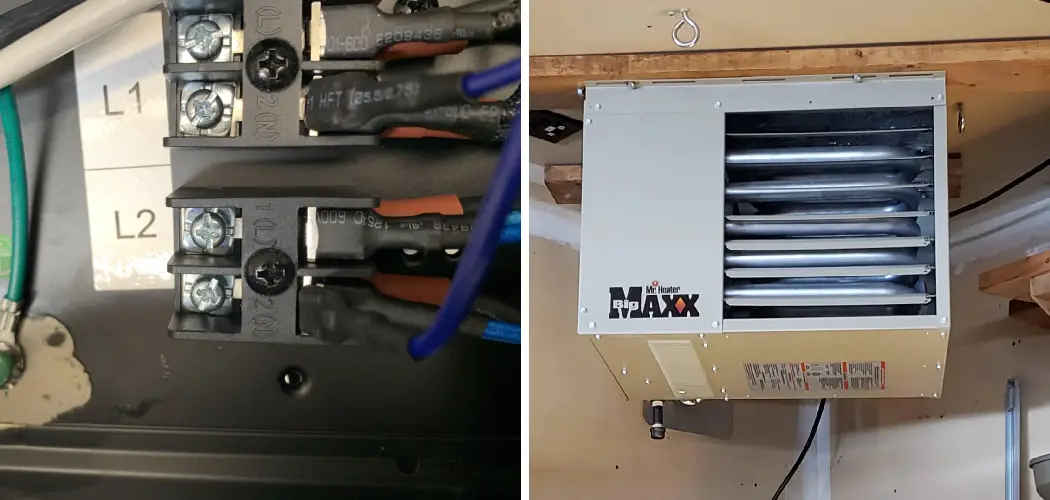
When winter sets in and temperatures drop, ensuring a warm and comfortable garage becomes an essential task for homeowners.
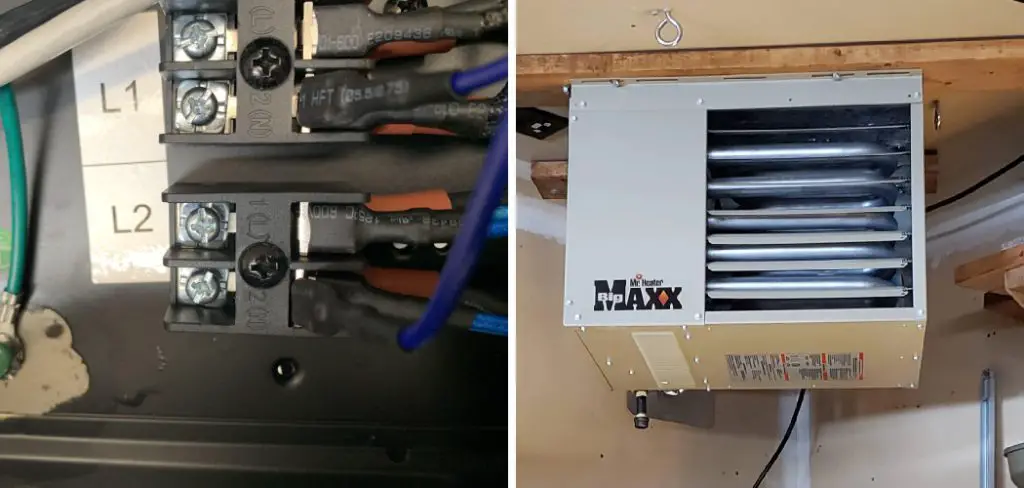
Hardwiring a garage heater is an effective way to achieve consistent heat, providing a space that’s not only usable year-round but also safe for activities such as vehicle maintenance or home projects. This guide will walk you through the necessary steps of how to hardwire a garage heater, ensuring compliance with safety standards and efficiency in operation. Whether you’re a seasoned DIY enthusiast or a first-time installer, following these instructions will help you create a warm haven in your garage during the chilly months ahead.
Understanding the Basics of Hardwiring
Hardwiring a garage heater involves direct electrical connection to your home’s electrical system, eliminating the need for a plug and outlet. This method typically provides better power delivery and reduces the risk of overheating associated with extension cords or plug-in heaters.
Before starting the installation process, it’s crucial to understand the basic components involved, including the heater itself, circuit breakers, wiring standards, and safety protocols. Familiarising yourself with electrical terminology and local building codes will also ensure that your installation is not only effective but conforms to regulations. Proper planning and consideration of your garage’s electrical load are vital in preventing potential hazards and ensuring optimal performance of your heater.
10 Methods How to Hardwire a Garage Heater
1. Evaluate Your Electrical System and Heater Requirements
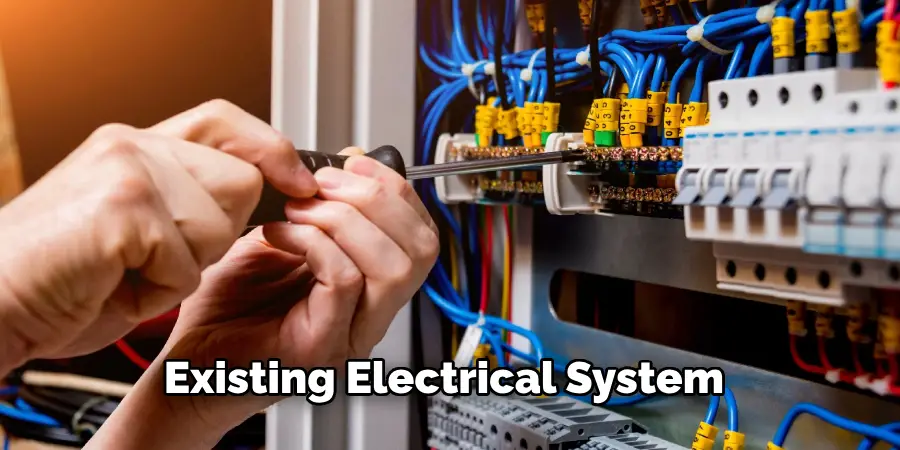
Before beginning the installation process, assess your existing electrical system and determine the specific requirements of your garage heater. Review the heater’s installation manual to understand its electrical needs, including voltage, amperage, and the type of circuit required.
Check your home’s electrical panel to ensure that it can handle the additional load. You might need to install a dedicated circuit breaker if your panel lacks the capacity. This initial evaluation helps ensure compatibility and prevents potential electrical issues.
2. Turn Off Power and Gather Necessary Tools
Safety is paramount when working with electrical systems. Begin by turning off the power to the garage at the main electrical panel. Verify that the power is off using a voltage tester to avoid any accidents.
Gather all necessary tools and materials, including wire strippers, a screwdriver, a drill, electrical tape, wire connectors, and a circuit breaker suitable for the heater’s requirements. Having these tools on hand will streamline the installation process and ensure that you can complete the job efficiently.
3. Install a Dedicated Circuit Breaker
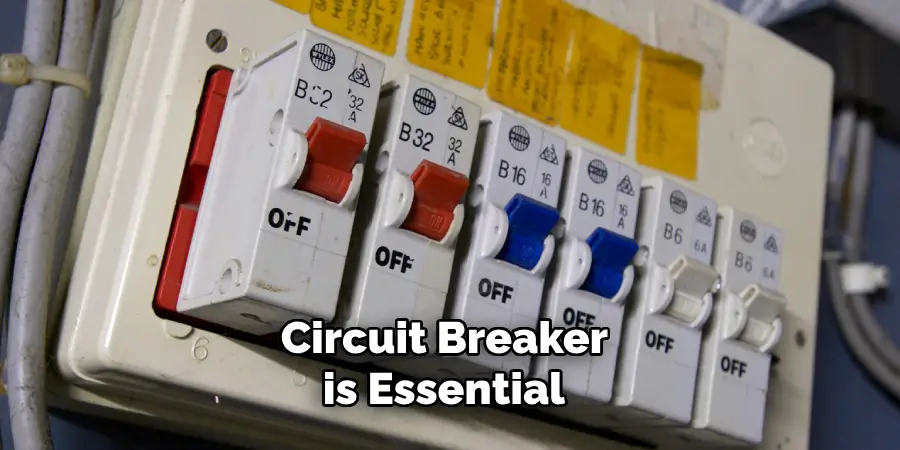
A dedicated circuit breaker is essential for hardwiring a garage heater, particularly if the heater requires more power than your standard circuits can provide. Start by installing a new circuit breaker in your electrical panel. Choose a breaker that matches the heater’s amperage requirements and the gauge of the wire you plan to use.
Turn off the main power to the panel before adding the breaker, then follow the manufacturer’s instructions to secure it into place. This step ensures that your heater has a dedicated and safe power source.
4. Run Electrical Wiring from the Panel to the Garage
Next, you need to run electrical wiring from the panel to the garage where the heater will be installed. Choose a wire gauge that matches the heater’s requirements and local electrical codes.
For most heaters, 10-gauge wire is commonly used for a 30-amp circuit, but always verify with your heater’s specifications. Drill holes through the walls or ceilings as necessary to route the wires, and use electrical conduit or cable protectors to safeguard the wiring along its path. Ensure that the wiring is securely fastened and protected to prevent damage.
5. Install an Electrical Junction Box
An electrical junction box provides a safe and accessible location for connecting the heater’s wiring to the circuit. Install the junction box in a convenient location near the heater, ensuring that it is easily accessible for future maintenance.
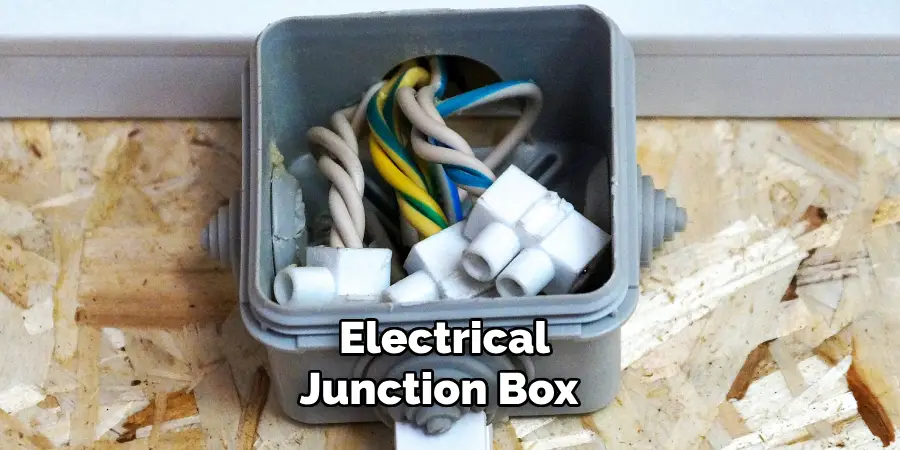
Mount the box securely to the wall or ceiling and ensure that it is level. Use a box that is appropriately sized for the amount of wiring and connections it will house. This step ensures that all electrical connections are safely contained and protected.
6. Connect the Heater to the Wiring
With the junction box in place, you can now connect the heater to the electrical wiring. Strip the ends of the wires to expose the conductors and connect them to the heater’s terminals according to the manufacturer’s wiring diagram.
Typically, you will connect the hot wires (usually black or red) to the heater’s hot terminals, the neutral wire (usually white) to the neutral terminal, and the ground wire (usually green or bare) to the ground terminal. Use wire connectors and electrical tape to secure the connections and ensure that there are no exposed wires.
7. Install a Heater Switch or Thermostat
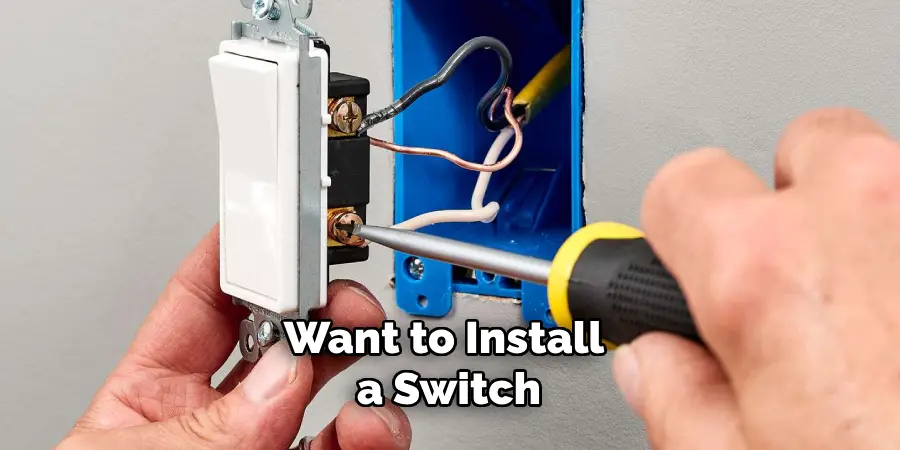
For convenience and control, you may want to install a switch or thermostat to manage the heater’s operation. Choose a location that is easily accessible and away from any sources of heat or moisture.
Install the switch or thermostat according to the manufacturer’s instructions, connecting it to the wiring that leads to the heater. If installing a thermostat, ensure it is compatible with your heater and correctly wired to control the heater’s temperature settings. This addition provides an easy way to regulate the heater and enhance its functionality.
8. Secure and Insulate Wiring
Properly securing and insulating wiring is crucial for safety and performance. Use cable clamps or staples to secure the wiring to walls, studs, or ceilings, ensuring that it is protected from damage.
Insulate any exposed wires or connections with electrical tape or heat shrink tubing. Make sure that all wiring is neatly organized and free from any kinks or sharp bends. Proper insulation helps prevent electrical hazards and ensures that the heater operates efficiently.
9. Test the Heater and Electrical System
Before using the heater, it’s important to test the entire electrical system to ensure that everything is functioning correctly. Turn on the main power to the panel and switch on the new circuit breaker.
Check the junction box and wiring connections for any signs of issues, such as sparks or overheating. Test the heater by following the manufacturer’s instructions and verify that it heats up properly and responds to the thermostat or switch. This testing ensures that the installation is complete and that the heater is safe to use.
10. Complete Final Inspections and Clean Up
After confirming that the heater is working correctly, complete any final inspections and clean up the work area. Inspect the installation for any signs of loose wires or other issues that may need addressing. Ensure that all covers, plates, and junction boxes are securely installed and that there are no exposed wires.
Clean up any debris or tools left from the installation process and ensure that the garage is in its original condition. Completing these final steps ensures that your hardwired garage heater is installed safely and ready for use.
Things to Consider When Installing a Hardwired Garage Heater
When installing a hardwired garage heater, there are several important factors to consider to ensure a safe and efficient setup. First, evaluate the size of your garage and the heater’s heating capacity to choose a model that meets your needs. Additionally, check local building codes and regulations, as they may dictate specific requirements for electrical installations, including wire gauge and circuit breaker ratings.
It’s also vital to plan the heater’s location carefully, ensuring that it is positioned away from combustible materials and has adequate clearance for airflow. Consider any potential barriers or insulation that might impact the heater’s efficiency and the overall comfort of the space.
Lastly, factor in future maintenance by providing access to the electric junction box, switch, or thermostat, making it easier to inspect or repair the system as needed.
Common Mistakes to Avoid
When installing a hardwired garage heater, being aware of common mistakes can help ensure a successful project. One frequent error is underestimating the required power capacity for the heater. Always ensure the electrical circuit can handle the heater’s load; failing to do so may lead to tripped breakers or even fire hazards. Additionally, neglecting to follow local building codes or regulations can result in unsafe installations and costly fines.
Another mistake is improper placement of the heater; positioning it too close to flammable materials can pose serious risks, while inadequate clearance can impede airflow and reduce heating efficiency. Lastly, overlooking the importance of using the correct wire gauge can lead to overheating and reduced performance. Always double-check connections and make sure to test the system thoroughly before use to avoid issues later on.
Conclusion
In conclusion, installing a hardwired garage heater can significantly enhance the comfort and usability of your space, especially during colder months. By following the outlined steps and taking necessary precautions, you can ensure a safe and effective installation.
Always prioritise safety by adhering to local building codes, using the appropriate materials, and performing thorough testing. Thanks for reading, and we hope this has given you some inspiration on how to hardwire a garage heater!
I am Rick. I grew up helping my dad with his handyman service. I learned a lot from him about how to fix things, and also about how to work hard and take care of business. These days, I’m still into fixing things- only now, I’m doing it for a living.
I’m always looking for new ways to help people grow and develop. That’s why I have created this blog to share all my experience and knowledge so
that I can help people who are interested in DIY repair.

