
Organizing your garage can be an overwhelming task, but installing a pegboard is an excellent solution to keep your tools and supplies neat, accessible, and off the floor. Pegboards provide a versatile and customizable storage system that can adapt to your needs, whether you want to hang tools, gardening equipment, or other essentials.
This guide on how to hang pegboard in garage will walk you through the steps to properly hang a pegboard in your garage, helping you create a functional and tidy workspace.
Why Use Pegboards in Your Garage?
Pegboards have been a popular storage solution for garages for decades, and for good reason. Here are some of the benefits of using pegboards in your garage:
Efficient Use of Space:
One of the biggest advantages of pegboards is their ability to maximize vertical space. By hanging tools and supplies on a pegboard, you can free up valuable floor space and make your garage feel more spacious. This is especially useful for smaller garages or those with limited storage options.
Versatility:
Pegboards come in a variety of sizes and can be easily customized to fit your specific storage needs. You can add hooks, shelves, and other attachments to create a personalized storage system that works for you. Pegboards also allow for easy rearranging and reorganizing as your needs change over time.
Visibility and Accessibility:
With pegboards, all of your tools and supplies are conveniently displayed and easily accessible. This eliminates the need to rummage through drawers or search through cluttered shelves, saving you time and frustration. Additionally, the open design of pegboards allows for better visibility of your tools, making it easier to find exactly what you need at a glance.
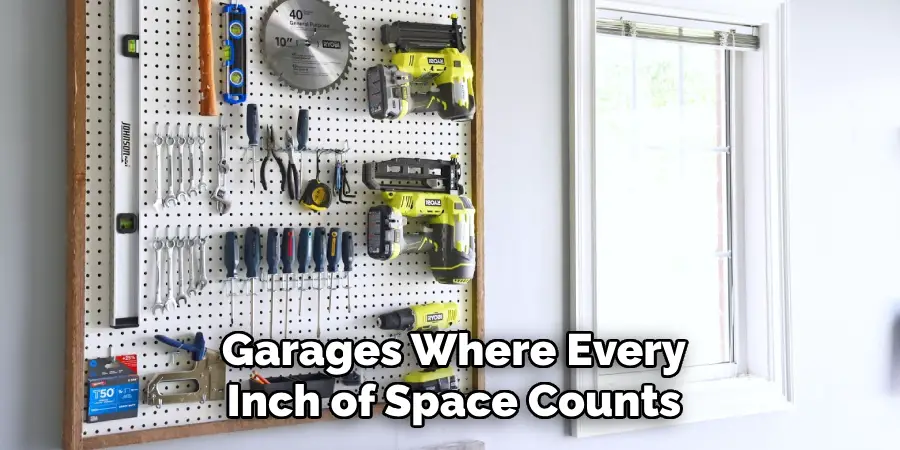
Space-Saving:
Pegboards are a great solution for maximizing storage space in small or tight areas. By utilizing vertical wall space, pegboards allow you to store more items without taking up valuable floor space. This can be especially beneficial in smaller workspaces or garages where every inch of space counts.
Customization and Personalization:
One of the biggest advantages of using pegboards is their versatility and customization options. With various sizes and shapes of hooks, bins, and shelves available, you can create a personalized system that fits your specific needs. You can also paint the pegboard to match your style or color scheme, making it not only functional but also aesthetically pleasing.
Needed Materials:
To install a pegboard, you will need the following materials:
Pegboard:
This is the main component of the system and comes in various sizes. Choose one that fits your space and needs. You can get a pegboard at any home improvement store or online.
Hooks and Accessories:
These are the small metal hooks that attach to the holes on the pegboard. They come in different shapes and sizes, such as single hooks, double hooks, and J-hooks. You can also find other accessories like bins, shelves, and tool holders that hang on the pegboard to hold specific items.
Mounting Hardware:
To secure the pegboard to the wall, you will need mounting hardware such as screws, anchors, and washers. The type of hardware you use will depend on your wall material (drywall, brick, etc.) and the weight of your pegboard with all your tools and accessories. It is important to use the appropriate hardware to ensure that your pegboard is securely mounted and can support the weight of your tools.
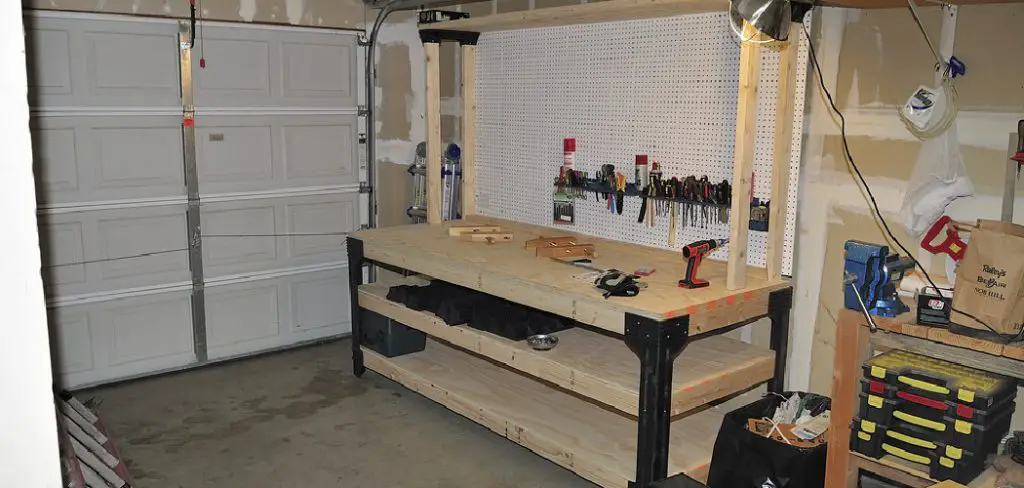
Organizing Your Tools:
Once you have your pegboard mounted, it’s time to start organizing your tools. You can arrange them by size or type, depending on what works best for you. Some people also like to color-code their tools or create designated sections for specific activities (e.g., a section for woodworking tools and another for gardening tools).
8 Step-by-step Guidelines on How to Hang Pegboard in Garage
Step 1: Measure and Mark Your Pegboard
Start by measuring the area of your garage wall where you plan to hang the pegboard. Use a tape measure to determine the height and width of the space to ensure the pegboard will fit properly. Once you have your measurements, use a pencil or marker to outline the exact placement of the pegboard on the wall.
Be sure to account for any obstacles, such as outlets or light switches, and adjust the positioning accordingly. Accurate measurements and markings will ensure a hassle-free installation process.
Step 2: Pre-drill Holes
With the pegboard placement marked on the wall, the next step is to pre-drill holes to secure it properly. Select a drill bit that matches the size of the screws you will use for installation. Carefully drill holes into the wall at even intervals along the outline of the pegboard, ensuring they align with the screw holes on the pegboard itself.
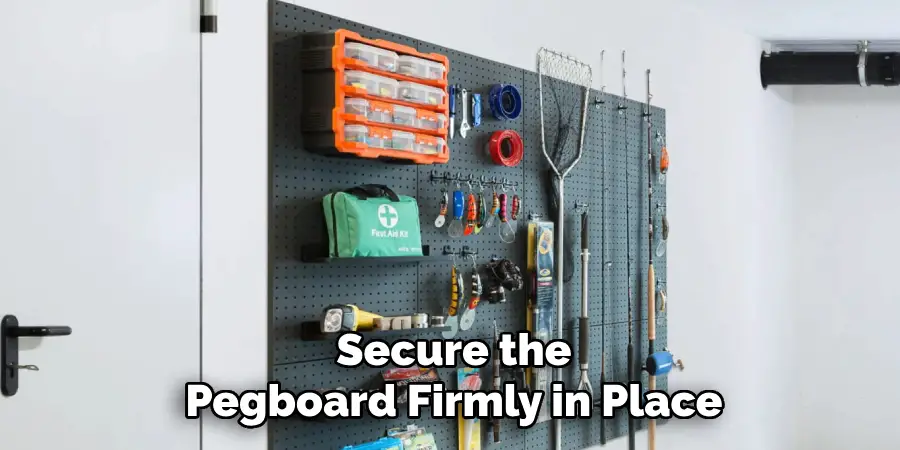
If your wall is made of drywall, consider using wall anchors for added stability. Pre-drilling holes will make the installation process smoother and help secure the pegboard firmly in place.
Step 3: Attach the Pegboard
Once all the holes are drilled, it’s time to attach the pegboard to the wall. Place the pegboard against the wall, lining up the pre-drilled holes with the screws or anchors in the wall.
Using a screwdriver or drill, carefully drive in each screw through the pegboard and into the wall until it is snug. If using anchors, follow manufacturer instructions for proper installation.
Step 4: Customize Your Pegboard
Now that your pegboard is securely attached to the wall, it’s time to customize it to fit your needs.
There are countless ways you can organize your tools and supplies on a pegboard. You could use hooks, bin holders, shelves, and even clips to hang or hold items.
Start by laying out your tools and supplies on the pegboard to get an idea of how you want to arrange them. You can also use a pencil to lightly mark where you want each item to be placed before attaching any hooks or holders.
Step 5: Choose Appropriate Hooks and Holders
When selecting hooks and holders for your pegboard, make sure to choose ones that are the right size and shape for your tools. For example, small S-hooks work well for hanging hand tools like pliers or screwdrivers, while larger J-hooks may be better suited for heavier items like hammers or power tools.
You can also mix and match different types of hooks to create a versatile pegboard setup. Some popular options include double-prong hooks, curved hooks, and straight hooks.
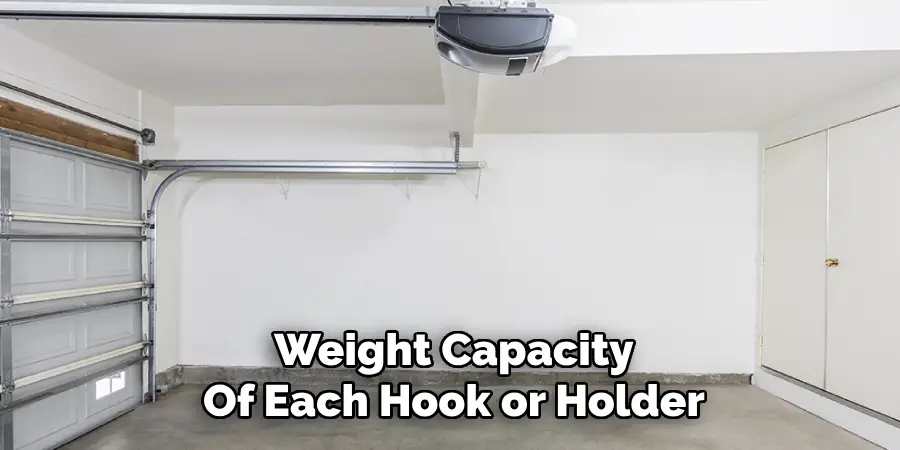
Another important consideration is the weight capacity of each hook or holder. Make sure to read the manufacturer’s guidelines to ensure you’re not overloading any one hook.
Step 6: Label and Organize
After you’ve chosen the right hooks for your pegboard, it’s time to label and organize your tools. This will not only make it easier for you to find what you need, but it will also help keep everything in its designated spot.
Using a label maker or even just some masking tape and a marker, create labels for each hook or holder. This can be as simple as writing the name of the tool or item on the label.
Step 7: Customize and Add Accessories
Now that you have your tools organized, why not add some personality to your pegboard? You can paint the board in a fun color or pattern or even add some decorative hooks or clips for holding smaller items.
You can also incorporate other accessories such as shelves, basket attachments, and even magnetic strips for holding metal tools. This will not only make your pegboard more visually appealing but also increase its functionality and storage capabilities.
Remember to regularly reassess your organization system and make adjustments as needed. As you acquire new tools or change the layout of your workshop, you may need to rearrange or add accessories to better suit your needs.
Step 8: Enjoy Your Nifty Workshop Setup
Now that you have a well-organized and efficient workshop setup, it’s time to enjoy the fruits of your labor. Having a clean and organized workspace will not only make you more productive but also increase your overall enjoyment and satisfaction while working on projects.
Take some time to admire your pegboard setup and appreciate how much easier it will make your woodworking or DIY projects. And don’t forget to regularly maintain and update your pegboard as needed to ensure its continued functionality.

Following these tips and guidelines on how to hang pegboard in garage, you can create a pegboard workshop that perfectly suits your needs and helps you stay organized and efficient. Whether you’re just starting out in the world of woodworking or have been tackling DIY projects for years, a well-organized workshop is essential for success.
Frequently Asked Questions
Q: How Do I Know What Size of Pegboard to Use?
A: The most common sizes for pegboards are 4×8 feet and 2×4 feet. Choose a size that fits the available space in your garage and make sure it provides enough room for all your tool storage needs.
Q: Can I Use a Pegboard in My Garage?
A: Yes, pegboards are great for organizing tools and can be easily installed in any garage. They are especially useful if you have limited space or want to keep your tools within reach while working on projects.
Q: How Do I Hang Heavy Tools on a Pegboard?
A: For heavier tools, use sturdy hooks or specialized hangers designed for pegboards. Make sure to distribute the weight evenly and check that the hooks or hangers are securely attached to the board.
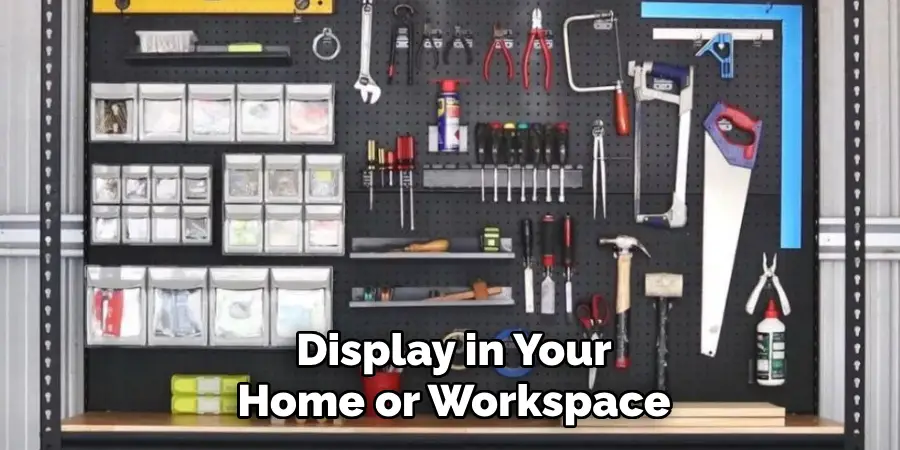
Q: What Are Some Other Uses for Pegboards?
A: While pegboards are commonly used for tool storage, they can also be used for organizing and storing a variety of items such as crafting supplies, kitchen utensils, and office supplies. They are also great for hanging decorations or creating an eye-catching display in your home or workspace.
Conclusion
Pegboards are an incredibly versatile and practical solution for organizing and optimizing your space. Whether you need to store tools, craft supplies, or kitchen essentials, they offer a customizable way to keep your items easily accessible and neatly displayed.
By using hooks, baskets, and shelves, you can adapt pegboards to suit your unique needs, creating a functional and aesthetically pleasing storage system. With a little creativity, pegboards can enhance both the organization and style of any room in your home or workspace. Thanks for reading this article on how to hang pegboard in garage.
I am Rick. I grew up helping my dad with his handyman service. I learned a lot from him about how to fix things, and also about how to work hard and take care of business. These days, I’m still into fixing things- only now, I’m doing it for a living.
I’m always looking for new ways to help people grow and develop. That’s why I have created this blog to share all my experience and knowledge so
that I can help people who are interested in DIY repair.