
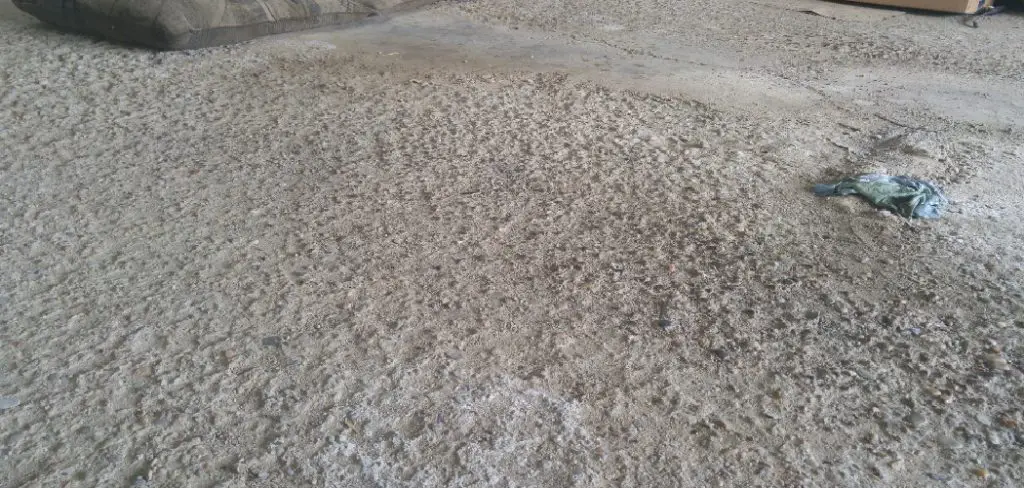
A pitted garage floor is a common problem in many homes, leaving behind surfaces that are rough, uneven, and difficult to maintain. Over time, exposure to salt, moisture, fluctuating temperatures, and repeated pressure can leave unsightly pits and craters across the concrete. This damage isn’t just cosmetic: It makes cleaning the garage much harder, increases the amount of dust in your space, and can cause the entire area to look aged and rundown.
Knowing how to fix pitted garage floor can transform it from a source of frustration into a smooth, resilient surface that’s easier to clean, more comfortable to walk or work on, and better able to stand up to the demands of daily life. This article guides you through the causes of pitting, how to assess the damage, the repair options available, and all the steps to restore your garage floor to its best possible condition.
Understanding the Causes of Garage Floor Pitting
The Impact of Road Salts and Deicers
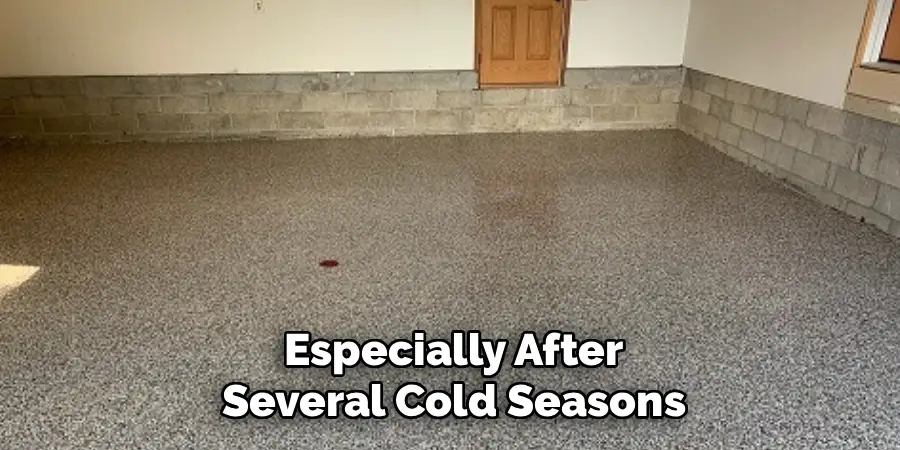
Each winter, vehicles bring more than just slush into the garage—road salts and chemical deicers tag along. Once parked, these substances can seep into the concrete, triggering chemical reactions that gradually break down the surface and create pits. The result is a weakened floor dotted with small holes and crumbling patches, especially after several cold seasons.
Water Damage and Freeze-Thaw Cycles
Water may seem harmless, but moisture infiltrates the tiny pores of your garage floor, and when temperatures dip, it freezes and expands. This repeated freeze-thaw action builds internal pressure within the slab, leading to surface spalling—a process that chips away at the concrete and leaves it pitted. Even climates without severe winters can see pitting if water routinely soaks into the floor and then evaporates.
Poor Concrete Installation
Not all garage floors are created equal. If the original installation featured a high water-to-cement ratio or corners were cut on finishing techniques, the surface becomes more prone to wear and tear. Weaker concrete, or a surface that wasn’t allowed to cure properly, is especially vulnerable to pitting as it ages.
Assessing the Extent of the Damage
Identifying Minor vs. Severe Pitting
Examining your garage floor carefully helps determine whether the damage is purely cosmetic or requires more substantial repair. Shallow pitting typically appears as small, surface-level holes or rough spots and often covers only select areas. Deeper pits or widespread cratering, on the other hand, suggest that the concrete itself may be breaking down and could indicate a structural problem rather than just surface wear.
Testing for Moisture Issues
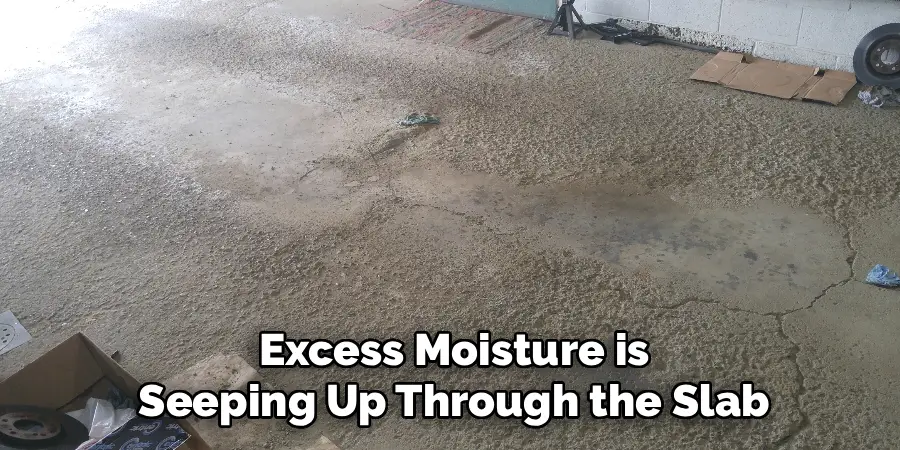
Moisture beneath your garage slab can interfere with repairs and lead to recurring problems. Before moving forward, perform a simple test by taping all four edges of a square piece of plastic (about 16 inches wide) to the floor and leaving it in place for 24 hours. If water droplets develop underneath the plastic, excess moisture is seeping up through the slab, and this issue should be addressed before repairs—potentially requiring the input of a professional.
When to Call a Professional
While minor pitting can often be handled as a DIY project, deeper, extensive deterioration or the presence of large cracks may signal more serious issues within the concrete. If your inspection shows wide or deep holes, structural instability, or persistent moisture, it’s wise to consult with a professional. They can recommend the safest, most effective solution for severe pitting or advise if a partial or full replacement of the slab is needed.
Choosing the Right Repair Material
Epoxy-Based Concrete Patch Compounds
For homeowners seeking a lasting, durable fix for concrete pitting, epoxy-based patch compounds are often the strongest option. These two-part solutions bond solidly to old concrete and are highly resistant to abrasion, chemicals, and future salt damage. Their strength and adhesion make them particularly suitable for high-traffic garage environments and areas repeatedly exposed to water or winter salts.
Cementitious Resurfacers and Overlays
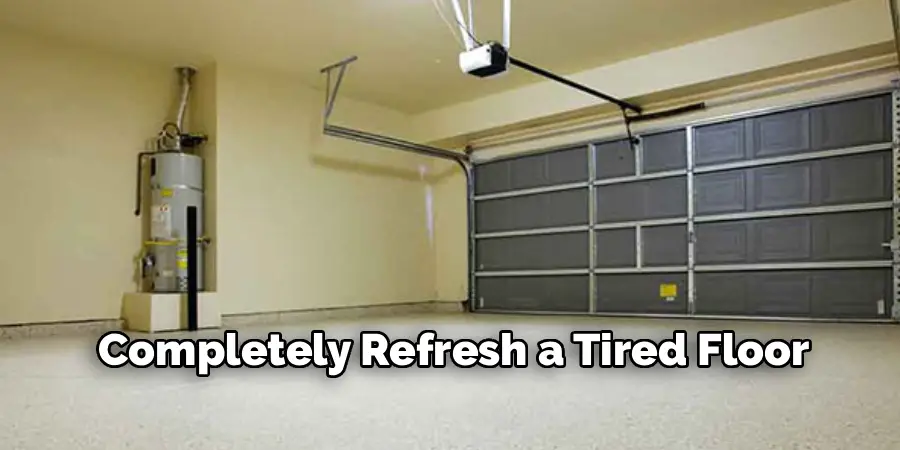
When pitting covers a large area but doesn’t extend deep into the concrete, polymer-modified cement resurfacers offer a powerful remedy. Spread thinly over the garage floor, these compounds create a new, smooth layer that seals over old imperfections. They’re ideal when you want to give the entire surface a consistent appearance or completely refresh a tired floor.
Concrete Patching Mortar
For isolated pits or small patches of damage, a traditional concrete patching mortar can be an effective solution. This mortar is mixed to a paste-like consistency and troweled or pressed into place, then smoothed out to match the surrounding surface. It’s a straightforward, cost-effective method for spot repairs, especially when aiming to fill only a handful of shallow holes.
Gathering Your Tools and Safety Gear
For Surface Preparation
Restoring a garage floor starts with diligent prep. Key tools include a pressure washer for deep, thorough cleaning, a shop vacuum for debris removal, and a wire brush or angle grinder to break up any loose concrete. A quality concrete degreaser helps lift oils and residues, while a diamond grinder or sander is recommended for more extensive surface leveling.
For Application
Applying repair materials requires the right set of tools to achieve a strong bond and a professional finish. Reliable mixing tools, such as a bucket and a drill fitted with a paddle mixer, are essential for blending patch compounds to a workable consistency. You’ll also want a sturdy trowel and putty knife for pressing materials firmly into pits, and a squeegee is invaluable if using concrete resurfacers to cover a broad area.
Essential Safety Equipment
Concrete repair can be dusty and put you in contact with strong chemicals and heavy equipment. Make safety top priority by using safety glasses to shield your eyes, durable gloves to protect your hands from abrasives and chemicals, and a good-quality dust mask or respirator to guard against inhaling fine dust. Knee pads are also recommended for any work that involves kneeling over hard surfaces.
Step-by-Step Guide on How to Fix Pitted Garage Floor
Step 1: Empty and Thoroughly Clean the Garage
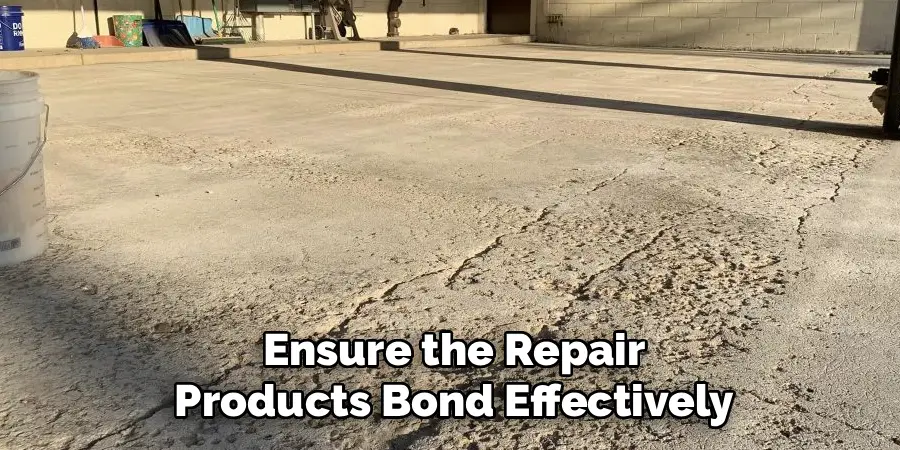
Begin by removing all vehicles, tools, and storage items from your workspace. Sweep up loose debris using a broom and dustpan, then use a pressure washer and a concrete degreaser to cleanse the floor. This step is crucial to remove dirt, oils, or any surface sealers that could interfere with patch adhesion. Give special attention to heavily stained or grimy areas to ensure the repair products bond effectively.
Step 2: Prepare the Pitted Areas
Once the floor is dry, inspect and focus on the damaged zones. Use a wire brush or, for more severe damage, an angle grinder fitted with a diamond cup wheel to chip away any loose or weak concrete in and around each pit. The aim is to expose only strong, solid concrete, as patching compounds need a firm substrate to grab onto.
Step 3: Vacuum and Ensure the Floor is Dry
After prepping the pits, vacuum up all remaining dust and residue using a shop vacuum. Residual powder or broken bits can undermine the patch’s bond and create an uneven finish. It’s also vital that the floor is completely dry before mixing and applying repair materials—trapped moisture can weaken the patch and lead to future pitting.
Step 4: Mix and Apply the Patching Compound
Carefully read the manufacturer’s instructions before mixing your chosen patch compound. Follow the recommended ratios exactly—too little or too much water can compromise strength and adhesion. Mix the patch in small batches, as most products set quickly. Using a trowel or putty knife, work the compound into the cleaned pits, pressing firmly to eliminate air pockets and filling slightly above the surface to allow for shrinkage during curing.
Step 5: Smooth and Feather the Edges
With the compound in place, use your trowel to smooth each patch so it sits level with the surrounding concrete. Feather the edges by tapering the material where it meets the original floor, blending the patch seamlessly. This technique minimizes trip hazards and improves the finished appearance.
Step 6: Allow for Proper Curing
Once the floor is patched and smoothed, respect the cure time advised by the manufacturer. Attempting to walk or drive on the repaired area too soon can ruin the patch. Most products require the floor to remain clear for at least 24 hours, and sometimes longer for heavier loads or subsequent treatments like sealing or painting.
For Widespread Pitting: Applying a Concrete Resurfacer
The Resurfacing Process
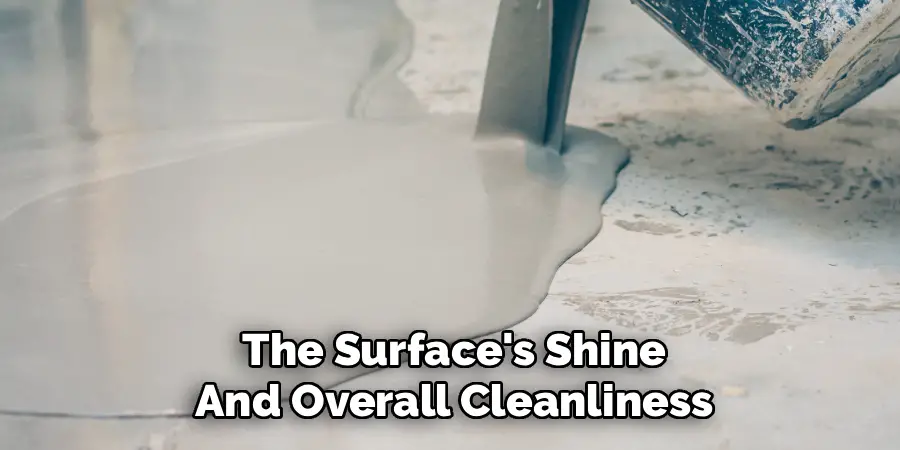
For floors with large areas of shallow pits—and when spot repairs seem too piecemeal—a concrete resurfacer is usually the best path to a near-new appearance. Start by cleaning and prepping the floor as described above. Follow the instructions for mixing the resurfacer, ensuring a lump-free consistency. Pour the mixture onto the floor in manageable sections for even coverage.
Spreading and Finishing
Immediately after pouring, use a long-handled squeegee to spread the resurfacer evenly from corner to corner, filling all surface imperfections. Work methodically and maintain a wet edge to prevent visible seams. For added texture and slip resistance, drag a clean, damp broom in one direction across the surface before the product sets. Allow the resurfaced floor to cure fully before resuming use.
Protecting Your Repaired Floor for the Future
Applying a Sealer or Coating
Once all repairs have fully cured, preserving your hard work means safeguarding against future damage. Applying a high-quality concrete sealer or a specialty garage floor coating provides a resilient barrier against moisture, salts, and chemicals. Choose products designed for garage floors, and apply according to directions, making sure the area is well-ventilated throughout the process.
Long-Term Maintenance
Maintaining your rejuvenated garage floor doesn’t stop after repairs. Place rubber mats beneath each vehicle’s tires to shield high-stress spots from aggressive salts or ongoing drip damage. Sweep or mop routinely to keep the surface free of dust and debris, and quickly clean up any chemical spills or oil leaks before they can stain or weaken the repairs.
Conclusion
Restoring a damaged garage floor is a rewarding and practical DIY project. By understanding the causes of pitting, choosing repair materials that match the extent of damage, and following a methodical approach to preparation, cleaning, and patching, you can achieve a floor that’s smooth, strong, and visually appealing. Proper aftercare, through regular cleaning and the use of quality sealers, safeguards your efforts for years to come. Remember, knowing how to fix pitted garage floor not only improves the value and function of your space, but also brings real satisfaction each time you step onto a surface you restored yourself.
I am Rick. I grew up helping my dad with his handyman service. I learned a lot from him about how to fix things, and also about how to work hard and take care of business. These days, I’m still into fixing things- only now, I’m doing it for a living.
I’m always looking for new ways to help people grow and develop. That’s why I have created this blog to share all my experience and knowledge so
that I can help people who are interested in DIY repair.