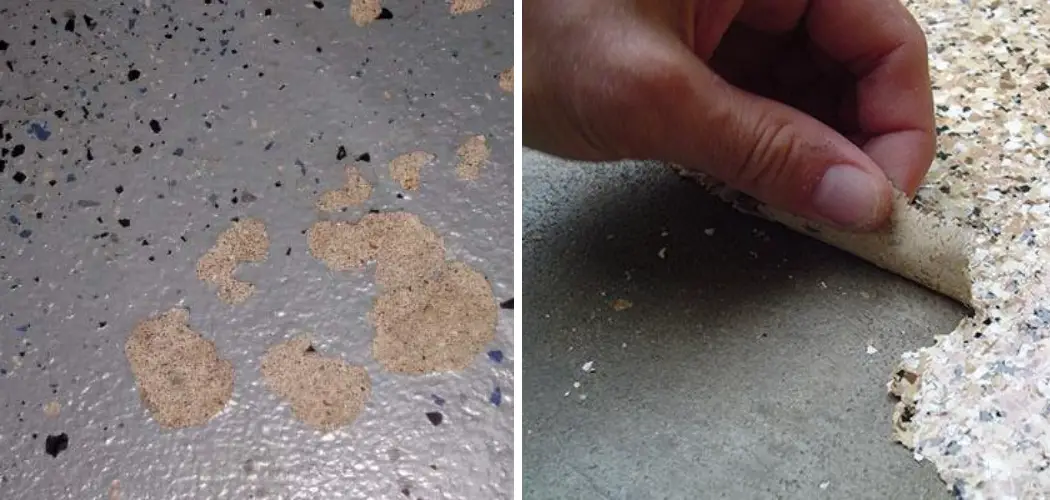
A peeling epoxy garage floor can be a frustrating and unsightly problem for homeowners. Epoxy flooring is known for its durability, resistance to stains, and aesthetic appeal, but when it begins to peel and deteriorate, it can quickly become an eyesore.
The good news is that fixing a peeling epoxy garage floor is not an insurmountable task, and with the right knowledge and a bit of elbow grease, you can restore your garage floor to its former glory.
In this comprehensive guide, we will explore how to fix peeling epoxy garage floor, from improper installation to wear and tear, and provide you with step-by-step instructions on how to effectively repair and prevent further damage.
Whether you’re a seasoned DIY enthusiast or a novice looking to save on repair costs, we’ll cover the essential tools, materials, and techniques needed to tackle this common issue. By the end of this article, you’ll have the knowledge and confidence to revitalize your epoxy garage floor, ensuring it not only looks great but also stands up to the test of time.
The Reason Why Peeling Epoxy Garage Floor Happens
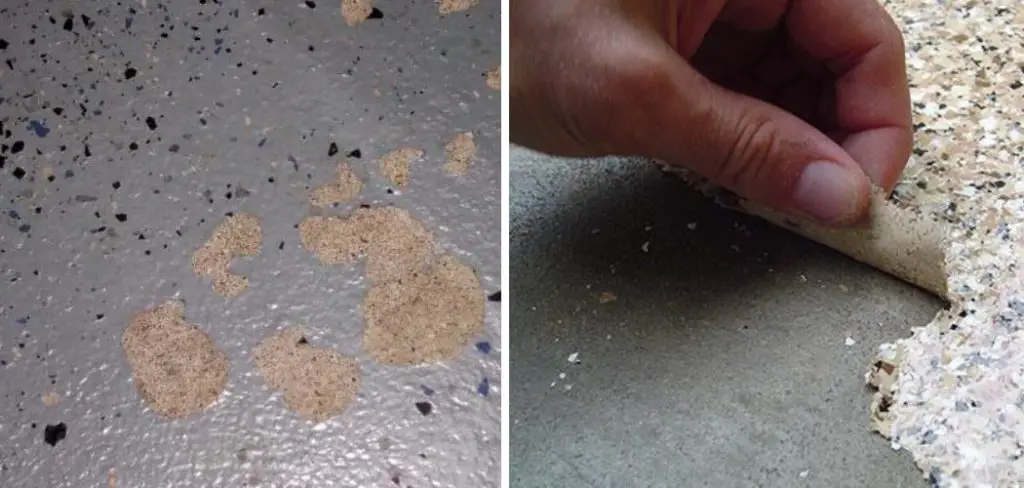
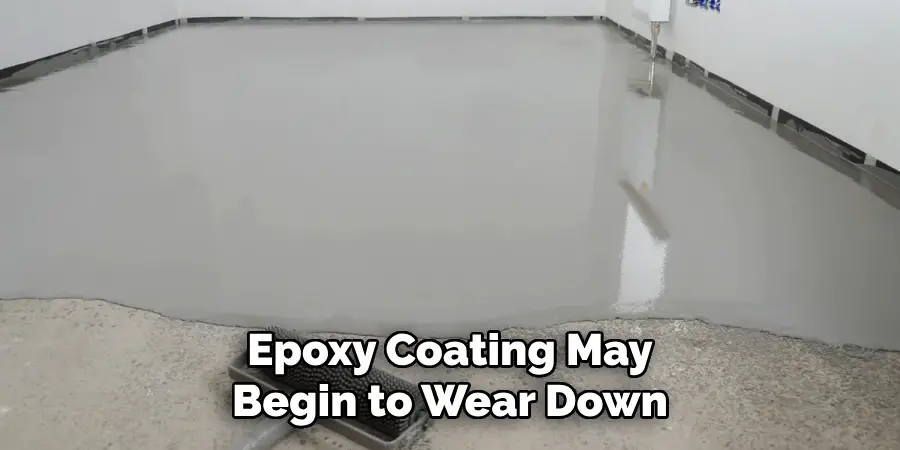
If you have noticed that your epoxy garage floor is beginning to peel, there are likely a few reasons why. The first could be the age of the coating. Over time, even with proper care and maintenance, an epoxy coating may begin to wear down and start peeling off in places. Another reason is that the surface was not properly prepared before it was applied.
If the surface is not properly cleaned and sealed, then it will not adhere correctly to the concrete, leading to peeling. Finally, if your epoxy garage floor has been exposed to water or humidity for long periods of time, this can cause it to degrade faster than normal and lead to peeling of the coating.
To fix a peeling epoxy garage floor, you will need to prepare the surface properly before applying a new coating. This step is essential – if you do not prepare the surface adequately, the peeling could occur again after you apply a new layer of epoxy. To begin, clean off any loose debris or dirt from the surface and use a scrub brush to remove any remaining residue.
Importance of Fixing the Issue
When a garage floor is coated in an epoxy, it provides more strength and durability than that of a concrete floor – often lasting up to ten years. However, one of the biggest issues with epoxy coatings is peeling or cracking over time.
If left untreated, this can cause serious damage to your garage floor and the surrounding area due to water intrusions. It is essential to take action and fix the peeling epoxy floor as soon as possible in order to avoid any further damage.
List of Required Tools and Materials
Here is the list of tools and materials you would need to fix a peeling epoxy garage floor:
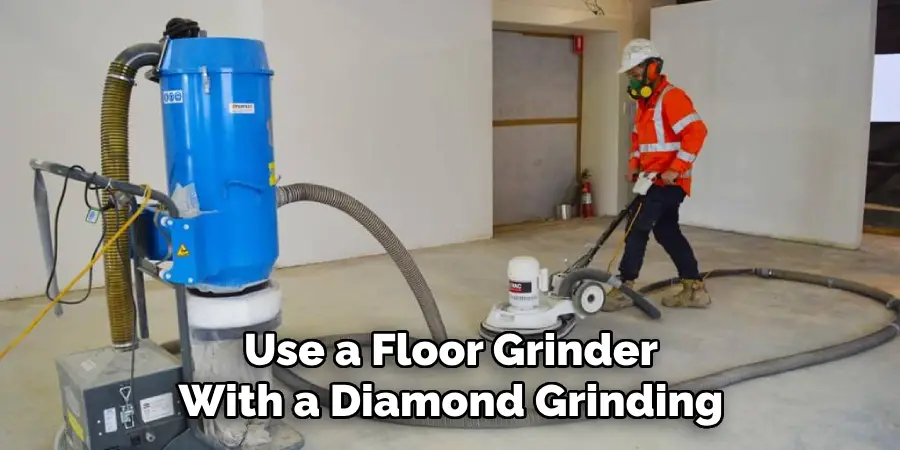
- Floor Grinder with Diamond Grinding Stones
- Industrial Vacuum Cleaner
- Plastic Garbage Bags
- Protective Clothing, including safety glasses, gloves, and a dust mask
- Concrete Patching Compound
- Epoxy Floor Coating
- Paint Roller with Extension
- Mixing Paddle and Bucket for Epoxy Mix
- Concrete Etching Solution
- Broom and Dust Pan
- Garden Hose or Power Washer
- Air Compressor
- Paint Brushes for Edges
- Painter’s Tape
- Epoxy Paint Chips (optional)
10 Steps How to Fix Peeling Epoxy Garage Floor
Step 1: Assess the Damage
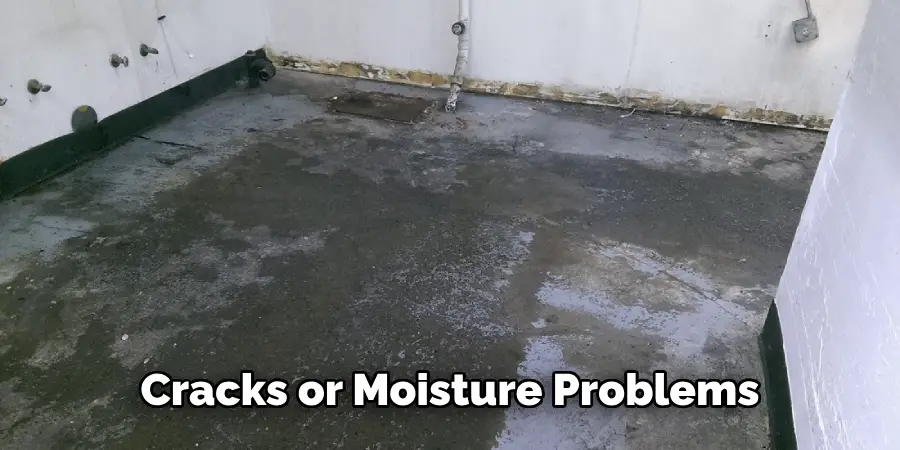
The first and most crucial step is to assess the extent of the damage. Determine how much of the epoxy coating is peeling and whether there are any underlying issues, such as cracks or moisture problems, that need to be addressed.
Step 2: Gather Your Tools and Materials
To effectively repair your peeling epoxy garage floor, you’ll need a variety of tools and materials. These may include a floor grinder, epoxy patching compound, epoxy coating, paint rollers, mixing buckets, sandpaper, a squeegee, and safety gear such as gloves and goggles. Make sure you have everything on hand before starting the repair process.
Step 3: Prepare the Work Area
Clear the garage of any vehicles, tools, and debris to create a clean and spacious work area. Proper ventilation is essential, so open any windows or doors and consider using fans to improve airflow.
Step 4: Remove the Peeling Epoxy
Use a floor grinder with a diamond grinding wheel attachment to remove the peeling epoxy coating. Start by grinding down the areas where the epoxy is peeling until you reach a solid, smooth surface. Be thorough but avoid over-grinding, which can damage the underlying concrete.
Step 5: Repair Any Cracks
Inspect the floor for cracks or divots that may have contributed to the epoxy peeling. Fill these imperfections with an epoxy patching compound and allow it to cure according to the manufacturer’s instructions. Sand the patched areas until they are level with the rest of the floor.
Step 6: Clean the Surface
Thoroughly clean the entire garage floor with a concrete degreaser and a pressure washer. This will remove any remaining debris, dirt, or grease that could affect the adhesion of the new epoxy coating.
Step 7: Etch the Surface
To ensure proper adhesion of the new epoxy, etch the surface of the concrete with an etching solution. Follow the manufacturer’s instructions for mixing and applying the solution, and be sure to rinse it off thoroughly once the etching process is complete.
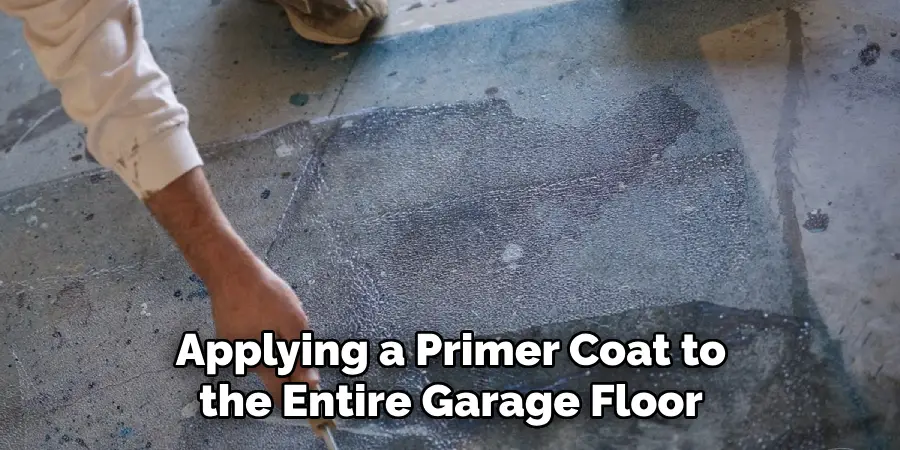
Step 8: Apply the Epoxy Coating
Mix the epoxy coating according to the manufacturer’s instructions, ensuring you have the correct ratio of resin to hardener. Start by applying a primer coat to the entire garage floor using a paint roller or a squeegee. Allow the primer coat to cure for the recommended time.
Step 9: Apply the Topcoat
Once the primer coat has cured, apply the epoxy topcoat using the same roller or squeegee. Work in small sections to ensure even coverage and use a paintbrush to cut in along the edges and corners. Add any decorative flakes or additives if desired, and then allow the topcoat to cure.
Step 10: Finish and Maintain
After the epoxy has fully cured, typically within 24-72 hours, inspect the floor for any imperfections or areas that may need touch-up. If necessary, apply a second coat of epoxy for added durability and aesthetic appeal. Finally, regularly clean and maintain your epoxy garage floor to extend its lifespan and keep it looking its best.
Things to Consider When Fixing Peeling Epoxy Garage Floor
When you’re faced with the task of fixing a peeling epoxy garage floor, there are a few things to consider. First and foremost, you need to determine what caused the problem in the first place.
If it was poor preparation or application of the epoxy, that needs to be corrected before any additional repairs can be made. Additionally, it’s important to check for any underlying issues with the surface, such as moisture or cracks underneath the epoxy.
Once you’ve identified the source of the problem and made sure there aren’t any underlying issues, it’s time to start repairing your peeling epoxy garage floor. The first step is to remove all of the loose pieces from the floor so that you have a clean area to work on. This can be done with a putty knife or chisel, as well as some sandpaper and a vacuum cleaner.
Safety Precautions for Fixing Peeling Epoxy Garage Floor
When fixing your peeling epoxy garage floor, it is important to take the necessary safety precautions. This will ensure that you are protecting yourself from any potential harm caused by the chemicals and materials involved in the process.
Before starting, put on protective gloves and footwear as well as eye protection when working with any chemicals or materials. Make sure to properly ventilate the area by opening windows and doors or using a fan to circulate fresh air.
Additionally, take steps to reduce any dust particles in the air, either by dampening the materials before sanding, vacuuming the area regularly, or using an air filter if needed.
As part of your safety measures, make sure to always follow the instructions on any chemicals you use, and never mix different products together. This can be dangerous as some chemicals may react with each other when combined in the wrong proportions.
Conclusion
It’s easy to fix your peeling epoxy garage floor if you follow these steps. Even though it may seem daunting at first, with a little knowledge and a bit of elbow grease, you can get the job done in no time. Taking pride in your home by fixing up the ugly spots can make all the difference.
Whether it’s for aesthetic purposes or increased resale value, fixing up your peeling epoxy garage floor is the way to go! And now that we’ve taught you how to fix peeling epoxy garage floor, take action and start your project today. Thanks for reading, and we hope this has given you some inspiration on how to fix peeling epoxy garage floor!
I am Rick. I grew up helping my dad with his handyman service. I learned a lot from him about how to fix things, and also about how to work hard and take care of business. These days, I’m still into fixing things- only now, I’m doing it for a living.
I’m always looking for new ways to help people grow and develop. That’s why I have created this blog to share all my experience and knowledge so
that I can help people who are interested in DIY repair.