When it comes to garage door systems, the sensor plays a crucial role in ensuring safe and reliable operation. However, encountering an orange light on the garage door sensor can be a source of frustration and confusion for many homeowners.
This light typically indicates a misalignment or obstruction in the sensor’s path, which can prevent the garage door from opening or closing properly. Understanding the potential causes of this issue and knowing how to address it is essential for maintaining a fully functional garage door system.
In this guide, we will outline the steps of how to fix orange light on garage door sensor, helping you restore your garage door’s performance efficiently.
The Role of Safety Sensors in Garage Door Systems
Safety sensors are integral components of modern garage door systems, designed to prevent accidents and ensure safe operation. Typically located near the base of the garage door tracks, these sensors emit an invisible beam of infrared light across the doorway.
When this beam is interrupted—by an object, pet, or person—the sensors signal the door to stop closing, effectively preventing potential injuries or property damage.
This safety feature not only enhances user protection but also complies with safety regulations, making it a critical aspect of the overall garage door system. Regular maintenance and proper alignment of these sensors are essential to ensure their effective operation and reliability.
Importance of Maintaining Functional Sensors
Maintaining functional sensors in your garage door system is vital for several reasons. First and foremost, properly working sensors ensure the safety of both people and pets by preventing the door from closing on obstacles. Regular maintenance helps to identify any misalignments or obstructions before they lead to more significant problems, such as the door failing to operate correctly or causing damage.
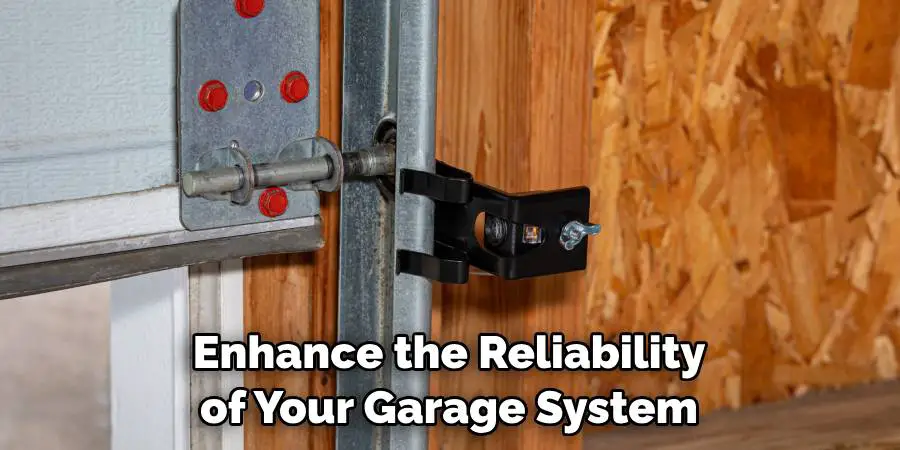
Additionally, well-maintained sensors contribute to the longevity of your garage door system, reducing the need for costly repairs or replacements. By prioritizing the upkeep of your sensors, you not only enhance the reliability of your garage system but also provide peace of mind, knowing that your home is safer for everyone.
10 Methods How to Fix Orange Light on Garage Door Sensor
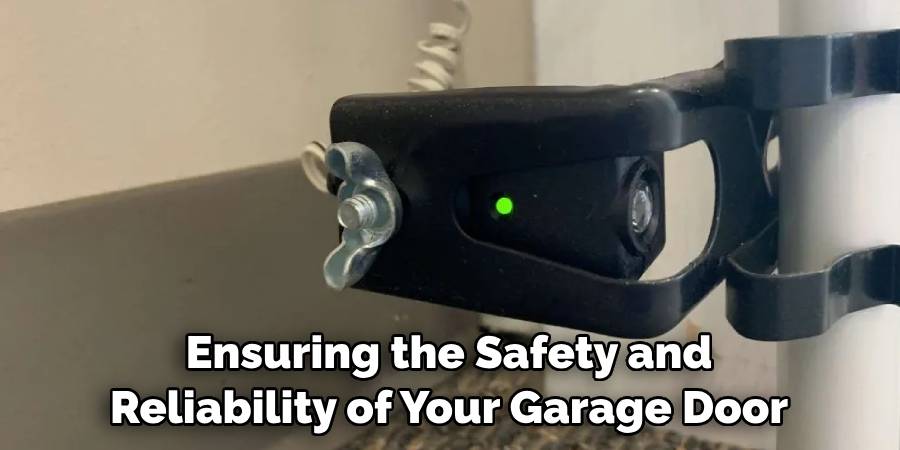
1. Understand the Role of Garage Door Sensors
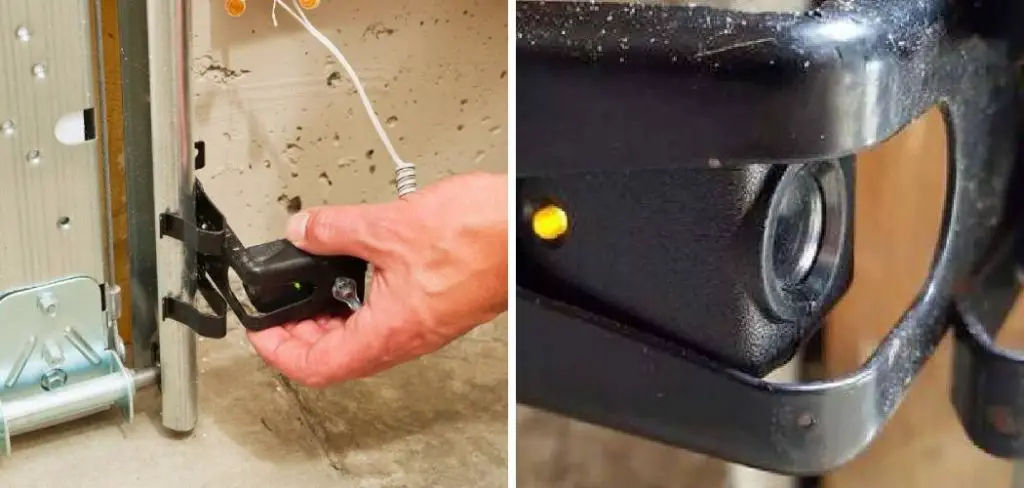
Garage door sensors play a critical role in ensuring the safe operation of your garage door. These sensors, usually located near the bottom of the door tracks on either side, work by creating an invisible beam across the door’s path. When something or someone interrupts this beam, the sensors send a signal to stop and reverse the door’s movement, preventing accidents.
Typically, one sensor emits a green light, indicating that it’s sending the beam, while the other displays either a solid or flashing orange light, which means it’s receiving the beam.
Understanding this basic functionality is crucial because when the orange light is off, flashing, or not working correctly, it usually indicates a problem that needs to be addressed to maintain safety and proper operation.
2. Inspect the Sensor Alignment
One of the most common reasons for a malfunctioning orange light on a garage door sensor is misalignment. The sensors need to be perfectly aligned to communicate with each other properly.
If the orange light is flickering or off, it’s often because the sensors are not aligned correctly. To fix this, start by inspecting the sensors on both sides of the garage door. They should be directly facing each other, with the lenses perfectly aligned. If one sensor has been knocked out of place, gently adjust it until it lines up with the opposite sensor.
Use a level if necessary to ensure they are at the same height. Correctly aligning the sensors will often restore the orange light, signaling that the sensors are functioning properly.
3. Clean the Sensor Lenses
Dirt, dust, and debris can accumulate on the sensor lenses over time, obstructing the beam and causing the orange light to malfunction. If you notice that the orange light is dim, flickering, or not on at all, cleaning the lenses might resolve the issue.
Use a soft, dry cloth to gently wipe the lenses of both sensors. If there is stubborn dirt or grime, slightly dampen the cloth with water or a mild cleaner, but be careful not to use anything abrasive that could scratch the lenses.
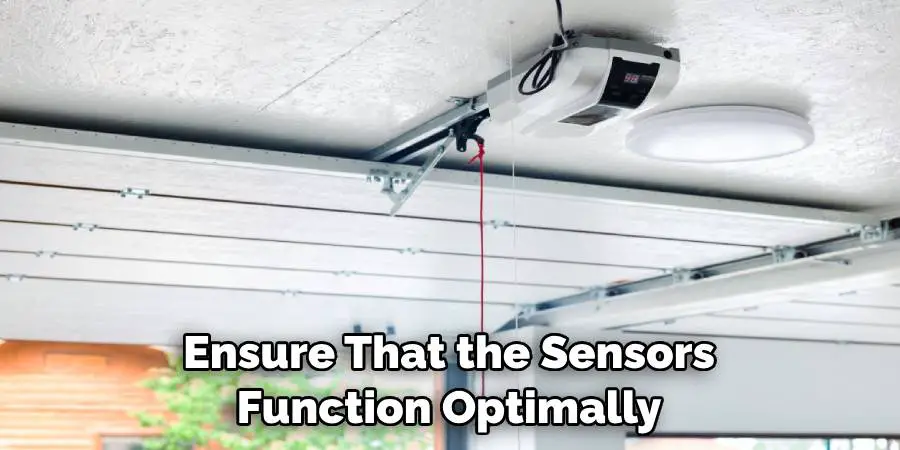
Regularly cleaning the sensor lenses can prevent future issues and ensure that the sensors function optimally, allowing the orange light to shine brightly and steadily.
4. Check the Sensor Wiring
Faulty or damaged wiring is another potential cause of problems with the orange light on your garage door sensor. Inspect the wires leading to both sensors to ensure they are intact and securely connected. Look for any signs of wear, such as fraying, cuts, or corrosion.
If you find any damaged wiring, it may need to be repaired or replaced. In some cases, a loose connection at the motor unit or sensor can cause intermittent issues with the orange light.
Ensure that all connections are tight and secure. Properly functioning wiring is essential for the sensors to communicate effectively, and addressing any issues here can often restore the orange light.
5. Adjust the Sensor Brackets
The brackets that hold your garage door sensors in place can sometimes become loose or bent, leading to alignment issues and a malfunctioning orange light. Inspect the brackets to see if they are securely fastened and in the correct position.
If the brackets are loose, use a wrench or screwdriver to tighten them. If they are bent, gently straighten them to restore the proper alignment. In some cases, you may need to replace a damaged bracket if it cannot be adjusted correctly.
Ensuring that the sensor brackets are secure and properly positioned helps maintain the correct alignment, allowing the sensors to function as intended and the orange light to remain steady.
6. Ensure There Are No Obstructions
Sometimes, the issue with the orange light can be as simple as an obstruction in the sensor’s path. Even small objects like leaves, cobwebs, or dirt can interfere with the beam, causing the orange light to flicker or turn off.
Check the area around the sensors for any objects that might be blocking the beam. Remove any debris, and make sure nothing is hanging in front of the sensors.
Additionally, ensure that sunlight or other bright light sources aren’t interfering with the sensor’s operation. Eliminating obstructions allows the sensors to communicate without interference, which should restore the orange light to its normal state.
7. Reset the Garage Door Opener
If you’ve tried aligning the sensors, cleaning the lenses, and checking the wiring but the orange light is still malfunctioning, resetting the garage door opener might help. To do this, unplug the opener from the power source for about 30 seconds, then plug it back in.
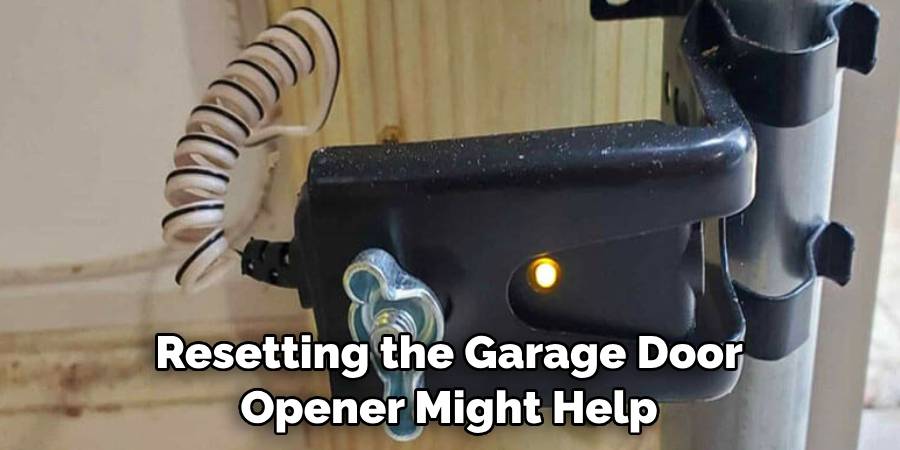
This action will reset the system and may resolve any glitches affecting the sensors. After resetting, test the garage door to see if the orange light issue has been resolved. A reset can clear any temporary errors in the system, potentially restoring the proper function of the sensors and the orange light.
8. Test the Safety Reversal Mechanism
The safety reversal mechanism is a crucial feature of your garage door system, and it relies on the proper functioning of the sensors. To ensure that the sensors and the orange light are working correctly, test the safety reversal mechanism.
Close the garage door and place an object, like a broomstick, in the path of the sensors. The door should automatically stop and reverse when it senses the object. If the door doesn’t respond correctly, there may still be an issue with the sensors or the orange light.
9. Replace Faulty Sensors
If you’ve exhausted all other troubleshooting methods and the orange light is still malfunctioning, the sensor itself may be faulty and need replacement. Sensors can wear out over time, especially in environments with extreme temperatures or high humidity.
To replace the sensor, purchase a compatible replacement from the manufacturer or a reputable retailer. Follow the manufacturer’s instructions for installation, ensuring that the new sensor is aligned correctly and securely connected.
10. Consult a Professional
If you’ve tried all the above steps and the orange light on your garage door sensor is still not functioning properly, it may be time to consult a professional. A certified garage door technician can diagnose the issue more accurately and perform any necessary repairs or replacements.
Sometimes, the problem might be more complex than a simple alignment or wiring issue, requiring specialized tools or expertise. By consulting a professional, you can ensure that your garage door system is thoroughly inspected and repaired, restoring the orange light and ensuring the safety and reliability of your garage door operation.
Conclusion
Maintaining the proper function of your garage door sensors is crucial for the seamless operation of your garage door system. By understanding common issues related to the orange light, and following the troubleshooting steps outlined, you can effectively address and resolve these problems.
Regular maintenance, from cleaning sensors to checking wiring and testing safety features, will not only enhance the lifespan of your garage door system but also ensure your safety. Thanks for reading, and we hope this has given you some inspiration on how to fix orange light on garage door sensor!
I am Rick. I grew up helping my dad with his handyman service. I learned a lot from him about how to fix things, and also about how to work hard and take care of business. These days, I’m still into fixing things- only now, I’m doing it for a living.
I’m always looking for new ways to help people grow and develop. That’s why I have created this blog to share all my experience and knowledge so
that I can help people who are interested in DIY repair.