
A functional garage door window plays a significant role in enhancing the overall appearance of the garage door while allowing natural light to permeate the space, making it look more inviting and spacious. However, garage door windows can encounter various issues, such as cracks, broken glass, or loose seals, which compromise their aesthetics and lead to further damage and energy inefficiency if left unaddressed.

In this article, we will guide you through the essential steps on how to fix garage door window effectively. We will cover how to assess the damage to determine whether repair or replacement is necessary, list the tools and materials needed, and provide detailed, step-by-step instructions to assist you in restoring your garage door window to its optimal condition.
Assessing the Damage to the Garage Door Window
Identifying the Problem
When assessing the damage to your garage door window, it is essential to identify the specific issues present. Common types of damage include cracks, shattered glass, or compromised frames. Cracks may range from small chips to larger fissures that can worsen over time, while shattered glass presents clear safety hazards.
Additionally, a damaged frame can indicate underlying structural problems that may need to be addressed. To inspect the window safely, wear gloves and protective eyewear. Begin by examining the glass for visible cracks or chips, and carefully inspect the frame for any signs of warping or rot. Move slowly and deliberately to avoid injury from sharp edges or falling glass pieces.
Deciding Between Repair and Replacement
After identifying the damage, the next step is determining whether to repair or replace the window. Evaluating the extent of the damage is crucial in this decision-making process. For minor cracks or chips, a repair might suffice, possibly involving sealants or adhesives to restore the integrity of the glass. However, replacement may be the more practical option if the damage encompasses significant areas of the glass or if the frame is severely compromised.

Consider the type of glass used in your garage door; some materials are more prone to damage and may require specialized handling. Ultimately, factors such as cost, safety, and the potential for future issues should be weighed carefully before making your choice.
Safety Precautions Before Starting the Repair
Before commencing any repair work on your garage door window, it’s vital to prioritize safety.
Disconnect the Garage Door Opener
Start by disconnecting the garage door opener. This step is crucial as it prevents any accidental operation while you’re working on the window, minimising the risk of injury from a moving door.
Wear Safety Gear
Equip yourself with appropriate safety gear, including sturdy gloves and protective goggles. These items are essential for protecting your hands from sharp glass shards and your eyes from debris during the repair process, ensuring a safer working environment.
Stabilize the Door
To prevent any unwanted movement while you work, use locking pliers or clamps to secure the garage door in place. This added stability will help ensure that you can focus on the repair without concern about the door shifting unexpectedly.
Tools and Materials Needed
Essential Tools
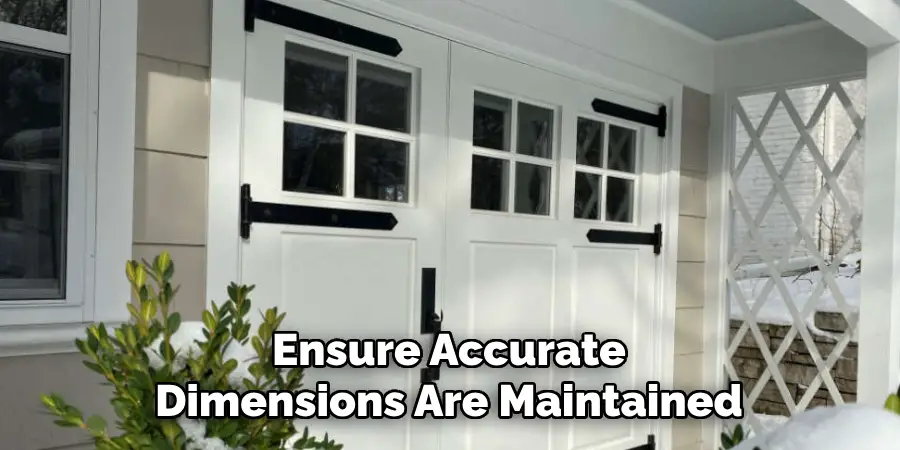
To successfully repair your garage door window, you’ll require specific tools that make the process efficient and safe. Essential tools include a putty knife for removing old glazing and debris, a screwdriver for loosening or securing any hardware, a utility knife for cutting weatherstripping or sealant, and a glass cutter if you’re replacing the glass. Additionally, a measuring tape can be helpful to ensure accurate dimensions are maintained throughout the repair.
Materials Required
In addition to tools, certain materials are necessary for the repair. Replacement glass is crucial if the existing glass is cracked or shattered; ensure it matches the specifications of your original. A glazing compound will help to secure the glass in place, while weatherstripping provides insulation and energy efficiency. Finally, a quality sealant is important for creating a waterproof barrier around the window frame, preventing moisture intrusion and enhancing durability.
How to Fix Garage Door Window: Step-by-Step Guide
Step 1: Remove the Damaged Window
To begin the repair process, carefully remove the damaged window. Start by observing the frame to identify any screws or fasteners holding the glass in place. Using a screwdriver, carefully unscrew these fasteners, taking note of their placement for reassembly later. Once the fasteners are removed, gently pry out the damaged glass or frame using a putty knife or flathead screwdriver.
Handling broken glass with extreme care; wear protective gloves and goggles to safeguard against sharp edges. If the glass is shattered, use a utility knife to score around the edges, making it easier to dislodge the pieces without causing further injury. Place all glass shards in a sturdy container to dispose of them safely.
Step 2: Clean the Frame and Prepare for Replacement
Once the damaged window is removed, the next step is to clean the window frame thoroughly. Use a putty knife to scrape away any old putty or adhesive from the frame, ensuring a smooth surface for the new installation. Removing all debris, dirt, and moisture is important to create a healthy environment for the replacement glass.
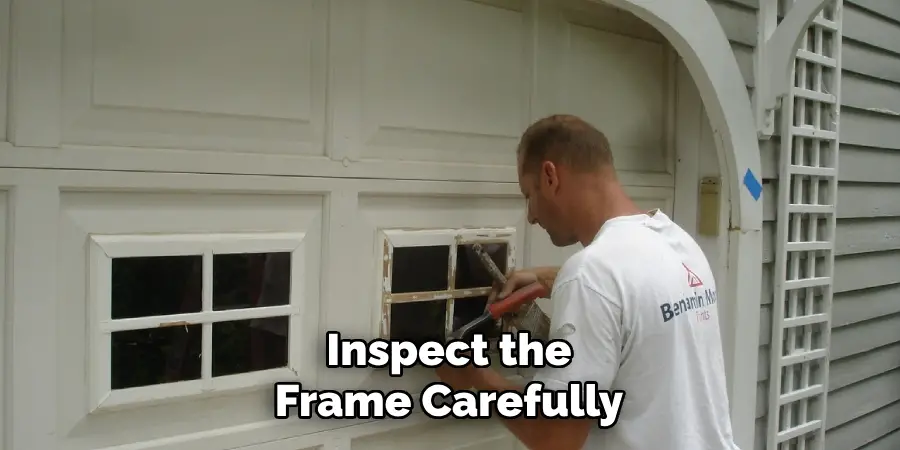
After cleaning, inspect the frame carefully for any additional damage, such as rot or warping, that could affect the installation. Address any concerns, ensuring the frame is sturdy and capable of supporting the new window effectively. You might also consider applying a wood preservative to enhance the frame’s durability against the elements if necessary.
Step 3: Install the New Window
Now it’s time to install the new window. Begin by carefully placing the replacement glass into the frame, ensuring it fits snugly within the recess. Once positioned, secure the glass using glazing points or clips to hold it in place, equally distributing the weight across the frame. After securing the glass, apply a glazing compound or high-quality sealant around the edges to create a waterproof barrier. This step is crucial in preventing moisture intrusion and ensuring the longevity of the installation.
Use a putty knife to smooth the compound, ensuring an even finish that adheres well and enhances the window’s appearance. Allow the compound or sealant to cure as per the manufacturer’s instructions before proceeding to reattach any hardware or fasteners and reconnecting the garage door opener, thus completing your repair project.
Replacing or Repairing Window Seals and Weatherstripping
Inspecting and Replacing Weatherstripping
Weatherstripping is crucial in keeping your garage door window airtight, preventing drafts and moisture intrusion. To inspect the weatherstripping, visually examine its condition for signs of wear, such as cracks, peeling, or brittleness. Gently pull away from the window frame to check for flexibility; if it feels hard or crumbles, it’s time for a replacement. To replace worn weatherstripping, carefully remove the old material from the frame using a putty knife, ensuring no residue is left behind.
Measure the frame’s dimensions accurately and purchase new weatherstripping that fits those measurements. Once you have the new material, apply it to the frame, pressing firmly to ensure a good seal. If adhesive is required, choose a strong weather-resistant adhesive to secure it in place. This simple update can significantly enhance your garage’s energy efficiency and comfort.
Repairing or Replacing Window Seals
The seals around your garage door window are essential for insulation and preventing water leakage. Start by inspecting the seals for any cracks, gaps, or deterioration. If you notice damage, repairing or replacing the seals is crucial to maintain a proper seal and reduce energy costs. You can use a sealant specifically designed for windows to fill in gaps or cracks for minor damage. Ensure the area is clean and dry before applying the sealant to allow proper adhesion.
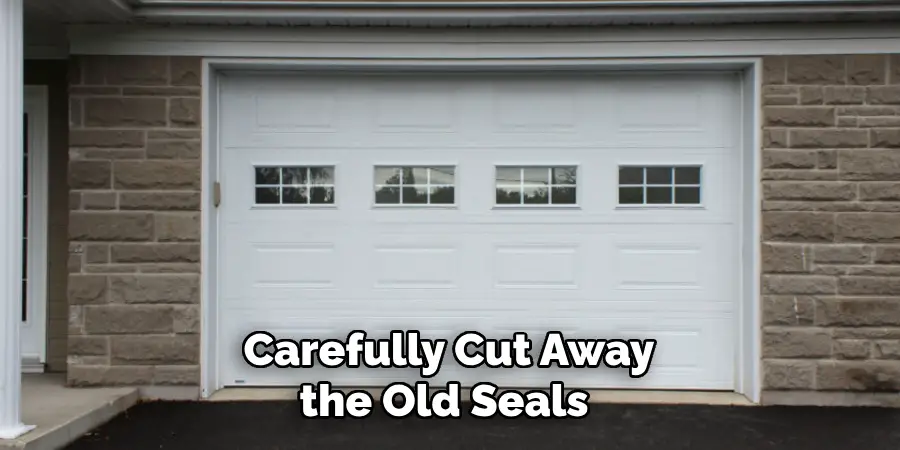
For seals that are severely compromised, removal is necessary. Carefully cut away the old seals using a utility knife, ensuring you’re not damaging the frame. Measure the area for the new seals, then cut a replacement seal to size. Install the new seal according to the manufacturer’s instructions, ensuring it fits snugly. A well-maintained seal reduces drafts and protects against moisture penetration, prolonging the life of your garage door window.
Final Checks and Preventive Maintenance
Ensure the Window is Secure
After completing the installation, it’s vital to ensure that the window is firmly secured. Gently press on the edges of the replacement glass to confirm it fits snugly in the frame. Check the glazing points or clips to ensure they hold the glass tightly. Additionally, inspect the sealant to verify that it has formed a complete bond around the edges, leaving no gaps.
Clean the Window and Frame
Once the repair is complete, take the time to clean the newly installed window and frame. Use a mild glass cleaner and a soft cloth to remove any residue from the repair process, ensuring a streak-free finish. Don’t forget to wipe down the frame to eliminate dust or debris, providing a polished final look.
Regular Inspection and Maintenance
To prolong the life of your garage door window, conduct regular inspections for any signs of wear or damage. Look for cracks, gaps, or peeling of weatherstripping and seals, which can indicate issues that may require attention. Keeping the glass and frame clean enhances aesthetics and prevents future damage caused by dirt and moisture buildup.
When to Call a Professional
Recognizing Complex Repairs
While many window repairs can be handled as DIY projects, certain situations should prompt you to seek professional assistance. If the damage to your garage door window involves extensive structural issues, such as significant frame rot or extensive glass cracking, it may be too complex for a simple fix. Similarly, if you’re unsure about the installation process or lack the appropriate tools, it’s advisable to consult a professional to prevent further complications.

Benefits of Professional Help
Hiring a professional for window repairs offers numerous advantages. Experienced technicians bring valuable expertise and knowledge, ensuring that repairs are carried out correctly and safely. They are equipped with the necessary tools and materials to achieve a high-quality finish that lasts over time. Additionally, professionals can quickly identify underlying issues and recommend preventive measures, ultimately saving you time and future costs associated with improper repairs.
Conclusion
In summary, repairing your garage door window involves several key steps to ensure a durable and effective fix. Start by thoroughly assessing the damage to determine whether repair or replacement is necessary. Once you’ve chosen the appropriate course of action, follow the steps for replacing or repairing the window while also carefully sealing and insulating to prevent moisture and drafts. Remember that safety should be your top priority throughout the repair process; always wear protective gear and carefully handle tools.
Regular maintenance is crucial, so stay proactive by inspecting your garage door window periodically to keep it in good condition and to avoid future issues. With the right approach, you can confidently tackle how to fix garage door window problems and ensure your space remains comfortable and energy-efficient.
I am Rick. I grew up helping my dad with his handyman service. I learned a lot from him about how to fix things, and also about how to work hard and take care of business. These days, I’m still into fixing things- only now, I’m doing it for a living.
I’m always looking for new ways to help people grow and develop. That’s why I have created this blog to share all my experience and knowledge so
that I can help people who are interested in DIY repair.