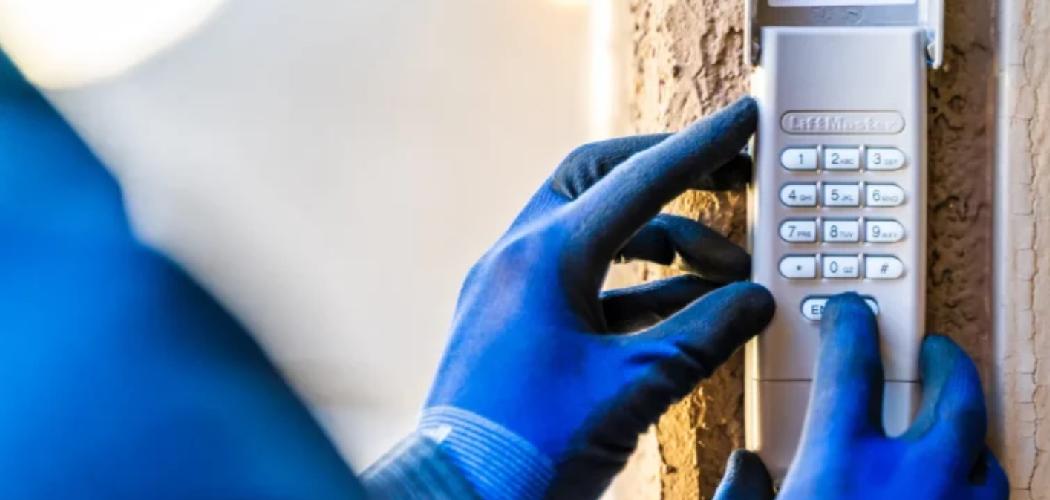
A garage door keypad is one of the most convenient features for homeowners, offering secure, hands-free access to your garage with just a simple code. However, when the keypad stops functioning, it can disrupt your routine and raise security concerns. The good news is that most keypad issues can be fixed easily with a few troubleshooting steps, even if you’re not a seasoned DIYer.

The first step in addressing a malfunctioning how to fix garage door keypad is to check the batteries. Dead or weak batteries are one of the most common reasons a keypad stops working. Remove the battery cover, replace the old batteries with fresh ones, and test the keypad to see if the issue is resolved. If the problem persists, inspect the keypad for dirt, debris, or damage to the buttons, as these can interfere with proper functioning. Cleaning the keypad gently with a soft cloth and ensuring all buttons are operable can often restore its functionality.
If you’re wondering how to fix a garage door keypad, this guide will take you through a straightforward process to diagnose and resolve problems. Whether it’s unresponsive buttons, connection issues, or misaligned codes, you’ll learn how to get your keypad back to working condition in no time.
Why It’s Important to Fix Garage Door Keypads Quickly
A faulty garage door keypad isn’t just a minor inconvenience—it can compromise your home’s security and accessibility. Many households use their garage doors as the primary entry point, so a non-functional keypad can leave you locked out or force you to leave the door open, which is less than ideal. Fixing it promptly ensures your garage remains both secure and fully operational.
Additionally, a malfunctioning keypad can sometimes indicate underlying issues with the garage door opener. Addressing these problems early prevents more significant and costly repairs down the line. By taking the time to troubleshoot and repair the keypad, you’re not only restoring its function but also extending the overall lifespan of your garage door system.
Step-by-Step Guide: How to Fix Garage Door Keypad
Step 1: Check the Batteries
The most common reason for a non-working garage door keypad is depleted batteries. Start your troubleshooting by replacing the old batteries with fresh ones. Locate the battery compartment, which is usually on the back or beneath a removable cover on the keypad.
Insert the new batteries, ensuring they are placed in the correct orientation, as indicated by the positive and negative symbols. Once replaced, test the keypad by entering your preset code. If the door opens or closes as expected, the issue was simply due to low power. However, if the problem persists, the batteries were likely not the cause, and you’ll need to move on to the next steps.

Step 2: Inspect the Keypad for Physical Damage
Over time, outdoor garage door keypads can be exposed to wear and tear, leading to physical damage. Inspect the keypad thoroughly for cracked buttons, worn-out keypads, or signs of water damage. Keyboards that are damaged or exposed to moisture can fail to register keystrokes properly.
If the keypad has visible damage, cleaning or repairing it might help. Use a soft cloth, slightly dampened with rubbing alcohol, to gently clean the keypad surface. Avoid soaking the cloth, as excess liquid can worsen internal issues. After cleaning, press each button to ensure smooth functionality. If the damage is severe, you might need to replace the entire keypad.
Step 3: Reset the Keypad
Resetting the keypad can resolve minor software glitches preventing it from working correctly. To perform a reset, locate the “Learn” button on your garage door opener, typically found on the motor unit hanging from the ceiling. Press and hold the “Learn” button for about 30 seconds until the indicator light on the opener turns off.
Next, return to the keypad and reprogram your code. Most keypads require you to input a personalized code followed by the “Enter” or “Program” button. Refer to your owner’s manual for the exact reprogramming instructions specific to your keypad model. After resetting and reprogramming, test the keypad to verify the issue has been resolved.
Step 4: Verify the Wireless Signal
Garage door keypads operate through wireless communication with the garage door opener. If the signal between the two is disrupted, the keypad won’t function correctly. Check for obstructions or electronic interference that could weaken the signal.
Move any objects, such as metal shelving or electronic devices, that might be blocking the signal. Additionally, inspect the antenna on the garage door opener to ensure it’s hanging down straight and unobstructed. If the antenna is damaged or bent, adjust or replace it to restore a clear wireless connection. Once you’ve addressed potential signal interruptions, test the keypad again to confirm it’s functioning.

Step 5: Reprogram the Access Code
Sometimes, issues with the garage door keypad stem from an incorrectly programmed access code. Resetting the code allows you to establish a fresh connection between the keypad and the opener. Check the manual for your garage door system to find the exact steps required for reprogramming.
Typically, you’ll need to press the “Learn” button on the opener, then input a new code on the keypad within a specific time frame. Follow through with the programming sequence and test the new code by operating the door. Clear instructions should be detailed in your model’s user guide for successful reprogramming.
Step 6: Clean the Internal Components
If the keypad remains unresponsive after reprogramming, it’s worth opening the unit to clean its internal components. Dust, grime, and moisture can interfere with its electrical circuits. Begin by carefully detaching the keypad from the wall or door surface using a screwdriver.
Examine the circuit board and gently wipe off any dirt using a dry, lint-free cloth. Be cautious not to damage the delicate electronics. If residue buildup or corrosion is visible, you can use a small amount of isopropyl alcohol and a cotton swab to clean the affected spots. Once cleaned, reassemble the keypad and test its performance.
Step 7: Address Power Supply Issues
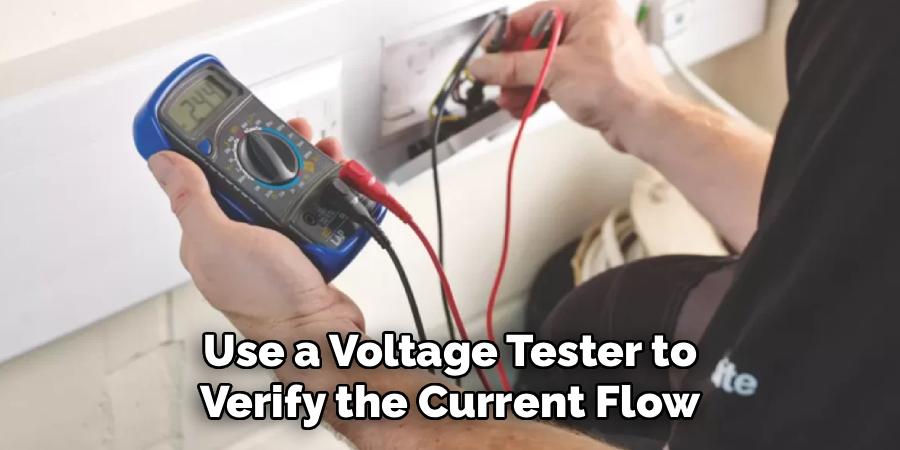
Certain wireless garage door keypads rely on direct power connections in addition to batteries. Ensure that any connected power supply is functioning properly. Check the wiring for signs of fraying, loose connections, or damage.
If the keypad is hardwired, use a voltage tester to verify the current flow. Faulty wiring may need professional attention, so consult an electrician if you’re uncomfortable addressing it yourself. Once you’ve identified and corrected power supply problems, test the keypad to ensure normal operation.
Step 8: Replace the Keypad if Needed
If all troubleshooting steps fail to fix the garage door keypad, the device itself may be beyond repair. Keypads, like any other technology, have a finite lifespan and can degrade over time. Replacement is often more cost-effective than continuing to troubleshoot an outdated or defective unit.
Look for a compatible keypad replacement from the same manufacturer as your garage door opener for seamless integration. Many modern keypads come with enhanced features like backlit buttons and improved wireless range. Follow the installation and programming instructions that come with the new keypad to complete the replacement process.
Keypad Technology Advancements
Keypad technology has significantly advanced over the years, offering enhanced convenience, security, and functionality. Modern keypads often feature wireless connectivity, eliminating the need for complex wiring during installation. Many now incorporate touch-sensitive surfaces or even smartphone integration, allowing homeowners to manage access remotely through dedicated apps. Advanced encryption and rolling code technology have also been introduced to improve security, making it harder for unauthorized users to intercept or duplicate codes. Additionally, some keypads now support biometric authentication, such as fingerprint scanning, for an added layer of protection. These innovations not only improve the user experience but also ensure a higher level of reliability and safety.
Frequently Asked Questions
1. How do I know if my garage door keypad needs new batteries?
If your keypad suddenly stops working or only responds intermittently, worn-out batteries are the most likely cause. You may also notice dim lighting on the keypad, delayed function, or no response at all when you press the buttons. Replacing the batteries typically resolves these issues.
2. Can I fix a water-damaged garage door keypad?
It is sometimes possible to repair a water-damaged keypad, depending on the extent of the damage. Remove the keypad from its mounting and allow it to air dry completely. Clean any corrosion or residue with isopropyl alcohol and inspect the internal circuitry for irreparable harm. Severe damage may require a replacement unit.
3. Why does my keypad need to be reprogrammed frequently?
Frequent reprogramming may be a sign of weak batteries, connection issues, or software glitches. Ensure that the keypad is properly installed and free from environmental interference, such as signal-blocking metal objects. Replace the batteries and check the owner’s manual for troubleshooting firmware or reset options.
4. Can I reprogram the keypad without a user manual?
Yes, you can usually reprogram your keypad without the manual by locating and pressing the “Learn” button on the garage door opener. Then, input a new code on the keypad and follow the programming sequence. Most manufacturers share digital manuals online if you need specific guidance.
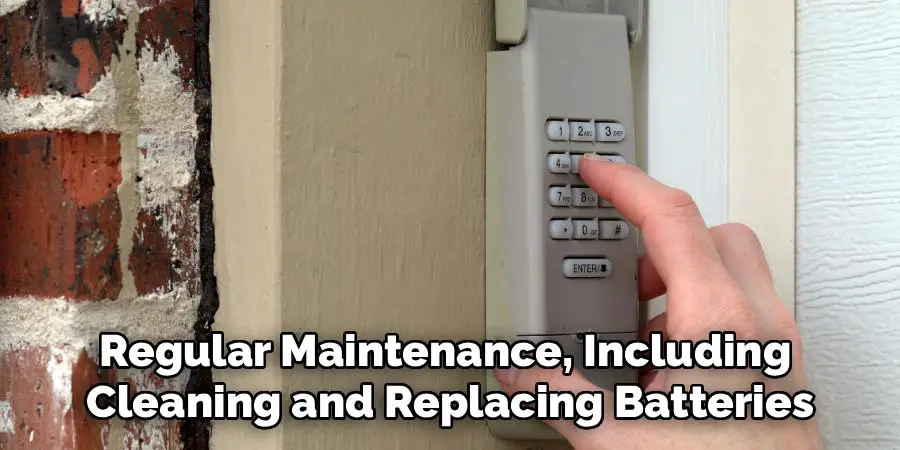
5. How long does a garage door keypad typically last?
A garage door keypad lasts about 10 and 15 years, depending on usage and exposure to weather conditions. Regular maintenance, including cleaning and replacing batteries, can extend its lifespan. If the keypad becomes unresponsive or unreliable, consider upgrading to a newer model.
Conclusion
Knowing how to fix a garage door keypad ensures you’re never stuck dealing with a malfunction at an inconvenient time. By following simple troubleshooting steps—like checking batteries, inspecting for damage, and reprogramming codes—you can restore your keypad’s function quickly and affordably.
Taking proactive measures to maintain your garage door keypad is key to avoiding unexpected issues. Keep the keypad clean and protected from extreme weather conditions to ensure its longevity. Regularly test its functionality and reprogram the codes periodically to enhance security. By staying attentive to these small tasks, you can save time and money in the long run while ensuring seamless access to your garage.
The process not only resolves immediate issues but also safeguards the security and convenience of your home. Whether it’s cleaning the keypad or upgrading to a new model, these steps empower you to take charge of your garage access system. A properly functioning keypad means smooth operation and peace of mind for years to come.
I am Rick. I grew up helping my dad with his handyman service. I learned a lot from him about how to fix things, and also about how to work hard and take care of business. These days, I’m still into fixing things- only now, I’m doing it for a living.
I’m always looking for new ways to help people grow and develop. That’s why I have created this blog to share all my experience and knowledge so
that I can help people who are interested in DIY repair.