
Are you tired of looking at that unsightly dent in your garage door daily? Whether it’s from an accidental bump with your car or a stray ball, dents on garage doors can be frustrating and unappealing. However, don’t worry – how to fix dented garage door is easier than you might think.
A dented garage door can be an unsightly nuisance and may affect not only the aesthetics of your home but also the door’s functionality and efficiency. Fortunately, fixing a dented garage door doesn’t have to be a daunting task. With the right tools and techniques, you can restore your door to its original condition, often without professional assistance.
In this guide, we will discuss a variety of methods for effectively repairing dents in your garage door, whether it’s made of steel, aluminum, or wood, ensuring you can reclaim your home’s curb appeal.
What Will You Need?
Before fixing the dented garage door, you will need to gather the necessary tools and materials. These may include:
- Hammer
- Rubber mallet
- Block of wood
- Plunger
- Heat gun or hairdryer
- Aluminum foil
- Dry ice (for steel doors)
- Paint and paintbrush (if necessary)
Having these items handy before starting is essential as it can save you time and frustration in the repair process. Sometimes, you may not need all of them, but it’s always better to be prepared.
10 Easy Steps on How to Fix Dented Garage Door
Step 1: Using a Hammer and Block of Wood
Begin by positioning a block of wood against the dent in the garage door. This will help distribute the force of the hammer, minimizing the risk of further damage to the door’s surface. With the block securely in place, gently tap the hammer against the wood, starting from the outer edges of the dent and working your way toward the center.
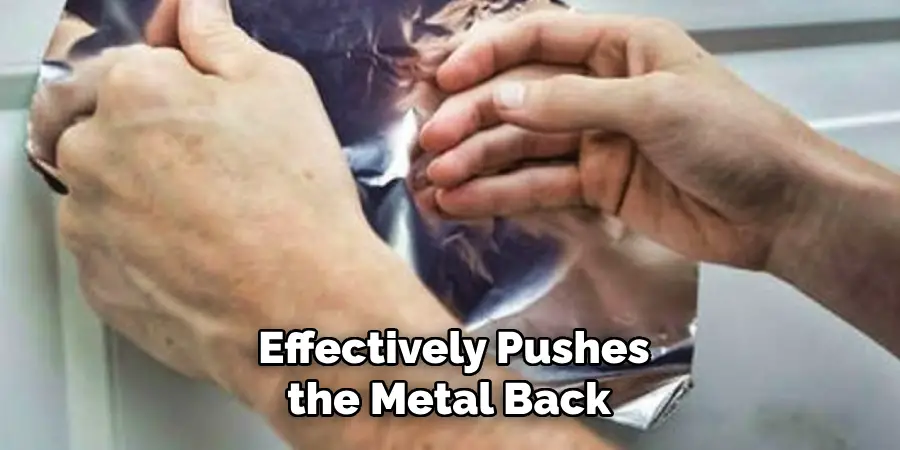
This technique effectively pushes the metal back into its original shape without creating additional dents. Be cautious not to strike too hard, as excessive force may lead to new dents or damage the door’s finish. After you’ve worked on the dent, step back to assess your progress and repeat the process as necessary until the dent is less visible or completely restored.
Step 2: Using a Plunger
A plunger can work wonders for smaller dents. Ensure the area around the dent is clean and free from debris. Moisten the edge of the plunger with a bit of water for better suction. Firmly press the plunger against the dent and pull outward quickly. The suction may pull the dent out, restoring the door’s flat surface. If the dent does not pop out on the first try, reposition the plunger and attempt again.
Step 3: Applying Heat
If the dent remains stubborn after trying the previous methods, another practical approach is to apply heat. This method works particularly well on steel garage doors because they can expand when heated. Begin using a heat gun or hairdryer on a low setting, directing the warm air about six inches away from the dent. Move the heat source in a circular motion, ensuring the area is heated evenly without overheating or damaging the paint.
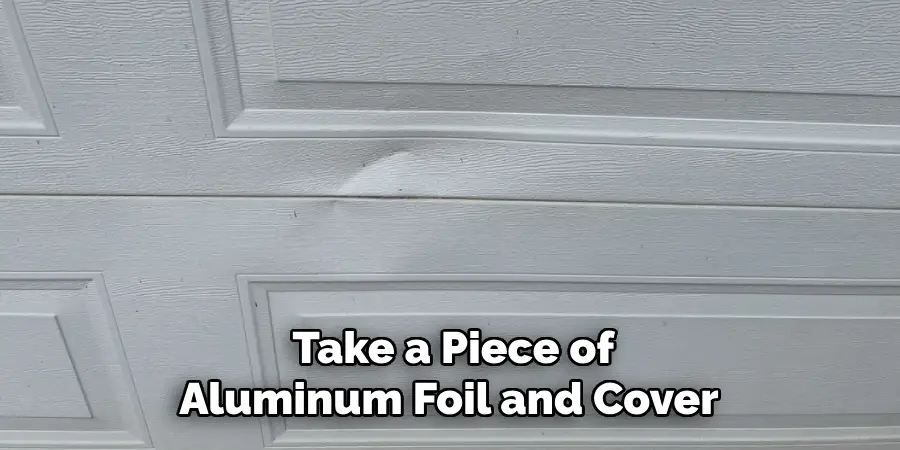
Once the metal is warm to the touch, take a piece of aluminum foil and cover the dent. Then, immediately apply dry ice to the foil, allowing the extreme cold to contract the metal rapidly. This combination of heat and rapid cooling can effectively pop the dent out. After the process, carefully remove any residual foil and inspect the area; if necessary, you can touch up any paint affected during the repair. Always take safety precautions when handling heat and cold materials to avoid burns or frostbite.
Step 4: Using a Vacuum Cleaner
If you have a vacuum cleaner with a hose attachment, you can also use it to fix some dents. Start by placing the vacuum cleaner at the bottom of the dent, ensuring the nozzle is completely sealed against the door’s surface. Turn the vacuum on to create suction, which may help pull the dent outward.
You might need to modify the nozzle or create a makeshift adapter using tape to ensure a tight seal against the door. This method can be particularly effective with small to medium-sized dents. Monitor the dent closely once the vacuum is running; it should begin to pop out if it does not, adjust the positioning of the vacuum and try again until you achieve the desired results.
Step 5: Using Dry Ice Alone
For steel garage doors, dry ice can be used independently for dent repair. First, wear protective gloves to prevent frostbite, as dry ice can be freezing. Carefully hold a piece of dry ice directly against the dent for several seconds. The rapid cooling effect on the metal can cause it to contract, making the dent pop back into place. Be cautious not to leave the dry ice on for too long to avoid damaging the door’s finish. After removing the dry ice, inspect the area for any improvements; if necessary, repeat the process until the dent has diminished or disappeared.
Step 6: Filling in the Dents with Filler
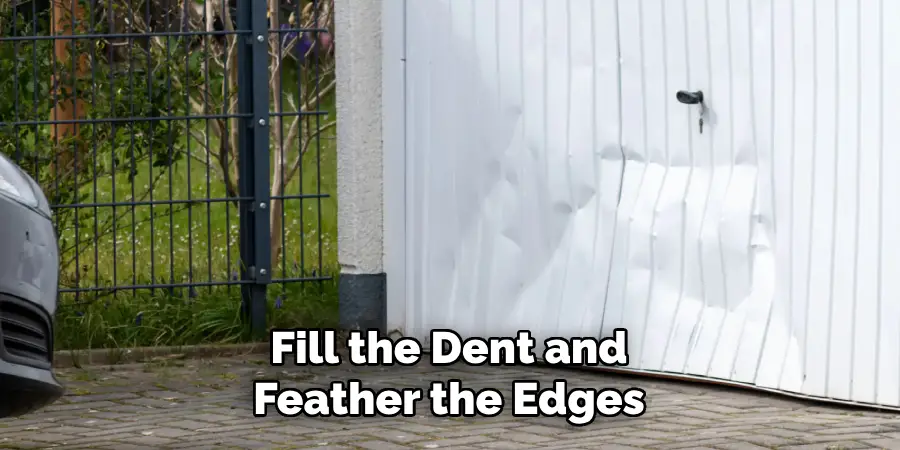
If the dent is particularly deep or the previous methods still need to achieve the desired results, a filler can be an effective solution. Begin by cleaning the area around the dent thoroughly to remove any dirt or debris. Once clean, apply a suitable body or automotive-grade filler to the dent, using a putty knife to smooth it out.
Fill the dent and feather the edges for a seamless finish. Allow the filler to dry according to the manufacturer’s instructions, which typically takes a few hours. After it has set, sand the area with fine-grit sandpaper until smooth and level with the surrounding surface. Finally, you may need to repaint the area to match the rest of the garage door, ensuring it blends in well for a polished look.
Step 7: Sanding the Area
Once the filler has dried and cured, it’s time to smooth the surface for an even finish. Begin by selecting fine-grit sandpaper, preferably between 120 to 220 grit, to avoid removing too much material. Gently sand the area around the repair in a circular motion, focusing on the filled dent until it’s level with the surrounding surface. It’s crucial to be patient during this process; excessive pressure can lead to uneven surfaces or further damage.
As you sand, regularly wipe away any dust to assess your progress. Once you achieve a smooth, even surface, you may still notice a slight difference in texture or color compared to the rest of the door.
Step 8: Preparing for Painting
Before applying paint to the repaired area, ensure it’s clean and dust-free. Wipe the surface with a damp or tack cloth to remove any sanding residue. Next, you may want to apply a primer coat if you’ve exposed bare metal or if there’s a significant difference in pigmentation. Priming helps the paint adhere better and can enhance the overall finish. If you’re using a spray primer, hold the can about 6 to 12 inches away from the surface, applying in light, even coats to avoid drips or pooling.
Step 9: Painting the Repaired Area
You can start painting when the primer has dried completely, which usually takes about 30 minutes to an hour. Use a paint color that closely matches your garage door; consider taking a sample to a paint store for matching. Depending on your preference, you can use either a paintbrush or a spray can for the application. If using a brush, apply the paint in thin layers, allowing each coat to dry thoroughly before adding another until the desired coverage is achieved. For spray paint, similar techniques apply: keep the can moving to create an even, cohesive coat.
Step 10: Final Touches and Inspection
After the paint has dried completely, inspect the repaired area closely under different lighting conditions. Look for any inconsistencies in color or texture and address them as necessary, whether that means adding more paint or lightly sanding down edges that don’t blend well.
It’s also a good idea to wipe down the entire garage door to ensure it maintains a clean and polished appearance. Consider applying a protective sealant or clear coat over the paint to help prolong its life, especially if your garage door is exposed to harsh weather conditions. Finally, admire your work, knowing you’ve restored your garage door to its former glory.
Following these steps and using the appropriate tools and materials, you can quickly repair minor dents on your garage door without hiring a professional.
Conclusion
In conclusion, how to fix dented garage door can be a straightforward task when approached methodically.
By employing basic techniques such as heating, vacuum suction, dry ice application, filling, sanding, and painting, homeowners can restore their garage doors to an appealing condition without needing professional help. Each step plays an essential role in ensuring that the repair looks good and withstands the test of time and weather.
With patience and attention to detail, you can achieve a well-finished result that enhances your home’s aesthetic and value. Always prioritize safety by using protective gear and following manufacturer instructions for any products used during the repair process.
I am Rick. I grew up helping my dad with his handyman service. I learned a lot from him about how to fix things, and also about how to work hard and take care of business. These days, I’m still into fixing things- only now, I’m doing it for a living.
I’m always looking for new ways to help people grow and develop. That’s why I have created this blog to share all my experience and knowledge so
that I can help people who are interested in DIY repair.