
A cracked garage floor can be an unsightly and potentially hazardous issue for homeowners, especially if you’re planning to apply an epoxy coating to enhance both its appearance and durability. Epoxy is a popular choice for garage floors due to its ability to create a smooth, glossy, and resilient surface that resists stains, chemicals, and wear.
However, applying epoxy over a cracked or damaged garage floor can lead to subpar results, as the imperfections will likely show through and compromise the coating’s integrity. To ensure a flawless epoxy finish, it’s essential to address those cracks beforehand.
In this comprehensive guide, we’ll walk you through the step-by-step process of how to fix cracks in garage floor before epoxy, covering everything from assessing the severity of the damage to selecting the right repair materials and techniques.
With the proper care and attention to detail, you can transform your cracked garage floor into a seamless and stunning epoxy-coated surface that will not only enhance your home’s aesthetic but also provide long-lasting protection.
Common Causes of Cracks in Garage Floors
There are several common causes of cracks in garage floors. One of the primary reasons is the expansion and contraction of the concrete due to temperature changes. As the temperature fluctuates, the concrete expands and contracts, leading to cracks over time.
Heavy vehicle traffic can also contribute to cracks in the garage floor. The weight of cars and other vehicles can put stress on the concrete, causing it to crack.
Another cause of cracks is poor installation or the use of subpar materials. If the concrete was not properly mixed or if low-quality materials were used during the installation process, it can result in cracks.
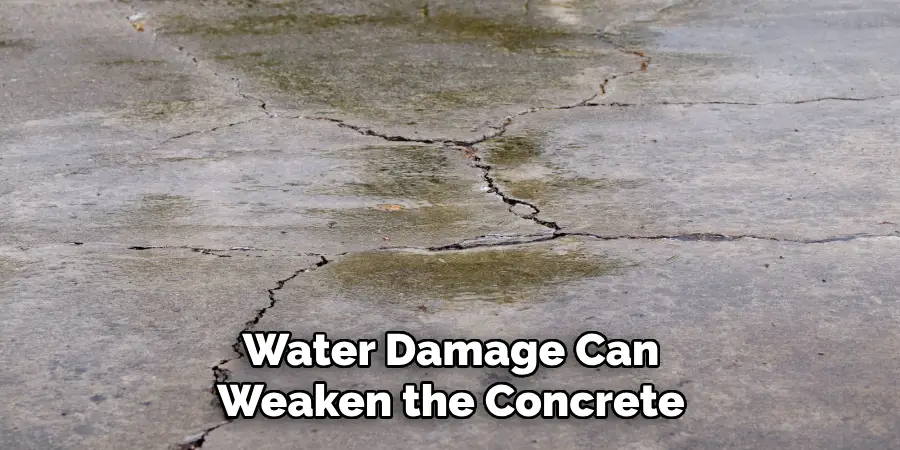
Additionally, moisture and water damage can weaken the concrete and lead to cracks. Water can seep into the concrete, freeze, and expand, causing it to crack.
Tools and Materials Needed for Repairing Cracks
Before you begin repairing the cracks in your garage floor, gather the necessary tools and materials. Safety equipment such as gloves, goggles, and a mask are essential to protect yourself during the repair process.
You will also need concrete crack filler, a trowel or putty knife for smoothing the filler, a concrete grinder or sandpaper for preparing the surface, a vacuum or broom for cleaning, and an epoxy coating kit for the final step.
Preparing the Garage Floor for Repair
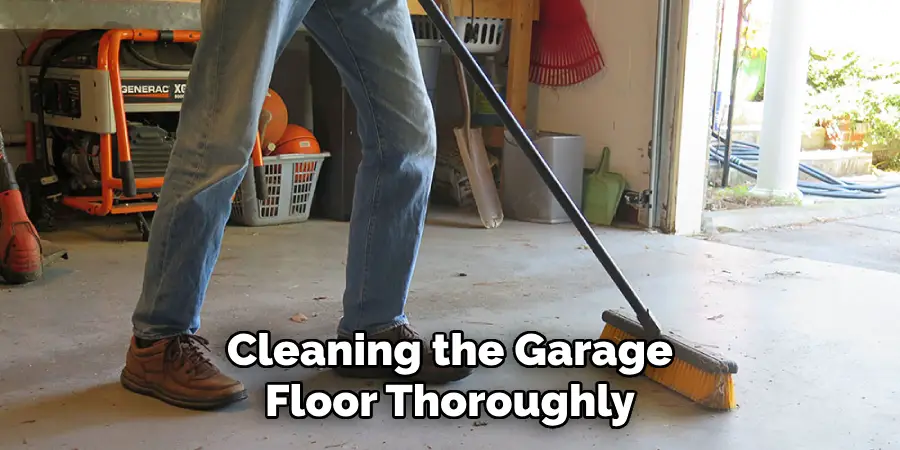
To ensure a successful repair, it is crucial to prepare the garage floor properly. Start by cleaning the surface thoroughly to remove any dirt, dust, or debris. This can be done using a broom or a vacuum cleaner.
Next, use a concrete grinder or sandpaper to roughen the area around the crack. This will help the filler adhere better to the surface. Be sure to remove any loose concrete or debris from the crack before proceeding.
10 Steps How to Fix Cracks in Garage Floor before Epoxy
Step 1: Safety First
Before you begin any project, prioritize safety. Wear appropriate protective gear, including safety glasses, gloves, and a dust mask. Ensure good ventilation in your garage to avoid inhaling fumes from any chemicals you may use.
Step 2: Gather Your Tools and Materials
To repair garage floor cracks, you’ll need the following tools and materials:
- Safety gear (as mentioned in Step 1).
- A wire brush or a crack chaser.
- A hammer and cold chisel.
- Vacuum cleaner or shop vac.
- Crack filler or epoxy repair kit.
- A trowel or putty knife.
- Plastic sheeting and masking tape.
- Concrete sealer (optional).
- Epoxy coating kit (for the future).
Step 3: Assess the Cracks
Examine the cracks in your garage floor to determine their size and severity. Hairline cracks may not require extensive repair, while larger cracks will need more attention. Measure the width and depth of the cracks to help you choose the appropriate filler.
Step 4: Prepare the Surface
Start by cleaning the garage floor thoroughly. Use a wire brush or crack chaser to remove any loose concrete or debris from the cracks. A hammer and cold chisel can help widen the cracks slightly, creating a V-shaped groove that allows the filler to adhere better.
Step 5: Vacuum the Area
After removing debris, use a vacuum cleaner or shop vac to remove any remaining dust and particles from the cracks. A clean surface ensures proper adhesion of the filler.
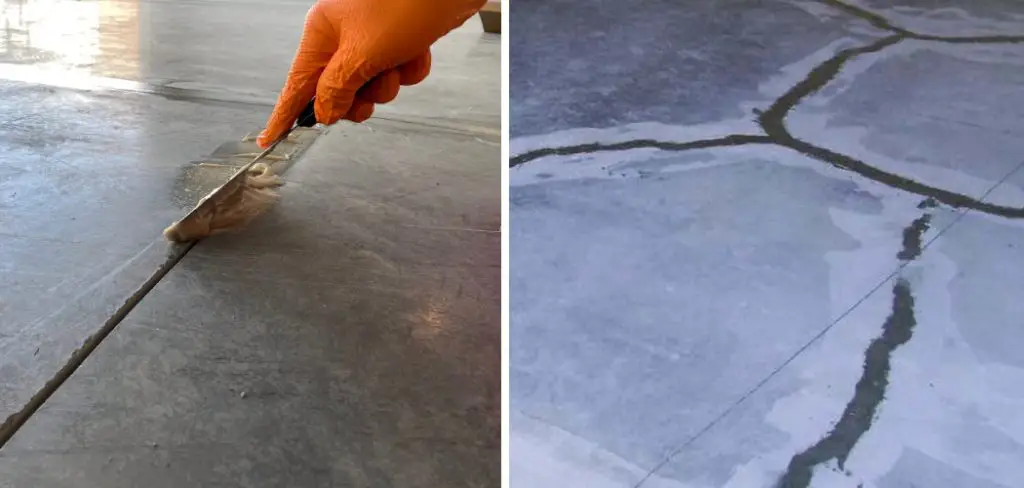
Step 6: Apply the Filler
Select the right filler for your cracks. For small cracks, a pre-mixed concrete crack filler may suffice. For larger cracks, an epoxy repair kit is recommended. Follow the manufacturer’s instructions to mix and apply the filler. Use a putty knife or trowel to ensure the filler is level with the floor surface.
Step 7: Smooth and Feather the Filler
After applying the filler, use the edge of your putty knife or trowel to feather the edges and create a seamless transition between the filled crack and the surrounding floor. This step is crucial to avoid visible seams when you apply the epoxy coating.
Step 8: Allow the Filler to Cure
Give the filler ample time to cure according to the manufacturer’s instructions. This typically takes several hours or even a full day, depending on the product and environmental conditions. Ensure the area remains undisturbed during this time.
Step 9: Check for Additional Cracks
Once the initial cracks are repaired and cured, inspect the entire garage floor for any additional cracks that may have been previously overlooked. Repeat Steps 3 to 8 as needed to address any new findings.
Step 10: Seal the Surface (Optional)
While not necessary, sealing the entire garage floor with a concrete sealer can enhance the durability and appearance of your garage floor. Follow the manufacturer’s instructions for the sealer you choose, and allow it to dry completely before moving on to applying epoxy.

Tips for Achieving a Smooth Surface
To achieve a smooth surface, there are a few tips you can follow. For larger cracks, it is recommended to use a concrete grinder instead of sandpaper.
A grinder will make it easier to level the surface and remove any high spots. When sanding, make sure to sand in multiple directions to avoid creating grooves or uneven areas. If necessary, apply a second layer of filler to ensure a smooth and level surface.
How to Choose the Right Epoxy Coating for Your Garage Floor
Choosing the right epoxy coating for your garage floor is essential to achieve the desired look and durability. Consider the level of traffic in your garage when selecting a coating. If you have heavy vehicle traffic, opt for a high-performance epoxy coating that can withstand the weight and stress.
Additionally, consider the level of gloss or sheen you prefer. Epoxy coatings are available in various finishes, from high gloss to satin. Lastly, look for a coating that offers UV protection to prevent fading and discoloration over time.
Applying Epoxy Coating to Your Repaired Garage Floor
Once the cracks are repaired and the garage floor is prepared, it is time to apply the epoxy coating. Start by mixing the epoxy according to the instructions provided with the kit.
Use a roller or brush to apply the epoxy to the floor, working in small sections at a time. Be sure to apply an even coat and avoid leaving any puddles or thick areas. Allow the epoxy to dry completely before applying a second coat if desired.
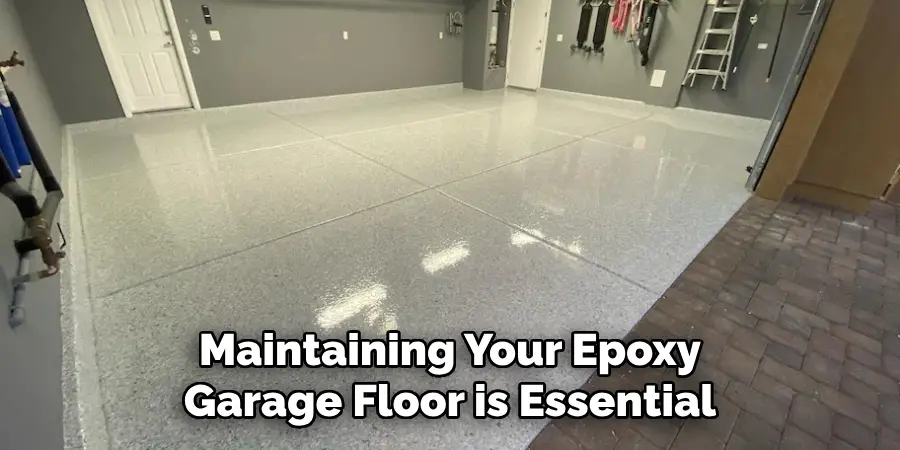
Maintaining Your Epoxy Garage Floor
Maintaining your epoxy garage floor is essential to ensure its longevity and keep it looking its best. Regular sweeping or mopping of the floor is necessary to remove any dirt or debris that may accumulate over time. This will help prevent scratches and other damage to the epoxy coating.
It is important to avoid using harsh chemicals or abrasive cleaners, as they can cause damage to the epoxy coating. Instead, use a mild detergent or specialized epoxy floor cleaner to clean the surface. If you notice any chips or scratches in the coating, touch them up as needed to maintain the integrity of the floor. This will help prevent further damage and ensure that your garage floor remains in top condition for years to come.
Conclusion
Repairing cracks in your garage floor before applying an epoxy coating is crucial for a smooth and durable finish. By following the steps outlined in this article, you can successfully repair the cracks and prepare your garage floor for an epoxy coating. The benefits of a smooth and polished garage floor are numerous, from improved aesthetics to increased durability.
Don’t be afraid to tackle this DIY project and transform your garage into a beautiful and functional space. Hopefully, this article gave you some helpful tips about how to fix cracks in garage floor before epoxy successfully, so now that you have the proper knowledge on how to get the job done, why not give it a try today?
I am Rick. I grew up helping my dad with his handyman service. I learned a lot from him about how to fix things, and also about how to work hard and take care of business. These days, I’m still into fixing things- only now, I’m doing it for a living.
I’m always looking for new ways to help people grow and develop. That’s why I have created this blog to share all my experience and knowledge so
that I can help people who are interested in DIY repair.