Are you having trouble opening or closing your garage door? Does the door get stuck when trying to move it?
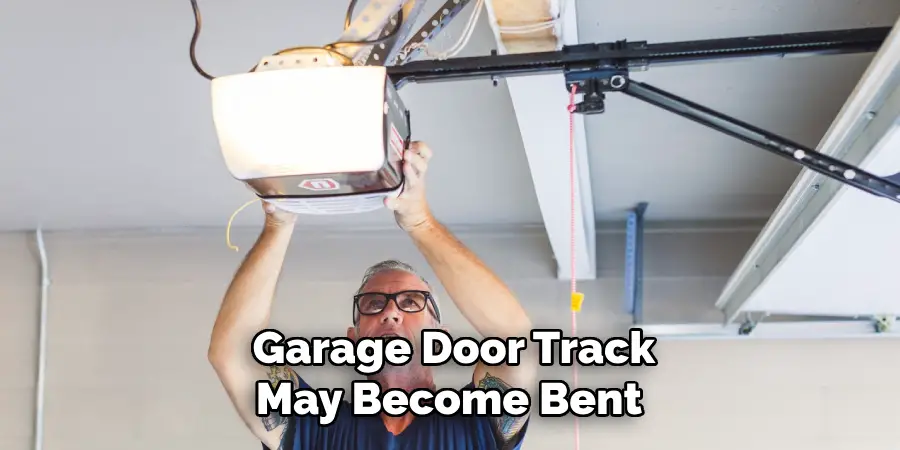
A bent garage door track can be a frustrating issue that compromises the functionality and security of your garage door. When the track is misaligned or damaged, it can lead to a noisy operation, difficulty in opening or closing the door, or even complete disrepair. Fortunately, fixing a bent garage door track is a manageable task for most homeowners with patience and the right tools.
In this guide on how to fix bent garage door track, we’ll cover the necessary steps to assess the damage, tools required for the repair, and a straightforward method to restore your garage door track to its proper alignment, ensuring smooth operation once again.
What are the Causes of a Bent Garage Door Track?
Before we dive into the steps for fixing a bent garage door track, it’s essential to understand why this issue occurs in the first place. Here are some common causes of a bent track:
- Accidental Impact: If you accidentally hit your garage door with your vehicle or any other heavy object, the tracks can bend out of shape.
- Lack of Maintenance: Over time, dirt and debris can accumulate on the tracks, causing them to become misaligned or damaged.
- Aging and Wear and Tear: With regular use, the metal tracks can become weak and eventually bend over time.
These are just a few reasons why your garage door track may become bent. Now, let’s move on to the steps to fix it.
What Will You Need?
To fix a bent garage door track, you’ll need the following tools:
- Ladder: A ladder will be required to access the top part of your garage door and tracks.
- Wrenches: Depending on the type of track system you have, you may need an adjustable or socket wrench to loosen bolts and screws.
- Pliers: Pliers will come in handy for straightening out any bent portions of the track.
- Mallet or Hammer: If needed, a rubber mallet or hammer can be used to gently tap the track back into alignment.
- Level: A level will help ensure that your garage door is properly aligned after fixing the track.
Once these tools are handy, follow the steps below to repair a bent garage door track.
10 Easy Steps on How to Fix Bent Garage Door Track:
Step 1: Inspect the Track
Begin by thoroughly examining the garage door track for any visible signs of damage. Look for bends, dents, or misalignments along the entire length of the track. Pay special attention to the areas where the door meets the track, as these spots are often more susceptible to damage due to regular use. It’s essential to assess the extent of the bending—some tracks may have slight bends that can be easily corrected, while others may require more extensive repair work.
Take note of any loose screws or bolts and ensure that the entire track system is securely attached to the wall. This initial inspection will give you a better understanding of what needs to be addressed, allowing you to proceed confidently in the following steps.
Step 2: Gather and Organize Your Tools
Before you begin the repair, it’s crucial to have all your tools gathered and organized for easy access. Lay out your ladder, wrenches, pliers, mallet, or hammer, and level in a convenient area near your garage door. Everything at hand will help you work more efficiently and minimize interruptions during the repair process. Make sure your ladder is stable and positioned safely to reach the track without any risk. Once you have everything ready, you can confidently proceed to the next step.
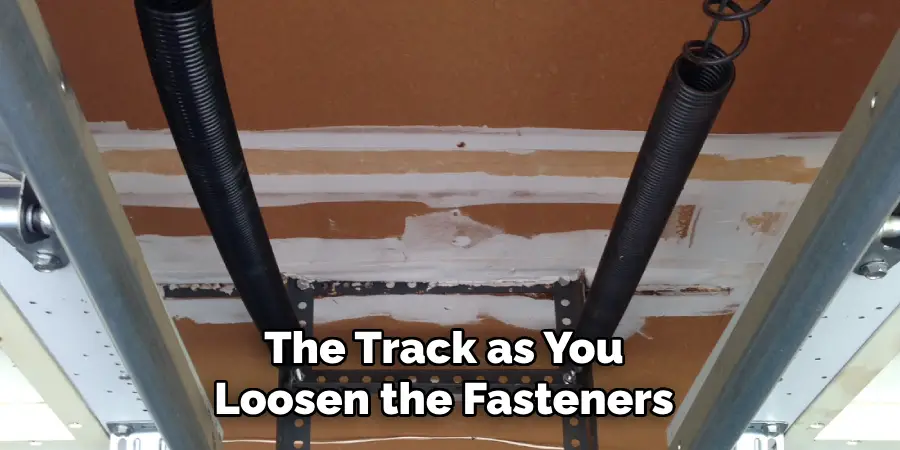
Step 3: Loosen the Track Fasteners
Using your appropriate wrench, carefully loosen the fasteners securing the bent section of the track to the wall. Be mindful not to remove them entirely at this stage; just loosen them enough to allow for some track movement. This will create the necessary flexibility for realigning the track without causing further damage. If you encounter any resistance, apply penetrating oil to the bolts and let them sit for a few minutes to ease the process. Ensure you have a firm grip on the track as you loosen the fasteners to prevent any sudden shifts that could cause injury or additional bending.
Step 4: Straighten the Bent Section
Once you’ve loosened the track fasteners, carefully examine the bent section of the track. Using your pliers, gently grip the bent area and attempt to straighten it out by applying even pressure. If the bend is significant, you may need to use the mallet or hammer to tap the section back into alignment carefully. Be cautious with the force applied; it’s essential to avoid damaging the track further. As you work, periodically check your progress against the straight edge of the level to ensure you’re achieving the desired alignment.
Step 5: Secure the TrackBack in Place
With the track straightened, it’s time to secure it back to the wall. Align the track so it is level and correctly positioned relative to the door. Once you’re satisfied with the placement, use your wrench to re-tighten the fasteners you loosened in the previous step. Make sure to tighten them securely, as a loose track can lead to future misalignments or operational issues. It’s crucial to check that the track remains straight during this process; you may need to make minor adjustments while tightening.
Step 6: Test the Door Operation
After securing the track, testing the garage door’s functionality is essential. Slowly open and close the door to ensure it moves smoothly along the newly aligned track. Listen for any unusual sounds like grinding or scraping, which may indicate that the track is still not correctly aligned. Congratulations if the door operates smoothly, you’ve successfully repaired the bent track! If there are still issues, you may need to revisit the previous steps to make additional adjustments.
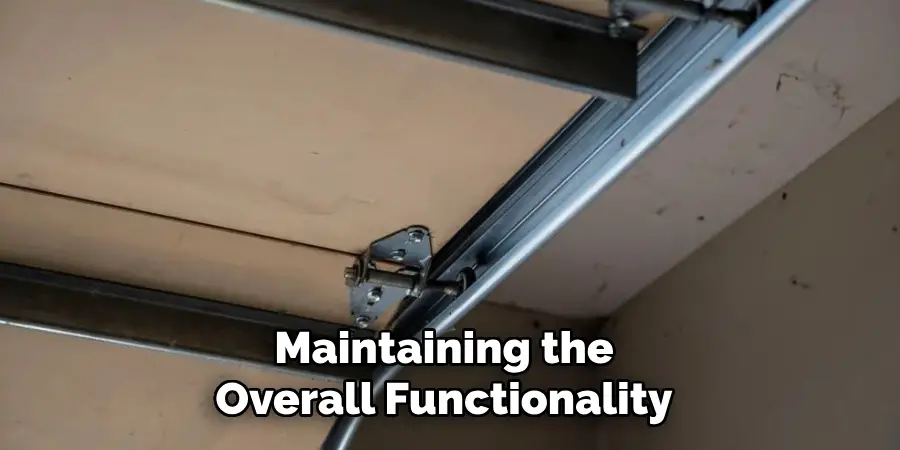
Step 7: Perform Maintenance Checks
To prevent future bending or misalignment, performing regular maintenance checks on your garage door system is advisable. This includes inspecting the tracks for dirt and debris, tightening screws and fasteners, and lubricating moving parts such as rollers and hinges. Keeping your garage door in good condition will extend its lifespan and ensure safer and more reliable operation. Regular maintenance is critical to avoiding costly repairs down the line and maintaining the overall functionality of your garage door.
Step 8: Clean the Tracks and Surrounding Area
After confirming that your garage door operates smoothly, take a moment to clean the tracks and the surrounding area. Remove any debris, dust, or cobwebs that may have accumulated along the track. Use a soft cloth or a brush to ensure the surfaces are clear of any obstructions. Additionally, check the rollers for dirt buildup, which can impede the door’s movement. A clean track system will enhance functionality and prolong the life of your garage door components, ensuring that they work efficiently.
Step 9: Inspect and Replace Damaged Components
Once the tracks and surrounding area are clean, take the time to inspect all components of your garage door system. Look for any wear or damage on the rollers, hinges, and pulleys. If you notice any broken, cracked, or excessively worn parts, it’s essential to replace them to ensure smooth operation. Pay special attention to the rollers, as they are integral to the door’s movement along the track.
Replacing damaged components improves the efficiency of your garage door and enhances safety, as malfunctioning parts can lead to accidents or further damage to the system. Make a note of any parts that need replacing, and refer to your garage door’s manual for the correct specifications when sourcing replacements.
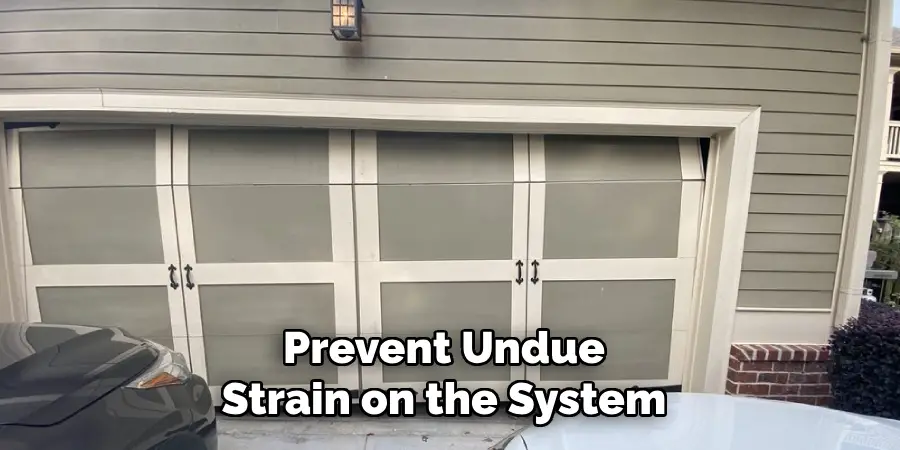
Step 10: Adjust the Tension of the Springs
Properly adjusted springs are vital for your garage door’s safe and efficient operation. To begin, locate the tension adjustment settings on the springs, typically found at the ends of the springs or near the garage door opener. Using the appropriate tools, carefully adjust the tension by increasing or decreasing the amount of spring pull. This process may require trial and error to achieve the ideal balance, allowing the door to open and close smoothly without excessive force. Be cautious when adjusting the springs, as they are under significant tension; if you’re uncomfortable with this task, consider consulting a professional for assistance. Properly tensioned springs will enhance the door’s performance, extend its longevity, and prevent undue strain on the system.
By following these steps, you can effectively repair a bent garage door track and maintain the overall functionality of your garage door system.
Conclusion
In summary, how to fix bent garage door track involves a series of systematic steps that prioritise safety and efficiency.
From loosening the track fasteners to straightening the bent section and securing it back in place, each action plays a critical role in restoring your garage door’s proper functionality. Regular maintenance is equally important to avoid future issues and ensure that tracks, rollers, and springs are kept in good condition.
By diligently performing these repairs and maintenance checks, you can prolong the life of your garage door system, enhance its performance, and ensure safe operation for years to come. If at any point you feel overwhelmed or uncertain, feel free to reach out to a professional for assistance.
I am Rick. I grew up helping my dad with his handyman service. I learned a lot from him about how to fix things, and also about how to work hard and take care of business. These days, I’m still into fixing things- only now, I’m doing it for a living.
I’m always looking for new ways to help people grow and develop. That’s why I have created this blog to share all my experience and knowledge so
that I can help people who are interested in DIY repair.