
A sticking garage door can be more than just a nuisance; it can impact both convenience and safety in your daily life.
When a garage door fails to function properly, it can lead to delays when leaving or entering your home, making it frustrating and inconvenient, especially during inclement weather.
Additionally, a malfunctioning garage door can pose safety hazards, such as being at risk of injury or increased vulnerability to break-ins. To effectively address these concerns, it’s essential to know how to fix a sticking garage door.
This article will guide you through identifying the cause of the issue, performing routine maintenance, and making necessary adjustments to restore the door to full functionality. By following these steps, you can ensure a smoother operation and prolong the lifespan of your garage door.
Identifying the Cause of the Sticking Door
Common Causes
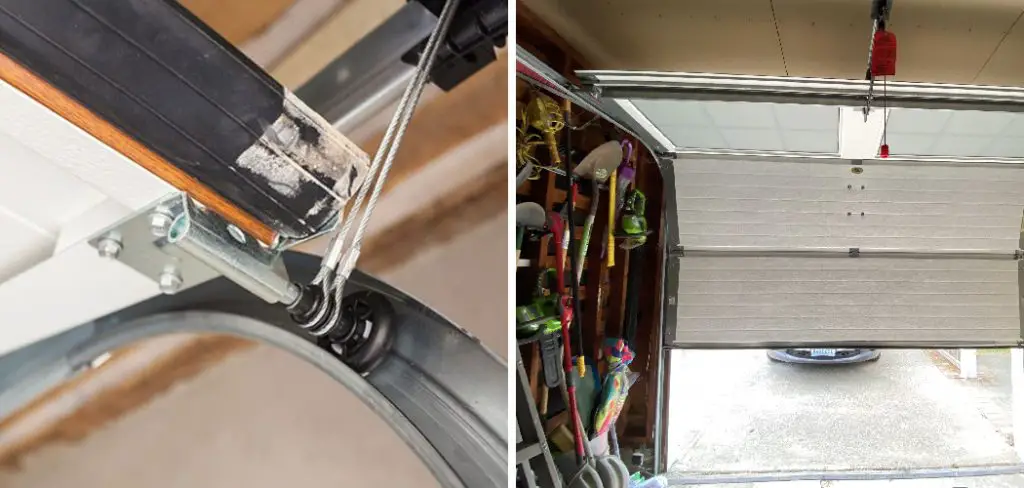
Several factors can contribute to a garage door sticking, including misalignment of the tracks or hinges, insufficient lubrication on moving parts, and debris accumulation in the tracks.
Weather conditions can also play a role, as moisture can cause rust on components, leading to friction and sticking. Understanding these common culprits is crucial for effectively diagnosing and resolving the issue.
Diagnosing the Problem
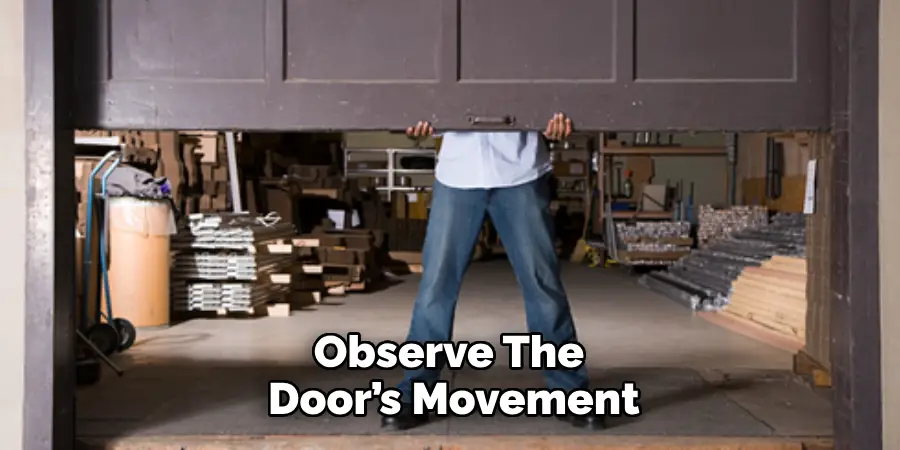
To diagnose the problem, observe the door’s movement as it opens and closes. Watch for any irregularities, such as jerky motion or unusual stops. Next, inspect the tracks for visible obstructions, such as dirt or debris.
Finally, listen closely for any unusual noises, such as grinding or squeaking, which might indicate that specific parts require lubrication or adjustment. By carefully inspecting, you can pinpoint the cause of the sticking issue more accurately.
How to Fix a Sticking Garage Door: Lubricating the Garage Door Components
Importance of Lubrication
Proper lubrication is essential for the smooth operation of your garage door. It significantly reduces friction between moving parts and prevents sticking issues. Lubrication also helps preserve the integrity of components, extending their lifespan and ensuring reliability. For optimal performance, it’s recommended to use silicone-based sprays or lithium grease, as they provide effective protection without attracting dust and debris.
Lubricating Hinges and Rollers
Apply Lubricant
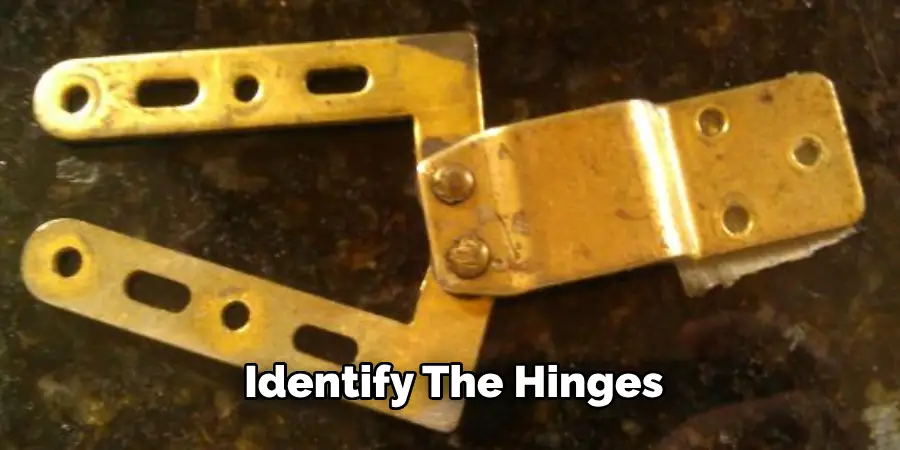
To begin, identify the hinges and rollers that require lubrication. Clean any dirt or grime from these components using a clean cloth. Next, apply a small amount of lubricant directly to each hinge pin and roller, ensuring even distribution. It’s important to avoid over-application, as excess lubricant can attract debris. Once applied, operate the garage door several times to allow the lubricant to penetrate fully into the moving parts.
Test the Door
After lubricating, test the door by opening and closing it a few times. Pay attention to its movement; if the door appears to stick or has resistance, you may need to adjust the amount of lubricant used. Applying too little may not resolve the issue, while too much could create a mess and trap dirt.
Lubricating the Tracks
Clean and Lubricate
Before applying lubricant, cleaning the tracks is crucial to remove any accumulated debris. Use a damp cloth or sponge to wipe down the inside of the tracks, ensuring they are free of dirt and obstructions.
After cleaning, apply a suitable lubricant along the length of the tracks. This will facilitate smooth sliding of the rollers and promote seamless garage door operation. Regular lubrication of both hinges and tracks is key to maintaining optimal performance and preventing future sticking problems.
How to Fix a Sticking Garage Door: Adjusting the Door Alignment
Check for Misalignment
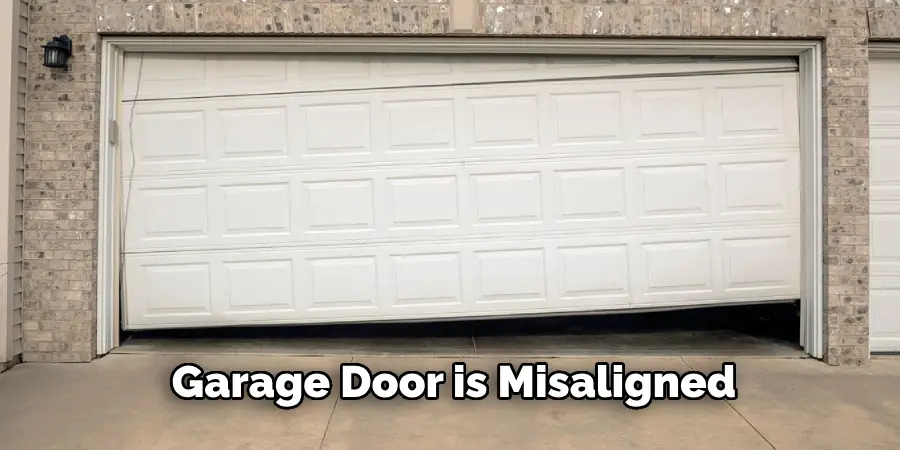
To determine if your garage door is misaligned, conduct a visual inspection. Begin by observing the gap between the door and the frame as the door opens and closes. Look for uneven gaps; if one side of the door is closer to the frame than the other, this may indicate misalignment.
Pay close attention to the door’s movement—if it appears to wobble or shifts to one side, it likely needs adjustment. Additionally, listen for any grinding or scraping noises, as these may also suggest that the door is not properly aligned. By diagnosing these issues early, you can take effective steps to remedy the misalignment, which is often a primary cause of sticking garage doors.
Adjusting the Track and Hinges
Track Alignment
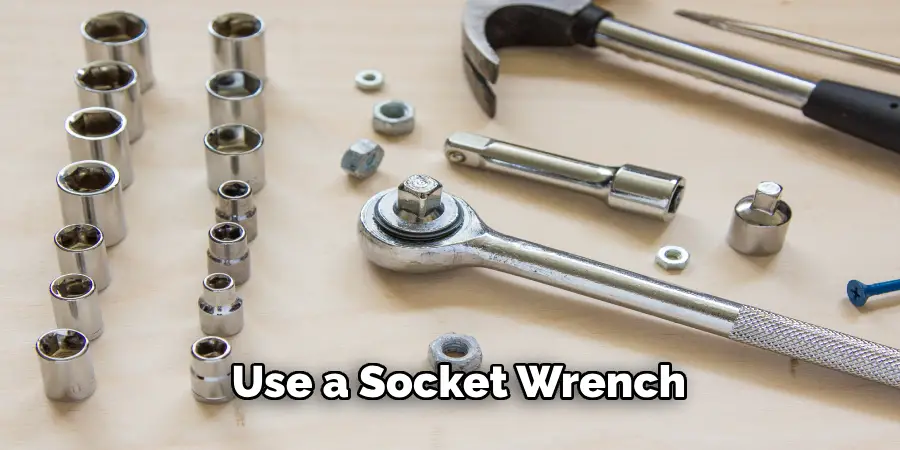
If misalignment is confirmed, the first step is to adjust the track. Start by loosening the track brackets that hold the tracks in place using a socket wrench. This will enable you to reposition the tracks as needed.
Carefully ensure that the tracks are both level and parallel to one another. A simple way to check the level is to use a spirit level along the length of each track. Once the tracks are correctly aligned, tighten the brackets securely to hold the tracks in their new position.
Hinge Adjustment
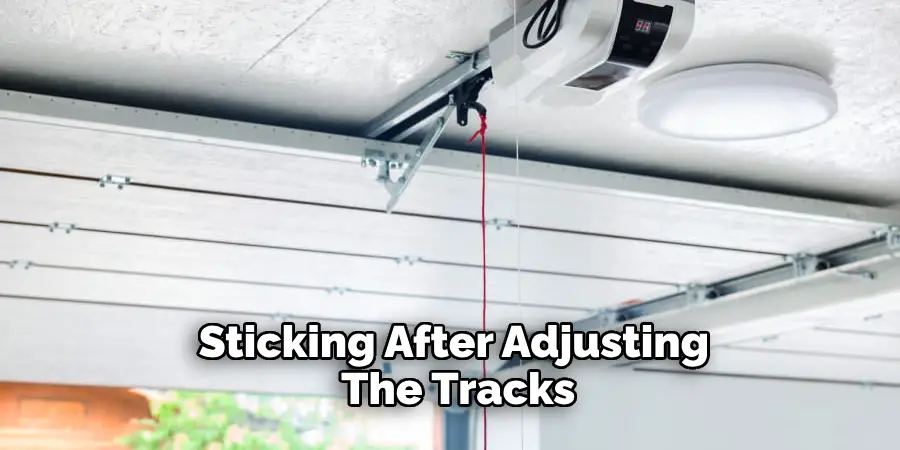
In cases where the door is still sticking after adjusting the tracks, you may need to focus on the hinges. Check that all hinges are properly aligned and securely fastened to the door and the frame.
If you see that any hinges are loose or out of alignment, loosen their screws slightly, adjust them into the correct position, and then retighten the screws. Ensuring that the hinges are aligned allows the door to move freely without obstruction, greatly reducing the risk of sticking.
Clearing Debris and Obstructions
Inspect the Tracks
A thorough inspection of the tracks is essential to ensure your garage door operates smoothly.
Begin by visually inspecting both the interior and exterior sides of the tracks for any visible dirt, grime, or debris that could impede the door’s movement. Pay close attention to the area where the rollers travel, as this is where most obstructions occur. If you notice a build-up, using a flashlight for a more detailed examination may be beneficial.
Occasionally, issues may arise from more subtle obstructions that could be lodged within the tracks. Regular inspection not only helps catch these problems early but also prolongs the lifespan of your garage door by preventing excessive wear and tear on the components.
Clean the Tracks
Once you’ve identified any dirt or debris along the tracks, it’s important to clean them effectively.

Use a clean cloth or sponge and, if necessary, a mild detergent mixed with water to wipe down the surfaces. Avoid using harsh chemicals, as these could damage the finish of your tracks. Focus on removing any stubborn grime by gently scrubbing the affected areas. After cleaning, rinse the tracks with fresh water, ensuring all soap residue is washed away, as it can attract more dirt over time.
Once the tracks are clean and dry, inspect them again to ensure there are no remaining obstructions. This step is crucial, as clear tracks facilitate smooth rolling of the door, helping to eliminate any sticking issues.
Check for Obstructions
Beyond inspecting the tracks, it’s equally important to look for any obstructions surrounding the garage door itself. Examine the area closely for any objects, such as plants, tools, or storage items, that may have moved into the door’s path. These obstacles can interfere with the door’s movement and lead to sticking or misalignment issues.
Carefully remove any identified items and ensure the area remains clear. Additionally, consider the effects of weather—fallen leaves, snow, or ice can create barriers. Keeping the space around your garage door tidy and free from potential obstructions is key to maintaining its functionality and preventing future issues.
Checking and Tightening Hardware
Inspect and Tighten Bolts and Screws
Regularly inspecting and tightening bolts, screws, and other hardware on your garage door is essential for maintaining its functionality.
Examine all visible fasteners on the door, tracks, and hinges for signs of loosening. A loose component can cause misalignment, resulting in sticking as the door moves. Use a socket wrench or screwdriver to secure any loose hardware firmly, ensuring that all parts are tightly fastened for efficient operation.
Replace Worn-Out Parts
Over time, certain garage door components may wear out or become damaged, significantly contributing to sticking issues. Common culprits include rollers, hinges, and springs. To identify worn parts, look for signs such as excessive rust, cracking, or a noticeable reduction in movement smoothness. When replacing damaged components, ensure you select high-quality parts compatible with your garage door system.
Follow the manufacturer’s instructions for installation, which will help restore the door’s efficiency and ensure it operates smoothly.
Testing and Fine-Tuning
Test the Door
Once all maintenance tasks have been completed, it’s crucial to test the garage door to ensure it operates smoothly.
Open and close the door several times, observing its movement for any signs of sticking or misalignment. Pay attention to the sound the door makes; a smooth operation should be quiet and consistent. If the door functions correctly without issue, you can be confident that the adjustments and cleaning have successfully resolved the problem.
Make Adjustments
Further fine-tuning may be required if the garage door continues to stick despite maintenance efforts. Reassess the alignment of the tracks and hinges, making any necessary adjustments to ensure they are perfectly positioned. Additionally,
checking the lubrication of the moving parts and applying silicone spray or lithium grease may significantly improve performance. Addressing any remaining hardware concerns will improve garage door operation, ensuring reliability and longevity.
Preventative Maintenance Tips
Regular Inspections
Regularly inspecting your garage door system is essential in catching potential issues early. Schedule a monthly check-up to examine the entire door assembly, including tracks, hinges, and rollers, for signs of wear and tear. Ensure there are no obstructions in or around the tracks and clear away any debris hindering operation.
Additionally, keep an eye on the weather seals and springs, as these components can wear out over time and may need replacement.
Proper Lubrication Schedule
Establish a lubrication routine to guarantee smooth operation and prevent sticking. It’s advisable to lubricate moving parts such as tracks, rollers, and hinges every three to six months, depending on usage.
Use a silicone-based lubricant or lithium grease for optimal performance. During lubrication, wipe away any excess to prevent attracting dirt. This simple maintenance step can significantly extend the lifespan of your garage door system and ensure consistent functionality.
Conclusion
In summary, understanding how to fix a sticking garage door involves a few essential steps. Start by identifying the cause of the sticking, which could stem from debris, misalignment, or worn-out components. Regularly lubricating the moving parts, such as tracks and rollers, is crucial for ensuring smooth operation. Additionally, adjusting the door and tracks’ alignment will help prevent sticking issues from reoccurring.
By keeping the area around your garage door free of debris and obstacles, you further contribute to its optimal functionality. Remember, careful adherence to these steps is key to successful maintenance.
Many sticking problems can be easily resolved with basic maintenance and adjustments. By implementing these practices, you can achieve a smoother and more reliable garage door operation, saving time and avoiding costly repairs in the long run.
I am Rick. I grew up helping my dad with his handyman service. I learned a lot from him about how to fix things, and also about how to work hard and take care of business. These days, I’m still into fixing things- only now, I’m doing it for a living.
I’m always looking for new ways to help people grow and develop. That’s why I have created this blog to share all my experience and knowledge so
that I can help people who are interested in DIY repair.