
Dealing with a garage door that won’t open can be incredibly frustrating, especially when you rely on it for daily convenience and security. This article addresses this common issue, emphasizing the importance of troubleshooting to restore your garage door’s functionality and ensure your peace of mind. We will guide you through the essential steps needed to resolve this problem effectively.

The process starts with basic checks, such as verifying power sources and inspecting the door’s components, including springs, tracks, and sensors. Following these systematic steps will teach you how to fix a garage door that won’t open and perform necessary repairs or adjustments, empowering you to tackle the problem head-on and regain access to your garage.
Check the Power Source
Verify the Garage Door Opener’s Power Connection
Start by ensuring that the garage door opener is securely plugged into a functioning outlet. If the opener appears unresponsive, check the circuit breaker or fuse box to confirm that power is being supplied. Reset any tripped breakers and replace any blown fuses as needed. A simple power connection check can often resolve the issue of a garage door that won’t open.
Test the Remote Control and Wall Switch
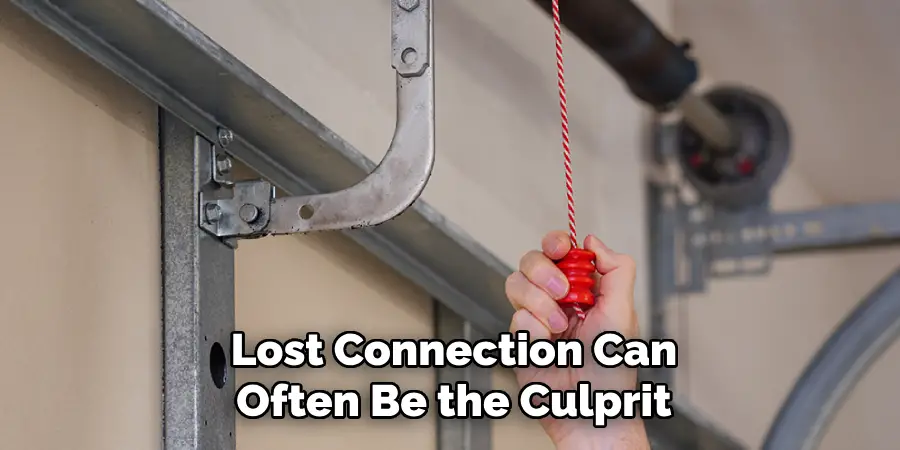
Next, test the remote control by replacing its batteries, as weak batteries can lead to poor performance. Additionally, try using the wall switch to see if it responds when pressed. If the door still doesn’t open, consider reprogramming the remote or wall switch according to the manufacturer’s instructions, as a lost connection can often be the culprit in a non-responsive system.
How to Fix a Garage Door that Won’t Open: Inspect the Garage Door Tracks and Rollers
Check for Obstructions or Debris in the Tracks
Begin by visually inspecting the garage door tracks for any obstructions that may hinder the door’s movement. Look for dirt, debris, or objects—like leaves, twigs, or miscellaneous items—that could block the tracks. It is essential to keep the tracks clear to ensure smooth operation. For cleaning, use a damp cloth or sponge to wipe the tracks and remove any accumulated dirt.
If larger objects are stuck in the tracks, gently pry them out with a flathead screwdriver or similar tool. After clearing the tracks, test the door’s functionality to see if it now opens smoothly. Regular maintenance and timely cleaning of the tracks can prevent potential issues and prolong the garage door system’s life.
Inspect Rollers for Damage or Wear
Next, examine the rollers that help the garage door move up and down along the tracks. Inspect each roller for signs of wear, rust, or physical damage. Worn or damaged rollers can lead to sluggish performance and may cause the door to become stuck at various points. If you notice any issues, you must promptly replace them with compatible replacements to restore the door’s functionality.
To replace a faulty roller, remove the door from its tracks at the topmost section, then carefully detach the damaged roller and replace it with a new one. Reattach the door to the tracks once you’ve installed the new rollers and ensure they are properly aligned. Make this inspection part of your regular maintenance routine to keep your garage door operating efficiently.
How to Fix a Garage Door that Won’t Open: Check the Garage Door Springs
Understanding Different Types of Springs
Garage doors operate with two primary types of springs: torsion springs and extension springs. Torsion springs are mounted above the door, coiling and uncoiling to easily lift and lower the door. They are designed to handle the majority of the door’s weight and help maintain balance during operation. On the other hand, extension springs are located on either side of the door and stretch or contract to assist in lifting the door.

Both types are crucial for the smooth and safe operation of your garage door, as they help to counterbalance the weight and ensure that the door moves up and down efficiently. Understanding the role of these springs is essential for effective maintenance and troubleshooting, as any malfunction in the springs can lead to serious operational issues or even pose safety risks.
Inspecting the Springs for Damage
Regular inspection of garage door springs ensures their functionality and safety. Begin by visually examining the springs for any obvious signs of damage, such as breakage, rust, or excessive wear. Look for gaps in the coils of torsion springs and any stretching or distortion in extension springs. A broken spring often manifests symptoms like the door being extremely heavy and difficult to lift manually or the door failing to stay open when raised.
If you notice any of these signs, it is crucial to address the issue promptly, as a compromised spring can impact the overall performance of the garage door and may lead to further complications if left untreated.
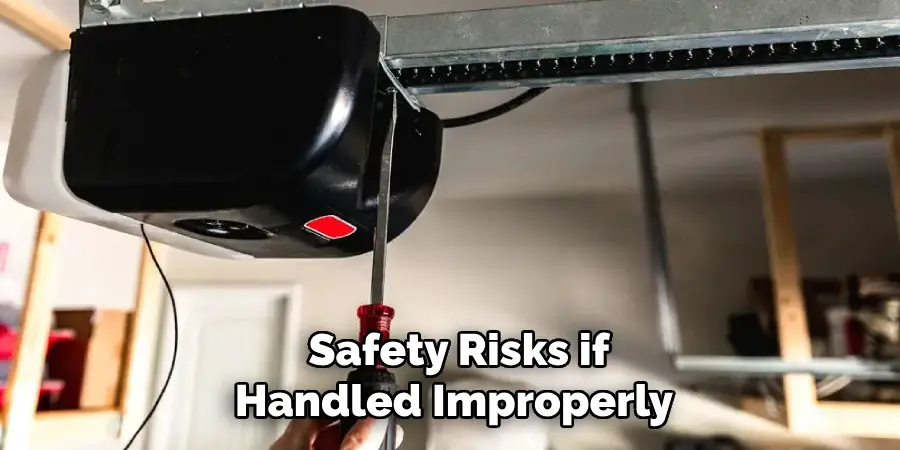
Replacing Broken Springs (Professional Assistance Recommended)
Replacing garage door springs can be hazardous due to the high tension involved, making it best suited for professionals. Incorrect handling of springs can lead to serious injuries or cause damage to the door mechanism. If you determine that a spring replacement is necessary, contacting a qualified garage door technician who can safely perform the replacement is strongly recommended.
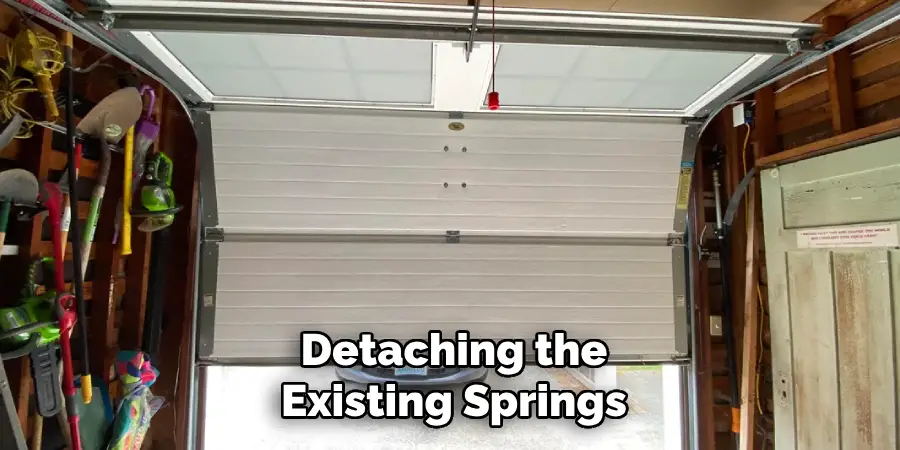
The process typically involves detaching the existing springs while maintaining proper tension and alignment, then installing new ones compatible with your garage door. Using the correct spring type is critical, as springs are engineered to work with different door weights and sizes. Attempting to replace springs on your own is risky and could exacerbate existing issues if done incorrectly. Therefore, enlist the help of skilled professionals to ensure a safe and effective solution.
Inspect and Adjust the Garage Door Opener
Check the Opener’s Safety Sensors
The safety sensors located near the bottom of the garage door tracks play a crucial role in ensuring safe operation. These sensors detect any obstacles in the door’s path, preventing it from closing when something is in the way. Begin by visually inspecting the sensors for any misalignment or dirt accumulation. If the sensors are not aligned properly, they may fail to communicate effectively, preventing the door from opening or closing.
To realign the sensors, gently adjust them so that they are facing each other directly—this can usually be done by loosening the mounting screws and adjusting their position. After realigning, wipe the lenses with a soft cloth to remove any grime or debris. This simple maintenance can significantly improve the functionality of the safety sensors, ensuring that the garage door operates safely.
Adjust the Opener’s Limit Settings
The limit settings on your garage door opener dictate how far the door will open and close. Incorrectly set limits can lead the door to stop short of the fully open or closed position, potentially causing strain on the system or failing to complete its cycle. To adjust these settings, locate the control panel on the garage door opener unit—typically, there will be two adjustment screws or dials labeled “up” and “down.” Use a screwdriver to turn the “up” dial to increase the opening height or adjust the “down” dial to modify how far the door closes.
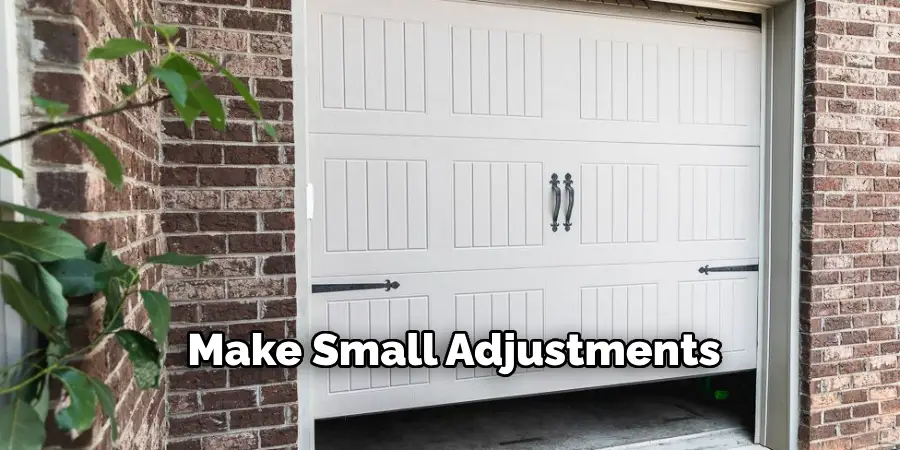
Make small adjustments and test the door after each change to ensure it opens and closes correctly. Remember that fine-tuning these limits may take a few tries to get precisely right, but it’s essential for the longevity and safety of your garage door system.
Inspect the Cables and Pulleys
Checking for Broken or Loose Cables
Inspecting the garage door cables is crucial for safe and effective operation. Look for signs of wear, fraying, or breakage, as damaged cables can jeopardize the door’s functionality. A loose cable may not provide sufficient tension, preventing the door from opening or closing seamlessly. If you identify any issues, it is important to replace the cables promptly, as failing to do so can lead to further complications and potentially hazardous situations.
Inspecting and Adjusting Pulleys
Pulleys play a vital role in the smooth movement of the garage door, making regular inspection essential. Check the pulleys for any signs of wear or misalignment, as faulty pulleys can disrupt the door’s movement and place additional strain on the system. Ensure that they are properly aligned and lubricated to facilitate optimal operation. If you notice any damage or malfunction, consult a professional for advice on whether they should be adjusted or replaced to maintain the garage door’s performance.
Manually Open the Garage Door
Using the Emergency Release Cord
In the event of a power failure or malfunctioning opener, you may need to manually open your garage door using the emergency release cord. To do this, first, locate the cord, typically a red handle hanging from the opener. Pull the cord straight down to disengage the opener. Once disengaged, position yourself at the center of the door and lift it slowly and steadily.
It’s important to take this step with caution, as garage doors can be heavy and difficult to manage without the help of the opener. Ensure to keep your fingers clear of any pinch points during this process.
Temporary Solutions While Waiting for Repairs
While waiting for repairs, securing your garage door is essential for safety and security. If your door is manually operable, engage the manual lock to prevent it from opening. Additionally, consider placing a sturdy barrier, such as a piece of wood or a vice clamp, against the door to keep it closed until professional assistance is available. These measures can help protect your belongings and deter unauthorized access.
When to Call a Professional
Complex Repairs or Safety Concerns
In specific situations, calling a professional is imperative, particularly for complex repairs like spring replacements, significant alignment issues, or electrical problems. These tasks often involve high tension or intricate mechanisms that can pose serious safety risks if handled improperly. If a repair exceeds your skill level, it’s wise to rely on a qualified technician to ensure the job is done safely and correctly, preventing potential injuries or additional damage.
Potential Costs and Time Considerations
While hiring a professional may initially seem costly, it often saves you time and money in the long run. The expenses associated with professional repairs can vary based on the issue’s complexity, but investing in expert assistance can prevent costly mistakes resulting from DIY attempts. Moreover, professionals can quickly diagnose and resolve problems, reducing downtime and restoring your garage door to optimal functionality.
Conclusion
In summary, understanding how to fix a garage door that won’t open involves several key steps. Begin by checking the power source to ensure the opener is functioning, followed by inspecting safety sensors for any misalignment or blockages. Adjust the opener’s limit settings as needed, and inspect cables and pulleys for wear and tear.
If necessary, manually engage the door during power outages while implementing temporary security measures. It’s paramount that safety is prioritized throughout this process; performing regular maintenance can help prevent issues from arising. Remember that while troubleshooting may present challenges, most garage door problems can be tackled through a careful, methodical approach.
If complex repairs arise, don’t hesitate to seek professional assistance for safe and effective solutions. With diligence and the right knowledge, you can maintain the optimal performance of your garage door.
I am Rick. I grew up helping my dad with his handyman service. I learned a lot from him about how to fix things, and also about how to work hard and take care of business. These days, I’m still into fixing things- only now, I’m doing it for a living.
I’m always looking for new ways to help people grow and develop. That’s why I have created this blog to share all my experience and knowledge so
that I can help people who are interested in DIY repair.