When it comes to ensuring the security of your home, managing the memory of your Liftmaster garage door opener is an essential step. Whether you need to remove old remote controls, reset the system, or prepare your opener for new programming, erasing its memory is a straightforward process. This guide will walk you through the steps of how to erase memory on liftmaster garage door opener safely and effectively.
What LiftMaster Garage Door Openers Are
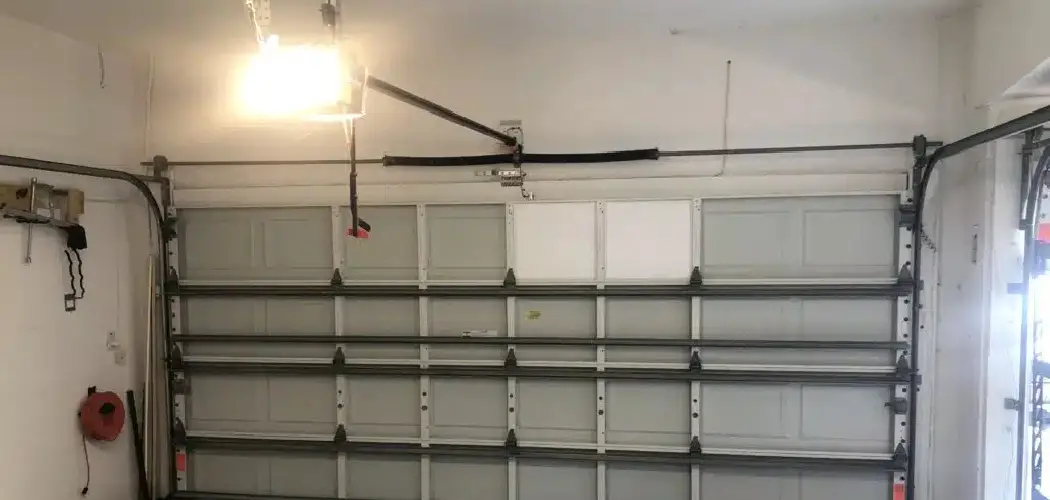
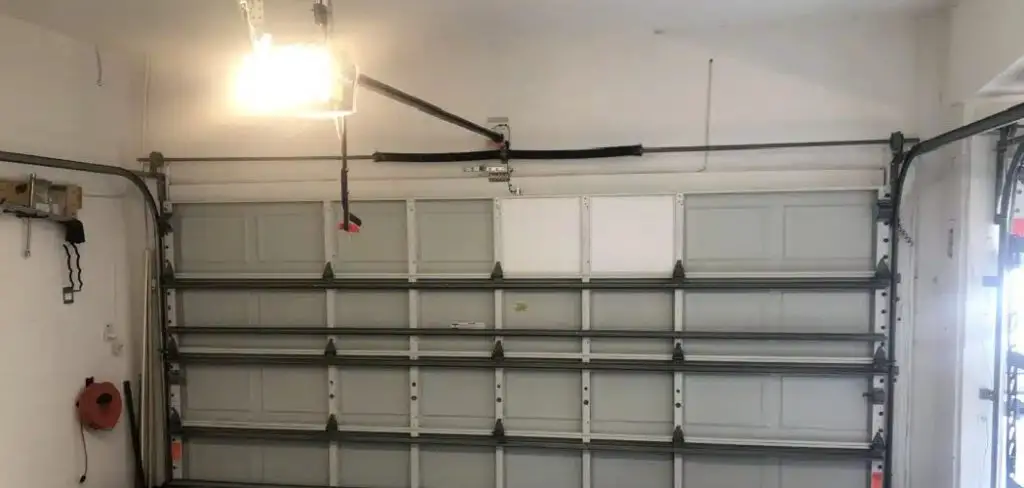
LiftMaster garage door openers are innovative, high-quality systems designed to provide convenience, security, and reliability for residential and commercial properties. Manufactured by Chamberlain Group, LiftMaster openers are equipped with advanced features such as smartphone connectivity through the myQ app, integrated battery backup systems, and high-performance motors. These openers come in a variety of models, including chain-drive, belt-drive, and wall-mount options, catering to diverse preferences and garage configurations. Renowned for their durability and cutting-edge technology, LiftMaster openers are a trusted solution for modernizing garage access and enhancing overall property security.
Tools and Preparation Needed
Before installing a LiftMaster opener, it’s essential to gather the necessary tools and prepare your space to ensure a smooth installation process. Common tools required include a power drill, a socket and wrench set, screwdrivers, a step ladder, and measuring tape. Additionally, you may need pliers, a level, and a stud finder for precise alignment and secure mounting. It’s also helpful to have all components of the opener kit organized and ready, such as the mounting brackets, rail assembly, and backup battery. Make sure the garage space is clean and free of obstacles for easy maneuvering during the installation. Proper preparation can save time and minimize potential complications.

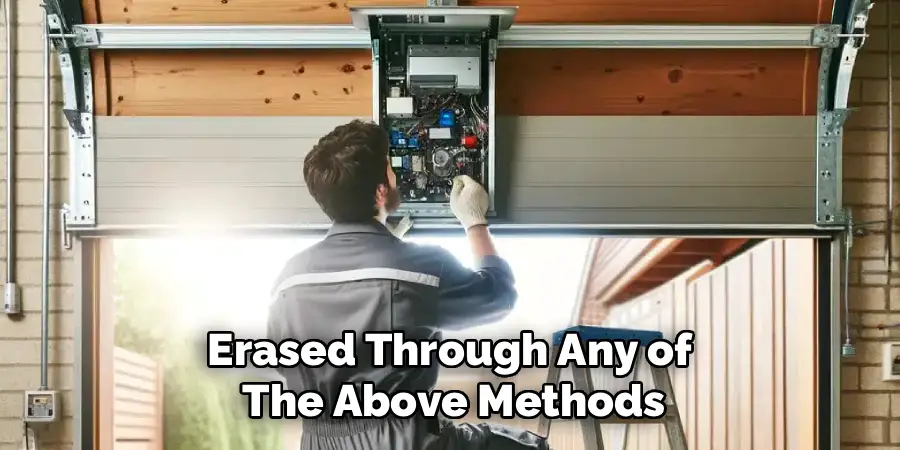
10 Methods How to Erase Memory on Liftmaster Garage Door Opener
1. Use the “Learn” Button to Clear All Codes
The simplest and most widely recommended method to erase all stored memory on a LiftMaster garage door opener is by using the “Learn” button located on the motor unit. Begin by unplugging the opener for safety, then plug it back in to power it on. Press and hold the “Learn” button for approximately 10 seconds until the indicator light turns off. This action clears all programmed remotes, keypads, and Homelink systems from the opener’s memory. After releasing the button, the opener is effectively reset to factory settings, allowing you to start fresh with new devices. This method ensures that no old codes remain accessible, which is especially important when selling a home or replacing an old remote.
2. Erase a Single Remote or Keypad Memory
If you do not want to clear all memory but only remove a specific remote or keypad, LiftMaster openers allow selective erasure. To do this, press and release the “Learn” button on the motor unit once. The indicator light will turn on, signaling that the opener is ready to erase a single device. Then, press and hold the button on the remote or keypad you want to delete until the indicator light blinks or turns off. This process erases only the targeted device without affecting other programmed devices, providing a convenient way to remove lost or malfunctioning remotes.
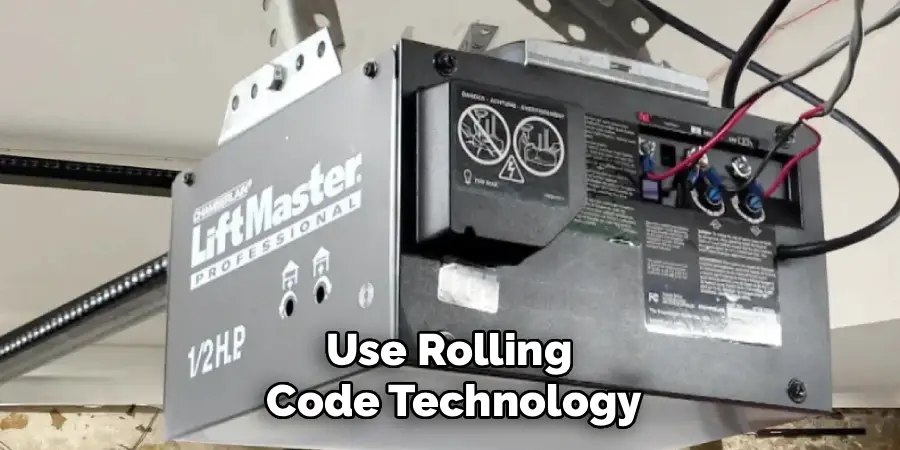
3. Perform a Rolling Code Reset
Modern LiftMaster openers use rolling code technology for added security. Erasing memory on these systems requires a rolling code reset. Start by clearing all memory using the “Learn” button method. Then, reprogram a new remote to the opener by pressing the “Learn” button and activating the remote. This generates a new rolling code sequence that overrides previous codes. Performing a rolling code reset ensures that old remotes or systems cannot operate the garage door, maintaining security after erasure.
4. Disconnect the Power for a Complete Reset
Another effective method to erase memory is to disconnect the power source temporarily. Turn off the opener and unplug it from the electrical outlet. Wait for at least five to ten minutes before plugging it back in. This interrupts the power supply and can help reset certain electronic memory functions within the unit. While this method may not erase all stored codes on older models, it often complements the “Learn” button procedure to ensure a more thorough reset, especially when the system appears unresponsive.
5. Clear Homelink Memory After LiftMaster Reset
Many vehicles use Homelink systems to operate LiftMaster openers. After erasing the opener memory using the “Learn” button, it is essential to also clear the Homelink memory in your car to prevent accidental operation. Follow your vehicle manufacturer’s Homelink erasure instructions, such as holding down the two outer buttons until the indicator light flashes rapidly. This step ensures that both the opener and the vehicle system are synchronized, preventing old codes from inadvertently opening the garage door.
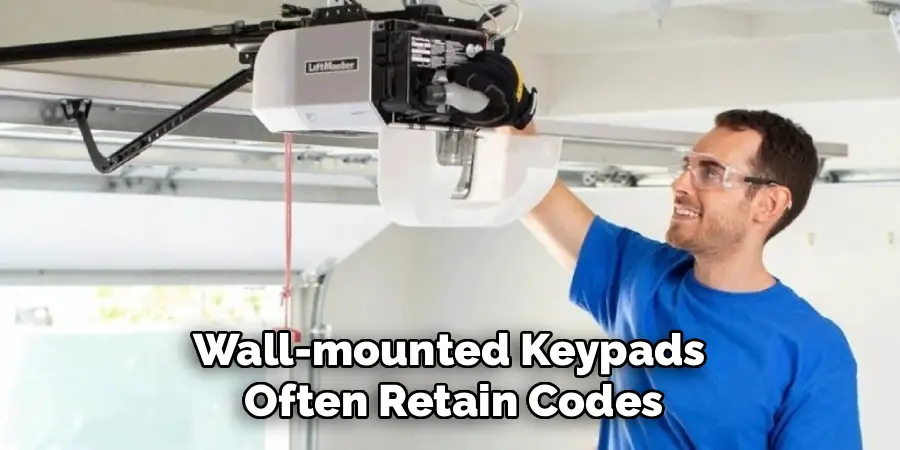
6. Reset Wall Keypads Connected to LiftMaster
Wall-mounted keypads often retain codes even after a memory reset of the opener itself. To erase memory on the keypad, locate the “Learn” or “Program” button on the keypad unit. Press and hold it until the display or indicator light shows that memory has been cleared, usually after 10–15 seconds. After this, any previous codes programmed into the keypad are removed, and you can set up new PIN codes. Resetting the keypad ensures that unauthorized access is eliminated after a memory purge.
7. Remove Individual Users on Multi-User Systems
For LiftMaster models supporting multiple users or PIN codes, you may not want to erase all memory but instead remove one user at a time. Access the opener’s control panel or the keypad and select the option for managing users. Choose the specific user or PIN code to delete, then confirm the deletion by pressing the appropriate buttons as indicated in the manual. This targeted method allows you to maintain access for authorized users while removing obsolete or unknown entries, making it ideal for families or shared garages.
8. Use the Opener’s App for Erasing Memory on Smart Models
Many modern LiftMaster openers support smartphone integration through MyQ or other apps. If your model is connected, you can erase memory or remove remote devices directly from the app. Open the MyQ app, navigate to the garage door settings, and select “Remove Devices” or “Erase Memory.” Follow the on-screen instructions to delete specific remotes, keypads, or vehicle systems. Using the app is convenient, especially if physical access to the motor unit is limited or the opener is mounted in a hard-to-reach area.
9. Verify Memory Erasure After Reset
Once the memory has been erased through any of the above methods, it is critical to verify that all codes have been successfully removed. Press any remote, keypad, or Homelink button that was previously programmed. If the garage door does not respond, the memory reset was successful. If the door still operates, repeat the appropriate erasure procedure or consult the user manual for additional steps. Verification ensures that no old codes remain active, which is important for security and reliable operation.
10. Reprogram After Erasure
After successfully erasing all memory on a LiftMaster garage door opener, the final step is to reprogram any desired remotes, keypads, or Homelink systems. Use the “Learn” button to initiate programming and follow the manufacturer’s instructions for each device. This step allows you to start fresh with a secure and organized system. Reprogramming immediately after erasure ensures that only authorized users have access, while eliminating any potential security risks associated with old or forgotten codes.
Troubleshooting Common Issues
Even with regular upkeep, garage door openers can occasionally face issues. Below are some common problems and their potential solutions:
- The Door Doesn’t Open or Close
- Check the power source to ensure the opener is plugged in and receiving power.
- Verify that the remote control batteries are working or replace them if needed.
- Inspect the safety sensors for any obstructions or dirt that might interfere with their function.
- The Door Reverses Before Closing
- Examine the tracks and rollers for debris or damage that might disrupt smooth operation.
- Test the alignment of the safety sensors and ensure the beams are unobstructed.
- The Opener Makes Unusual Noises
- Apply lubricant to the chain, belt, or screw drive to reduce friction and noise.
- Tighten any loose hardware, such as bolts or screws, that may rattle during operation.
- The Remote Range is Reduced
- Replace the remote batteries if the range decreases noticeably.
- Check for external interference, such as wireless devices, that might disrupt the signal.
If these troubleshooting steps don’t resolve the problem, consult your opener’s manual for specific guidance or consider contacting a professional technician for assistance. Regularly addressing such issues can help maintain the functionality and safety of your garage door system.
Conclusion
Erasing memory on a LiftMaster garage door opener is a straightforward process but requires attention to detail and safety. By following these ten methods—ranging from using the “Learn” button, performing selective erasures, rolling code resets, disconnecting power, and utilizing apps—you can ensure that all unwanted codes are fully cleared. Additionally, resetting Homelink systems, wall keypads, and multi-user entries complements the memory erase process and enhances security. Follow these simple instructions outlined in this blog post about how to erase memory on liftmaster garage door opener, and you’ll be able to get the job done with ease.
I am Rick. I grew up helping my dad with his handyman service. I learned a lot from him about how to fix things, and also about how to work hard and take care of business. These days, I’m still into fixing things- only now, I’m doing it for a living.
I’m always looking for new ways to help people grow and develop. That’s why I have created this blog to share all my experience and knowledge so
that I can help people who are interested in DIY repair.