The Homelink garage door opener is a convenient system that allows you to wirelessly control your garage door using your vehicle. While it provides ease of use and added functionality, there may be situations where you need to disable it, for instance, if you’re selling your car or no longer using the system.

This guide on how to disable homelink garage door opener will walk you through the steps to safely and effectively disable your Homelink garage door opener.
What is Homelink?
Homelink is a wireless control system integrated into many modern vehicles, allowing users to operate compatible devices such as garage doors, security gates, home lighting, and other smart home systems. Developed by Gentex Corporation, Homelink eliminates the need for separate remote controls, offering a seamless and convenient solution for managing household devices.
It is built into the vehicle’s interior, typically located on the rearview mirror, in the overhead console, or visor. The system uses radio frequency (RF) signals to communicate with compatible devices, making it a versatile and user-friendly option for enhancing your home’s automation and security.
How Does Homelink Work?
Homelink operates by sending coded radio frequency (RF) signals to compatible devices such as garage door openers, lighting systems, and security gates. To begin using Homelink, the system must first be programmed to recognize and communicate with your specific devices. This process typically involves pressing a combination of buttons on the Homelink system while simultaneously using the remote control of the target device to sync the frequency.
Once programmed, Homelink can be activated with just a press of a button, eliminating the need to carry multiple remotes. The system is designed to remember these codes, providing a reliable and seamless way to control your home automation devices directly from your vehicle.
Needed Materials
Homelink System:
The Homelink system can be found in most modern vehicles, and is typically located on the rearview mirror or overhead console. It consists of three buttons that can be programmed to control different devices.
Remote Control:
The remote control is needed to sync with the Homelink system. This can be a handheld remote for a garage door opener or other home automation device.
6 Step-by-Step Guidelines on How to Disable Homelink Garage Door Opener
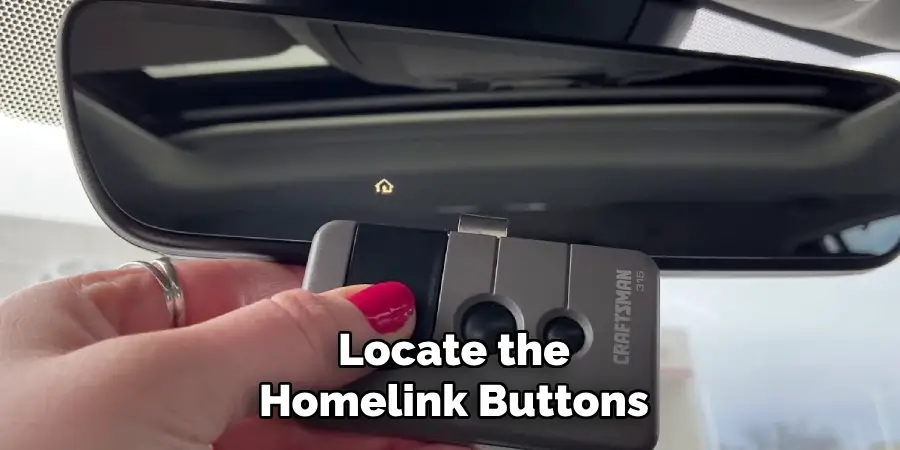
Step 1: Locate the Homelink Buttons
Begin by identifying the Homelink buttons in your vehicle. These buttons are usually located on the rearview mirror, overhead console, or sun visor, depending on your car’s make and model.

Typically, there are three buttons arranged in a row. Ensure your vehicle is parked in a safe location before proceeding to the next step.
Step 2: Check for Compatibility
Before disabling the Homelink garage door opener, verify that the system is compatible with your garage door opener model. Refer to your car’s owner’s manual or the garage door opener’s user manual for compatibility information.
Some older garage door openers may use different frequencies or technologies, which could impact the process. Ensure you have this confirmation before proceeding to the next steps.
Step 3: Clear Any Existing Programming
To clear any existing programming from the Homelink system, hold down the first and third buttons on the Homelink panel simultaneously. Continue holding these buttons for about 20-30 seconds, or until the indicator light begins to flash rapidly.
This signals that the Homelink memory has been erased. This step is crucial to ensure the system does not retain any previous codes, which could interfere with programming a new device. Once the memory is successfully cleared, you can proceed to the next step.
Step 4: Get Into Training Mode
Most vehicles have a training or pairing mode that allows you to program your Homelink system with your garage door opener. This mode may differ depending on the make and model of your vehicle, so consult your owner’s manual for specific instructions.

In general, you will need to turn on the ignition but not start the engine, and then press and hold a specific button or combination of buttons until the indicator light starts flashing.
Step 5: Train Your Homelink System
Once the training mode is activated, you can begin programming your Homelink system. Take your garage door opener’s remote and hold it close to the Homelink buttons in your vehicle. Press and hold both the designated Homelink button and the button on the remote simultaneously.
Continue holding until the Homelink indicator light changes from a slow flash to either a rapid flash or a solid light, depending on your vehicle. This indicates that the programming was successful. If needed, refer back to your owner’s manual for additional guidance or troubleshooting tips.
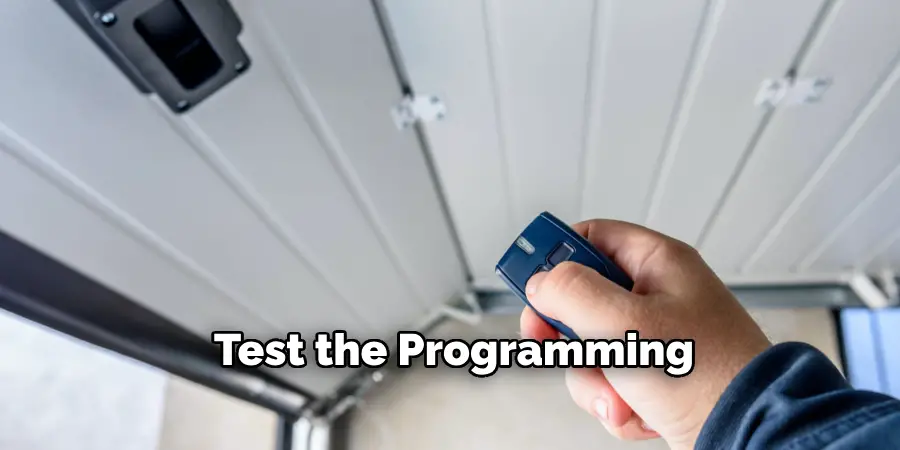
Step 6: Test the Programming
Once you have successfully programmed your Homelink system, it’s time to test it out. Park your vehicle in front of your garage and make sure that the engine is turned off.
Press and hold the designated Homelink button that you programmed earlier for a few seconds until the garage door starts to open or close. If it does, congratulations! You have successfully programmed your Homelink system.

Following the same steps on how to disable homelink garage door opener, you can program additional Homelink buttons for other garage doors or gates.
Remember to also test the range of your Homelink system by trying it from different distances and angles. If you notice any issues with the programming, refer back to your vehicle’s manual for troubleshooting tips.
Additional Tips for Programming Homelink
Ensure Proper Power Supply:
Before beginning, make sure your vehicle is turned on or in accessory mode to provide power to the Homelink buttons. A weak battery may result in unsuccessful programming.
Reposition the Remote:
If the programming doesn’t work on the first attempt, try varying the distance between the remote and the Homelink buttons. Sometimes, holding the remote just an inch or two away instead of directly touching it can make a difference.
Clear Existing Codes:
If you’re experiencing issues, consider resetting the Homelink system. To do this, press and hold the two outer Homelink buttons simultaneously until the indicator light begins flashing quickly. This will erase all previous programming.
Check for Compatibility:
Some older remotes or garage door models may require a compatibility bridge for successful programming. Check your manufacturer’s recommendations if you encounter persistent issues.
Seek Assistance:
If the indicator light fails to respond as expected or the system doesn’t seem to program correctly, consult the Homelink website or the technical support team for your vehicle or garage door opener.
How Much Will It Cost if You Hire Professionals?
The cost of hiring professionals to program your Homelink system can vary depending on several factors, such as your location, the complexity of the system, and the service provider you choose. On average, you can expect to pay anywhere from $50 to $150 for professional assistance.
This fee typically covers diagnosing any compatibility issues, ensuring proper programming, and verifying that the system operates correctly. While opting for professional help adds to the overall cost, it can save time and provide peace of mind, especially if you’re unfamiliar with the setup process or encounter persistent technical challenges. Be sure to request a quote in advance to avoid unexpected charges.
Frequently Asked Questions
Q: Can I Set Up a Home Automation System by Myself?
A: Yes, it is possible to set up a home automation system on your own. However, some technical knowledge and understanding of the technology used is required. It may also take more time and effort to troubleshoot any issues that may arise during the setup process.
Q: Is Professional Assistance Necessary for Setting Up a Home Automation System?
A A: While it is not necessary, opting for professional assistance can save time and provide peace of mind. They can ensure proper programming and compatibility as well as troubleshoot any technical challenges. The cost for professional assistance may vary depending on the complexity of the system.
Q: Do I Need to Have Certain Technical Skills to Set Up a Home Automation System?
A: No, most home automation systems come with user-friendly interfaces and step-by-step instructions. However, having basic knowledge of technology and electronics can help in understanding the setup process better.

Q: Are There Any Safety Concerns When Setting Up a Home Automation System?
A: It is important to follow all safety guidelines provided by the manufacturer when setting up a home automation system. This may include precautions for electrical wiring or handling certain devices. If unsure, it is best to seek professional assistance. Additionally, make sure to keep all passwords and login information secure to prevent any unauthorized access.
Q: Can I Customize My Home Automation System?
A: Yes, most home automation systems allow for customization and personalization according to the user’s preferences. This can include setting up specific schedules, creating personalized scenes, or integrating different smart devices into the system. It is important to familiarize yourself with the features and capabilities of your chosen system in order to fully utilize its customization options.
Conclusion
Setting up a home automation system can greatly enhance convenience, security, and energy efficiency in your daily life. By following the provided guidelines on how to disable homelink garage door opener and ensuring safety measures are in place, you can create a smart home that meets your needs.
Remember to stay informed about best practices and keep your system secure to fully enjoy the benefits of modern technology.
I am Rick. I grew up helping my dad with his handyman service. I learned a lot from him about how to fix things, and also about how to work hard and take care of business. These days, I’m still into fixing things- only now, I’m doing it for a living.
I’m always looking for new ways to help people grow and develop. That’s why I have created this blog to share all my experience and knowledge so
that I can help people who are interested in DIY repair.
