Garage door sensors are a key safety feature that helps prevent accidents by detecting objects or people in the door’s path. However, there are times when you may need to bypass or disable these sensors temporarily. Whether you’re troubleshooting a sensor malfunction, working on repairs, or testing your system, it’s important to know how to handle the sensors safely and correctly.
Before proceeding, ensure that you understand the potential risks of disabling garage door sensors. These sensors are designed to prevent the door from closing on objects, pets, or people, so disabling them can compromise safety. Only disable the sensors if absolutely necessary and ensure no one, particularly children, is nearby while the door is in operation. Always re-enable the sensors as soon as possible to restore the safety features of your garage door system.
This blog will guide you step-by-step on how to disable garage door sensors while ensuring you stay in compliance with any safety standards. You’ll learn how to approach this task effectively, even if you have no prior technical experience.
Why Disable Garage Door Sensors?
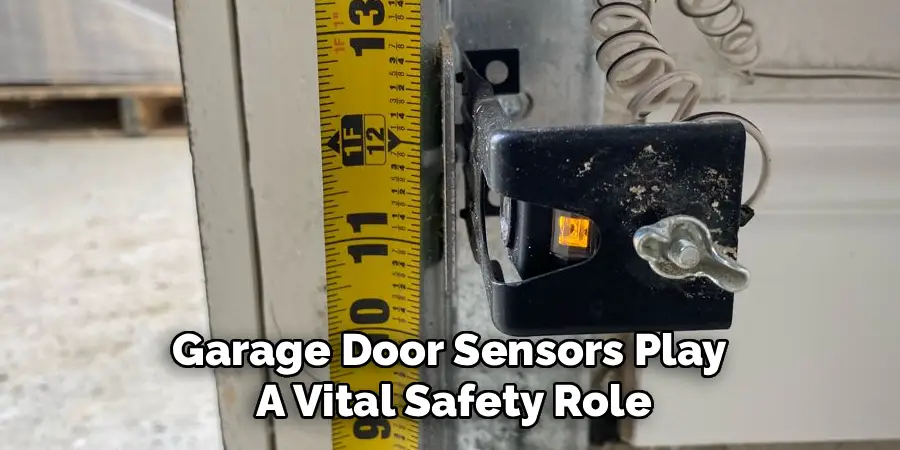
Although garage door sensors play a vital safety role, there are several reasons you might need to disable them temporarily. For example, sensors can sometimes fail or become misaligned, preventing your garage door from closing properly. This could leave your garage vulnerable to theft or harsh weather conditions.
Additionally, in homes with pets or small children, misaligned sensors or dirt buildup can lead to frequent interruptions, causing frustration. Testing or temporarily disabling these sensors can help diagnose the problem and get your garage door working normally again.
That said, it’s crucial to re-enable or fix the sensors promptly after troubleshooting. A garage door operating without sensors may pose risks to the safety of your family, pets, and property.
10 Step-by-Step Guide on How to Disable Garage Door Sensors
Disabling garage door sensors might seem technical, but with a little patience, it’s something most people can do themselves. Here’s exactly how to disable garage door sensors.
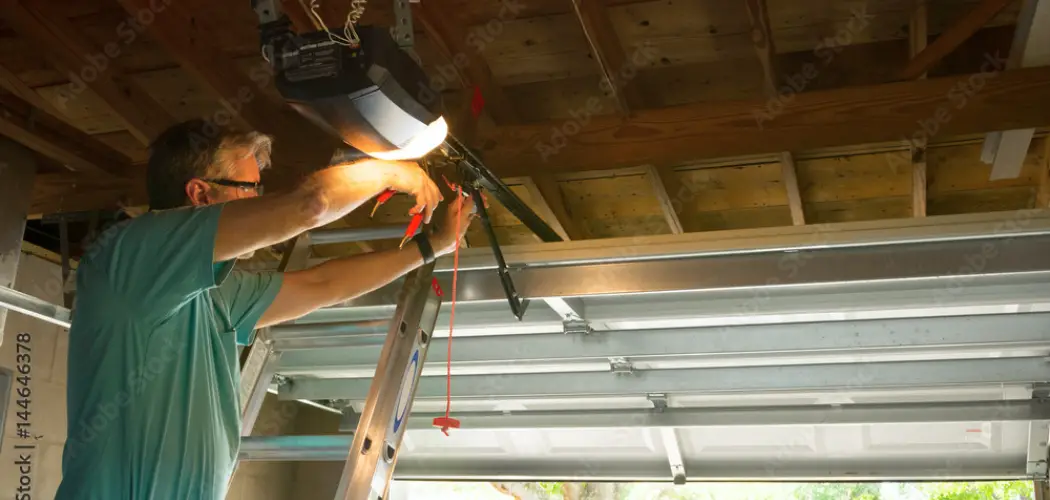
Step 1: Understand Your Garage Door System
First, familiarize yourself with your garage door system. Most systems have two sensors placed near the bottom tracks of the garage door, facing each other. These sensors use infrared beams to detect obstacles. Look for any labels or manuals that came with your garage opener to understand the details of your setup.
Clearly identifying the sensors can save you time and ensure you’re working on the right components of your system.
Step 2: Gather Necessary Tools
To disable your garage door sensors, you’ll need a screwdriver, electrical tape, and possibly a ladder, depending on the height of the sensors. Keep these tools close at hand before you start.
Being prepared with the right tools not only makes the job easier but also ensures that you can complete the task safely and efficiently.
Step 3: Disconnect the Power Supply
It’s crucial to disconnect the power supply to the garage door opener before you start disabling the sensors. Locate the power cord of your garage door motor and unplug it. If your system is hardwired, shutting off the corresponding circuit breaker is necessary.
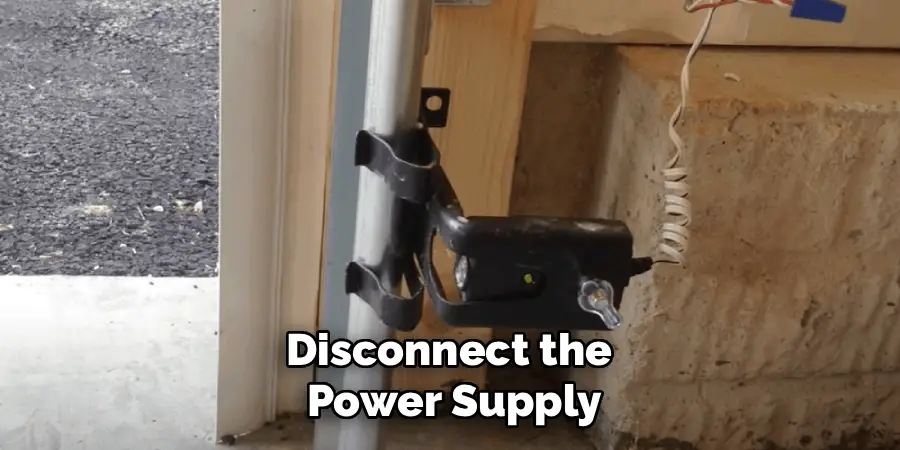
Without disconnecting the power, you risk electric shock or damaging the electronic components of your system.
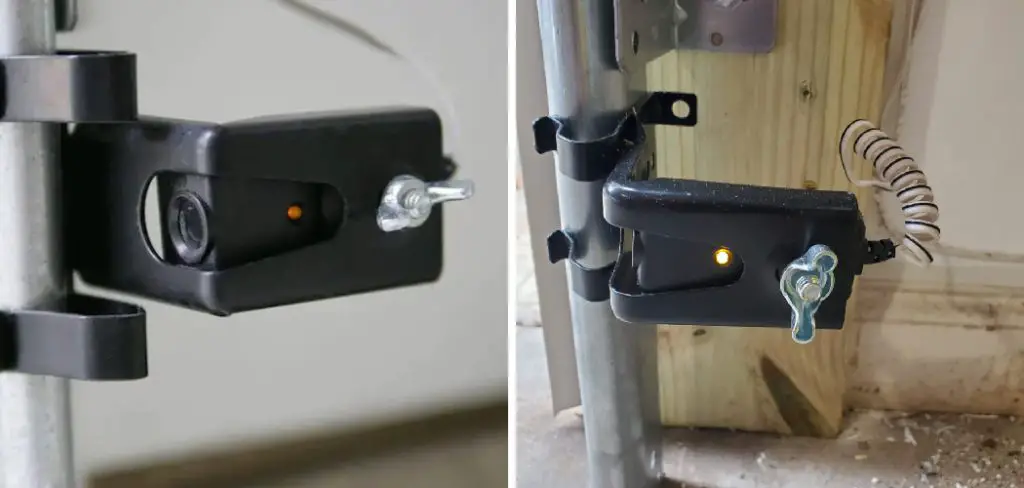
Step 4: Locate the Sensor Wires
Each sensor on your garage door will be connected to the opener unit via a pair of wires. These wires are often colored or coded to make identification easier. Carefully trace the wires from the sensors back to the garage door opener.
Understanding the wiring helps ensure you don’t accidentally affect other components of your garage door system while working.
Step 5: Disconnect the Wires
Once you’ve located the sensor wires, use your screwdriver to loosen the terminals securing them to the garage opener unit. Gently pull the wires out to disconnect the sensors completely.
If you plan to re-enable the sensors later, note which wire connects to which terminal. This will make reassembly much smoother.
Step 6: Test the System
After disconnecting the sensors, restore the power supply to the garage door opener. Test the garage door system by attempting to open and close the door. You should notice that the door now operates without interruptions from the sensors. Testing ensures that you’ve successfully disabled the sensors and that the garage door operates as expected.
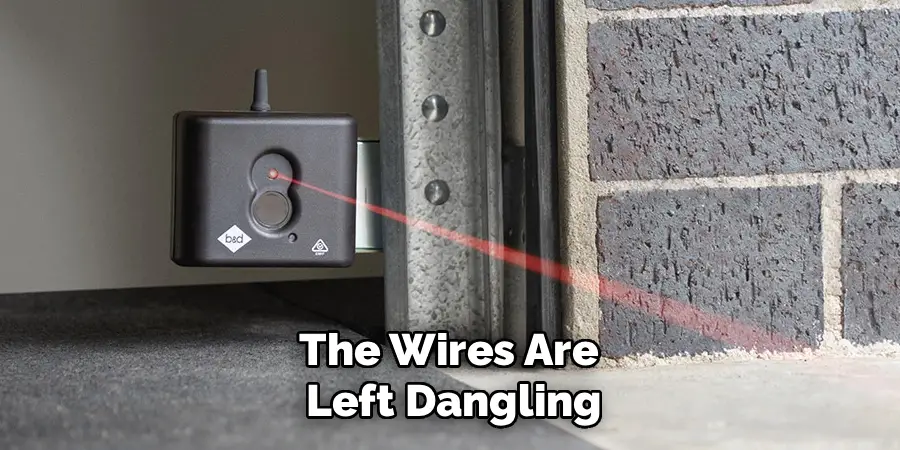
Step 7: Secure the Sensor Wires
If the wires are left dangling, they could become damaged or interfere with your garage door’s operation. Neatly secure the disconnected wires using electrical tape to prevent any accidents or complications. Taking the time to tidy up the wires adds a layer of safety and professionalism to your work.
Step 8 (Optional): Temporarily Align the Sensors
If you prefer not to disconnect or disable the sensors fully, you can use electrical tape to secure them in a parallel position. Align the sensors so that their infrared beams are unobstructed, temporarily overriding their safety function. This approach can be useful if you want a quick fix without messing with the wiring.
Step 9: Check System Functionality
Once your work is complete, test all elements of your garage door system, such as the remote and wall controls. Confirm that the system operates effectively. Regular testing will ensure that the garage door mechanism continues to perform as intended without the sensors enabled.
Step 10 (Reminder): Reinstall or Repair Sensors
Leaving the sensors disabled for an extended time can be hazardous. Once troubleshooting or repairs are complete, ensure the sensors are reinstalled and functional, restoring the safety features of your garage door. Never overlook this critical step for the sake of safety.
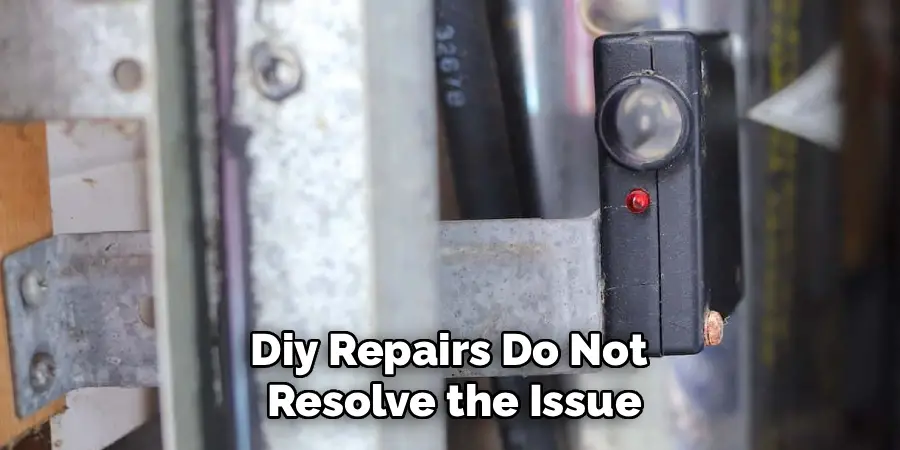
Professional Repair Options
If troubleshooting and DIY repairs do not resolve the issue with your garage door sensors, it may be time to consider professional repair services. Experienced technicians possess the tools and expertise to diagnose complex problems accurately and provide lasting solutions. Many professionals offer same-day service, ensuring that your garage door is fixed swiftly to minimize inconvenience.
Additionally, they are often certified to handle advanced systems and can perform repairs with adherence to safety standards. Opting for professional repair services can save time and effort while ensuring that the safety features of your garage door are fully restored and reliable.
Common Sensor Issues
One of the most common issues with garage door systems involves sensor malfunctions. These sensors, typically located at the base of the garage door on either side, play a critical role in ensuring safety by detecting obstacles in the door’s path. Dirty or misaligned sensors are frequent culprits, as dust, debris, or accidental bumps can interfere with their ability to function correctly. Wiring problems, such as loose connections or damaged cables, can also lead to sensor failure, preventing the door from operating as intended. Additionally, exposure to extreme weather conditions can impact the sensors’ performance over time. Regular cleaning, proper alignment, and timely inspections can help prevent these issues and ensure the smooth operation of your garage door system.
Frequently Asked Questions
What are garage door sensors, and why are they important?
Garage door sensors are safety mechanisms that detect objects or people in the door’s path and prevent the door from closing on them. They are essential for reducing the risk of injuries or property damage.
Can I permanently disable garage door sensors?
While it’s possible, it’s not recommended to disable sensors permanently. They are mandatory in modern garage systems for safety reasons. If your sensors are malfunctioning, it’s better to repair or replace them rather than leaving your garage without this critical feature.
What happens if my garage door sensors are misaligned?
When sensors are misaligned, the infrared beams may not connect properly, causing the door to stop halfway or refuse to close. Slight adjustments to align the sensors can often fix this issue.
Are garage door sensors required by law?
Yes, in many regions, laws require automatic garage doors to include functional safety sensors to prevent accidents. Operating a garage door without sensors may violate safety codes and could result in penalties.
How can I tell if my sensors are the problem?
Common signs that your sensors are malfunctioning include blinking indicator lights, the door reversing unexpectedly, or the door refusing to close completely. Cleaning the sensors and checking their alignment often solves the issue.
Conclusion
Disabling garage door sensors can be a straightforward process when done correctly. This guide has shown you how to disable garage door sensors step-by-step, ensuring you can troubleshoot and test your system effectively.
It is important to remember that safety should always be a priority when handling garage door sensors. Disabling the sensors may provide a temporary solution, but they play a crucial role in preventing accidents and ensuring the door operates properly. After addressing the issue, consider re-enabling the sensors or consulting a professional technician to ensure the system functions safely and reliably.
Remember to always re-enable or repair the sensors after completing your work to maintain optimal safety for your home. With these instructions, even beginners can approach this task confidently, knowing that their garage system is in safe hands.
I am Rick. I grew up helping my dad with his handyman service. I learned a lot from him about how to fix things, and also about how to work hard and take care of business. These days, I’m still into fixing things- only now, I’m doing it for a living.
I’m always looking for new ways to help people grow and develop. That’s why I have created this blog to share all my experience and knowledge so
that I can help people who are interested in DIY repair.