
Are you looking to convert your garage into an accessory dwelling unit (ADU) but need help knowing where to start? Converting a garage into an ADU is becoming increasingly popular, especially in areas with high housing costs.
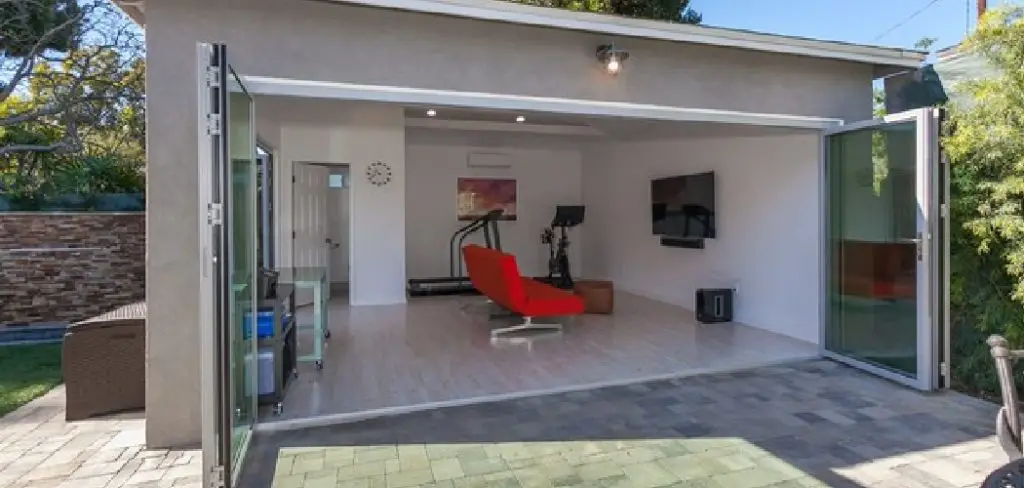
How to convert garage to ADU is an increasingly popular way to maximize the utility of your property while also providing potential income opportunities or additional living space for family members. This process enhances the value of your home and contributes to meeting housing demands in many communities. This guide will explore the essential steps in transforming your garage into a functional ADU, including planning and design considerations, legal requirements, and practical renovation tips to ensure a successful conversion.
Whether you envision a cozy rental unit or a private space for guests, understanding the process will help you create a comfortable and attractive living area.
What Will You Need?
Before you begin, gathering all the necessary tools and materials for a successful conversion is important. Here are some essential items to have on hand:
- Basic construction tools such as hammers, saws, drills, and measuring tape
- Building materials, including drywall, insulation, flooring, and roofing supplies
- Plumbing and electrical materials and equipment, if needed
It’s also helpful to research local building codes and permit requirements before starting the project to ensure compliance with regulations.
10 Easy Steps on How to Convert Garage to Adu
Step 1: Assess the Space
The first step in converting your garage into an ADU is to assess the current layout and condition of the space. Take measurements and evaluate the garage’s height, width,
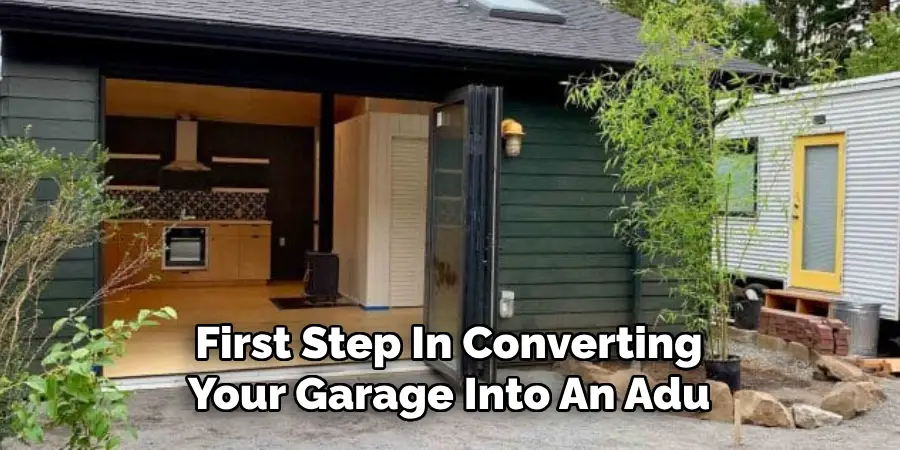
and length to determine how best to utilize the area. Consider factors such as natural light, ventilation, and access points, as these will play a critical role in your design choices. It’s also important to identify any structural issues that may need addressing, such as repairs to walls, flooring, or roofing, before moving forward with the conversion.
Step 2: Develop a Design Plan
Once you have assessed the space, the next step is to develop a design plan that suits your needs and complies with local regulations. Start by sketching the layout, considering how you want to allocate the space for living areas, kitchen, bathroom, and storage. Focus on functionality and flow, ensuring each location is accessible and comfortable. It’s also wise to incorporate elements like windows or skylights to enhance natural light. As you design, consider any zoning and building code requirements specific to ADUs, as these will influence your final design. Collaboration with an architect or designer can be beneficial in optimizing the design while adhering to regulations.
Step 3: Obtain Necessary Permits
Before starting any construction work, you must obtain the necessary permits from your local government. This step is crucial to ensure your conversion meets all safety and zoning regulations. Contact your local building department to understand the permits required to convert a garage into an ADU. Depending on the scope of your project, you may need permits for electrical work, plumbing, and structural changes. It’s advisable to have your design plans and supporting documents that demonstrate compliance with local building codes ready for submission. Taking the time to secure proper approvals will help you avoid any legal complications and ensure a smooth renovation process.
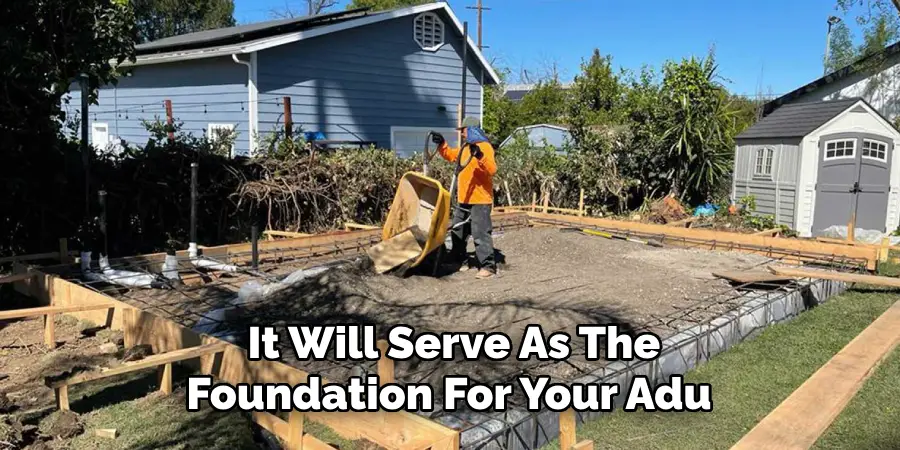
Step 4: Prepare the Garage for Renovation
With permits, it’s time to prepare your garage for renovation. Start by clearing out the entire space and removing any clutter, furniture, or unwanted items to provide a clean slate. Next, address any existing structural issues, such as repairing walls, updating the electrical system, and fixing any leaks in the roof. Ensure that the concrete floor is in good condition, as it will serve as the foundation for your ADU.
If insulation is inadequate, consider adding insulation to keep the space comfortable year-round. Finally, thorough cleaning will help maintain a safe working environment as you begin the renovation process.
Step 5: Install Electrical and Plumbing Systems
Once the garage is prepped and ready, installing the electrical and plumbing systems is time. Begin by hiring a licensed electrician and plumber to ensure all installations meet local code requirements. For electrical work, plan for outlets, light fixtures, and any necessary heating or cooling systems, considering the layout you developed earlier. As for plumbing, install pipes for the bathroom and kitchen areas, ensuring they are correctly connected to the main water supply and drainage systems. This step is crucial for creating a fully functional living space, so take your time to ensure everything is installed correctly and safely.
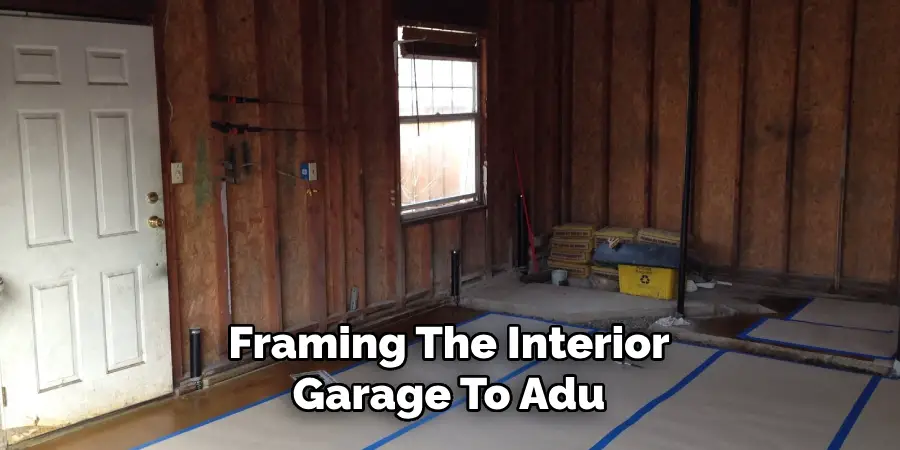
Step 6: Frame the Interior
With the electrical and plumbing systems in place, the next step is to frame the interior of your ADU. This process involves constructing walls to separate living areas, such as the kitchen, bathroom, and bedroom. Use 2×4 lumber to build the framework, ensuring everything is level and square. Make sure to leave space for doors and windows and any additional features you plan to include. Once the framing is complete, add insulation between the studs to improve energy efficiency and soundproofing. After framing and insulation, you can install drywall to give your ADU a finished look.
Step 7: Install Windows and Doors
After framing the interior, it’s time to install windows and doors, which are essential for natural light, ventilation, and accessibility. Choose energy-efficient windows that fit well within your ADU’s design, considering the size and placement for optimal light exposure.
Consider options that provide both style and security, such as solid-core doors for interior spaces and durable exterior doors. Proper sealing and weatherproofing during installation are crucial to prevent drafts and ensure your new living space remains comfortable throughout the seasons.
Step 8: Finish with Flooring and Wall Treatments
With the windows and doors installed, the next step is to focus on the flooring and wall treatments. Choose flooring materials that are durable and suitable for the intended living space, such as laminate, hardwood, or tile. Each type of flooring has its advantages, so consider factors like maintenance, aesthetics, and comfort underfoot. Once the flooring is in place, move on to the walls. Paint or apply wallpaper to create the desired atmosphere, ensuring that colors and textures align with your overall design vision. This step will significantly enhance the aesthetic appeal of your ADU and create a welcoming environment.
Step 9: Install Kitchen and Bathroom Fixtures
Now that the walls and floors are ready, it’s time to turn your attention to the kitchen and bathroom fixtures. Start by installing cabinetry and countertops in the kitchen area, followed by refrigerator, stove, and dishwasher appliances. Make sure to take accurate measurements to ensure a seamless fit. In the bathroom, install the sink, toilet, and shower or tub, ensuring all plumbing connections are secure and up to code. Choosing functional yet stylish fixtures can significantly enhance the usability and appeal of these essential areas in your ADU.
Step 10: Add Finishing Touches
The final step in your garage-to-ADU conversion is adding the finishing touches to make the space feel like home. This includes installing light fixtures, adding decor such as rugs, curtains, and artwork, and considering storage solutions to keep the space organized. Don’t forget to landscape or enhance any outdoor areas that may be part of the living quarters. Once everything is complete, conduct a thorough inspection to ensure everything works properly, and then enjoy your new accessory dwelling unit, tailored to your style and needs.
Following these steps, you can successfully convert your garage into a functional and attractive ADU that adds value to your property.
5 Things You Should Avoid
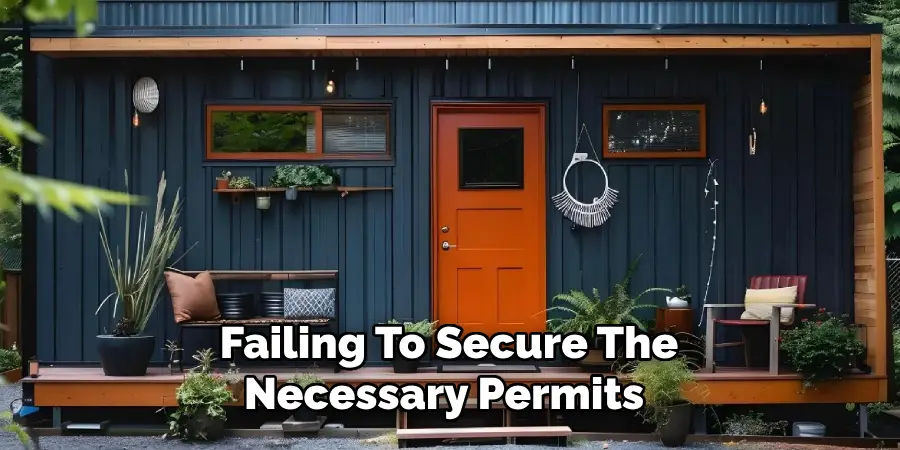
- Skipping Permits and Regulations: Failing to secure the necessary permits and adhere to local building regulations can lead to legal issues and costly fines. Always check with your local authority to ensure compliance before starting renovation work.
- Overlooking Insulation and Ventilation: Neglecting proper insulation and ventilation can result in uncomfortable living conditions. Ensure that your ADU is adequately insulated to maintain temperature control, and consider installing windows or vents for proper air circulation.
- Choosing Inexperienced Contractors: Hiring qualified or experienced contractors can ensure the quality of your renovation is maintained. It’s essential to select licensed professionals with a proven track record in ADU conversions to ensure high-quality work and adherence to safety standards.
- Ignoring the Importance of Layout: A poorly planned layout can lead to cramped or inefficient spaces. Take the time to design a functional floor plan that maximizes space and flow, considering how each area will be used and how it connects to others.
- Underestimating Budget and Timeframe: Many homeowners need to pay more attention to the costs and time involved in converting a garage to an ADU. To avoid frustration, it’s critical to create a realistic budget that includes all expenses, such as materials, labor, and unexpected issues, and to set a reasonable timeline for completion.
Conclusion
How to convert garage to ADU is an excellent way to maximize property usage while providing additional living space that can serve various purposes, from guest accommodation to rental income.
By following the structured steps outlined above, from installing essential systems to interior finishing touches, you can create a functional and appealing ADU that enhances your quality of life and property value. Remember to adhere to local regulations, plan your layout thoughtfully, and manage your budget to ensure a smooth transformation.
With the proper preparation and execution, your garage-to-ADU conversion can be a rewarding project, yielding a space tailored to your specific needs and preferences.
You can also check it out Convert Garage Into Game Room
I am Rick. I grew up helping my dad with his handyman service. I learned a lot from him about how to fix things, and also about how to work hard and take care of business. These days, I’m still into fixing things- only now, I’m doing it for a living.
I’m always looking for new ways to help people grow and develop. That’s why I have created this blog to share all my experience and knowledge so
that I can help people who are interested in DIY repair.