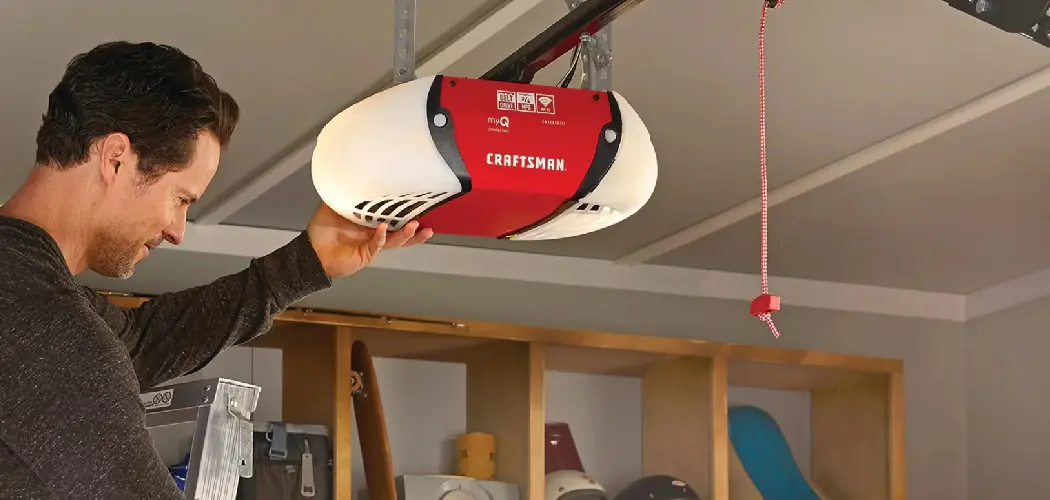
Connecting a Craftsman garage door opener is a straightforward process that enhances the convenience and security of your home. Whether you’re setting it up for the first time or reconnecting after a replacement, following the correct steps ensures that your garage door operates smoothly and reliably.

This guide on how to connect craftsman garage door opener will walk you through the process, covering everything you need to know to successfully connect your Craftsman garage door opener.
The Necessity of Connecting a Craftsman Garage Door Opener
Connecting a Craftsman garage door opener is essential for both convenience and security. It allows you to open and close your garage door effortlessly, eliminating the need to manually lift heavy doors. This is particularly beneficial during bad weather or when you’re in a hurry.
Additionally, a properly connected garage door opener enhances security by ensuring that the door closes securely and integrates with advanced features such as remote access and keypad entry. These elements not only improve your day-to-day routine but also provide peace of mind, knowing your home and belongings are protected.
Needed Materials
Garage Door Opener Kit
- Most garage door openers come with a kit that includes all the necessary hardware for installation. This typically includes sensors, wall controls, and remote controls.
- Make sure to check which type of opener is compatible with your garage door before purchasing a kit.
Ladder
- Depending on the height of your ceiling, you may need a ladder to access certain parts of the garage door opener during installation. It’s important to have a sturdy and stable ladder for safety purposes.
Tools
- Screwdriver
- Wrench
- Pliers
- Level
8 Simple Steps on How to Connect Craftsman Garage Door Opener
Step 1: Prepare the Garage Door
Before starting the installation process, ensure that your garage door is in good working condition. Check for any damage, loose parts, or obstructions that may interfere with the operation of the opener. Make sure the door opens and closes smoothly without any unusual noise.
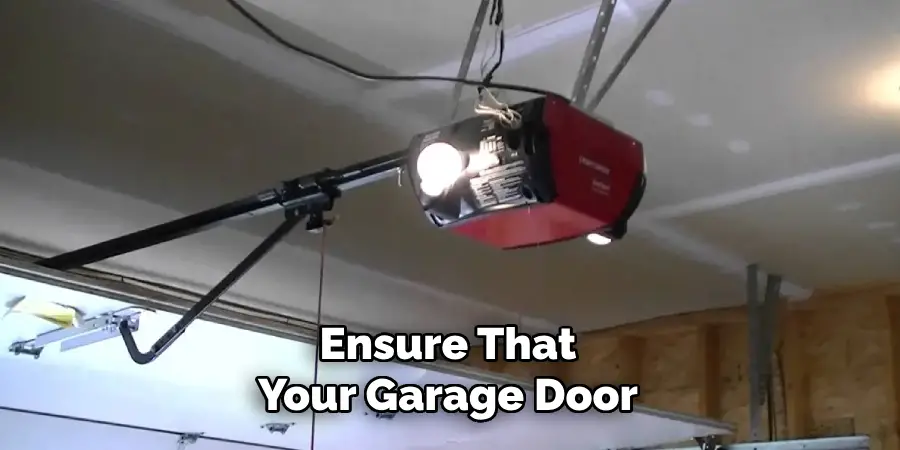
Disconnect the garage door from the existing opener (if applicable) by pulling the emergency release cord. This will allow you to manually operate the door during the preparation phase. Finally, clear the area around the garage door to ensure you have ample space to work safely.
Step 2: Inspect and Clean the Tracks
After making sure that your garage door is disconnected from the opener, the next step is to inspect and clean the tracks. Over time, dirt, debris, and other obstructions can accumulate in the tracks, which could cause them to become misaligned or even prevent the door from opening properly. Use a damp cloth or brush to remove any built-up grime or residue from both sides of the tracks.
Once you have cleaned the tracks, inspect them for any signs of damage such as bends, dents, or gaps between sections. These issues can also affect the proper functioning of your garage door and should be addressed before proceeding with installation.
Step 3: Test the Door’s Balance and Alignment
Before installing a new garage door, it is important to test its balance and alignment. A properly balanced and aligned door will open and close smoothly without any jerking or resistance. Start by disconnecting the automatic opener from the door by pulling on the emergency release cord. This will allow you to manually operate the door.
Next, lift the door halfway up and let go. The door should stay in place if it is properly balanced. If one side of the door drops lower than the other when released, you may need to adjust the spring tension or call a professional for assistance.
Step 4: Check the Rollers and Tracks
The rollers and tracks of a garage door are crucial for its smooth operation. Over time, these components can become worn or misaligned, causing the door to make strange noises or even get stuck.
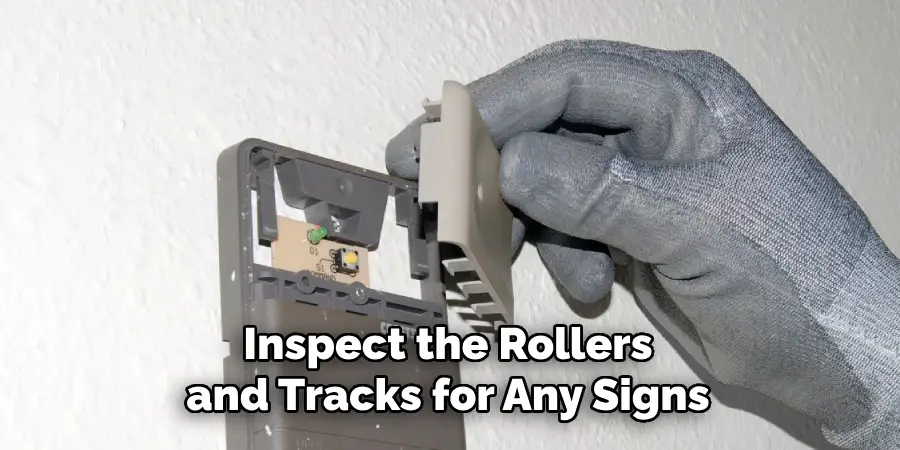
Inspect the rollers and tracks for any signs of damage or debris buildup. If you notice any issues, such as bent tracks or clogged rollers, it is important to address them promptly to avoid further damage to your garage door.
Step 5: Lubricate Moving Parts
To keep your garage door functioning smoothly, it is important to regularly lubricate all moving parts. Use a silicone-based lubricant on metal parts such as hinges, springs, and bearings.
Be careful not to over-lubricate as it can attract dirt and debris, leading to potential issues. It is recommended to lubricate these parts every six months or as needed.
Step 6: Check Cables and Springs
The cables and springs are under high tension and should only be inspected by a professional. If you notice any fraying or damage to the cables or springs, do not attempt to fix them yourself. Contact a trained technician immediately to address the issue.
Regularly checking these components can help prevent accidents and ensure your garage door operates safely.
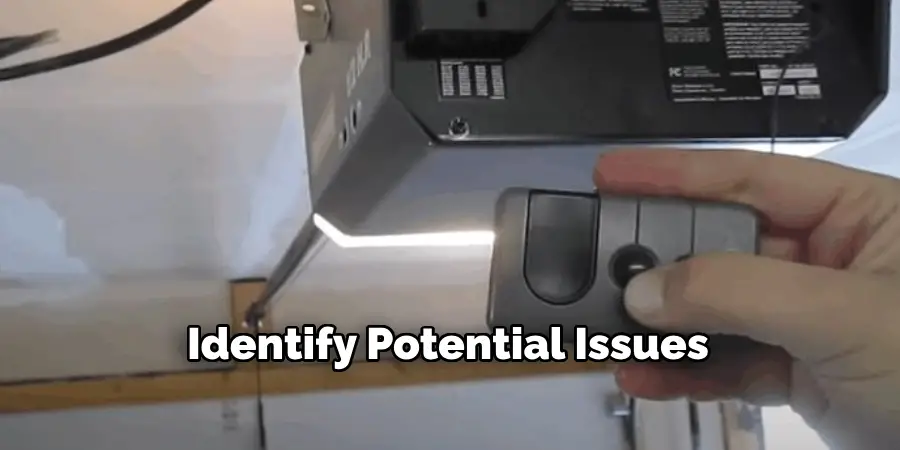
Step 7: Test Safety Features
Modern garage doors come equipped with safety features such as photo-eye sensors and auto-reverse mechanisms. These features are designed to prevent the door from closing on objects or people, but they can become misaligned or malfunction over time.
To test the safety features of your garage door, place an object in the path of the closing door and see if it automatically reverses. You can also check the photo-eye sensors by waving a broom in front of them while the door is closing. If either of these tests fail, contact a professional to have them inspected and repaired.
Regularly testing these safety features will help ensure that your garage door is functioning properly and avoid potential accidents or injuries.
Step 8: Lubricate Moving Parts
To keep your garage door operating smoothly and to reduce wear over time, it’s important to lubricate its moving parts regularly. Start by applying a high-quality, non-silicone-based garage door lubricant to the rollers, hinges, tracks, and springs.
Avoid using heavy grease as it can accumulate dirt and debris, which may hinder the door’s performance. Be sure to clean any built-up grime from the parts before applying the lubricant. Proper lubrication reduces friction, extends the lifespan of the components, and ensures your garage door continues to operate quietly and efficiently.

Following these steps on how to connect craftsman garage door opener are essential for the proper functioning of your garage door. Regular maintenance and lubrication will not only keep your garage door working smoothly but also prevent any potential expensive repairs or replacements in the future.
When to Call for Professional Help?
While regular maintenance can significantly improve the efficiency and longevity of your garage door, there are certain situations where professional assistance may be necessary. If you notice issues such as the garage door failing to open or close properly, unusual noises even after lubrication, or visible damage to components like springs or cables, it’s best to contact a professional.
Additionally, if the garage door opener’s motor malfunctions or the remote control stops working despite troubleshooting, a technician can diagnose and resolve the problem safely. Attempting to repair complex or high-tension components, such as torsion springs, without proper expertise can be dangerous, making professional help essential in these cases.
How Much Will It Cost if You Call a Professional?
The cost of hiring a professional for garage door repair can vary depending on the extent of the damage and the type of repair needed. It is always best to get quotes from multiple companies and compare their prices, as well as their reputation and level of experience.
In general, minor repairs such as lubrication or simple adjustments may only cost around $100-$200. However, more complex issues like replacing springs or cables can range from $200 to $500. If major components like the motor need to be replaced, the cost can go up to $800 or more.
It’s important to keep in mind that investing in professional repairs can actually save you money in the long run. Attempting to fix a garage door yourself without the proper knowledge and tools can result in further damage and potentially lead to more costly repairs.
Frequently Asked Questions
Q1: How Do I Connect My Craftsman Garage Door Opener to Wi-fi?
A1: To connect your Craftsman garage door opener to Wi-Fi, follow these steps:
- Download the “Craftsman Garage Door” app from the App Store or Google Play Store.
- Open the app and create an account.
- Follow the instructions on the app to connect your garage door opener to your home’s Wi-Fi network.
- Once connected, you can control your garage door remotely through the app.
Q2: Why is It Important to Regularly Maintain and Lubricate My Garage Door?
A2: Regular maintenance and lubrication of your garage door are essential to ensure its smooth operation and longevity. Proper lubrication reduces friction between moving parts, which helps prevent unnecessary wear and tear.
Regular inspections can also identify potential issues like loose hardware, misaligned tracks, or worn-out springs before they lead to costly repairs. Additionally, a well-maintained garage door operates more quietly and improves safety by reducing the risk of malfunctions. Make it a habit to perform maintenance at least twice a year for optimal performance.
Conclusion
By dedicating time to regular garage door maintenance, homeowners can significantly extend the life of their doors and ensure they operate safely and efficiently. Simple steps like lubrication, inspections, and addressing minor issues early can save both time and money in the long run.
A well-maintained garage door not only enhances the functionality of your home but also provides peace of mind, knowing that your investment is protected and operating at its best. Thanks for reading this article on how to connect craftsman garage door opener.
I am Rick. I grew up helping my dad with his handyman service. I learned a lot from him about how to fix things, and also about how to work hard and take care of business. These days, I’m still into fixing things- only now, I’m doing it for a living.
I’m always looking for new ways to help people grow and develop. That’s why I have created this blog to share all my experience and knowledge so
that I can help people who are interested in DIY repair.