Cleaning a metal garage door is essential for several reasons, primarily to extend its lifespan, enhance curb appeal, and prevent corrosion. Regular maintenance preserves the door’s functionality and keeps your home looking its best.
The cleaning process typically involves several key steps: preparing by gathering supplies, rinsing off dirt and debris, applying a suitable cleaning solution, gently scrubbing the surface, and rinsing thoroughly to ensure no soap residue remains.
By implementing a consistent cleaning schedule—ideally every six months or more frequently in harsh weather conditions—you can protect your garage door from the elements, dirt, and grime. Understanding how to clean a metal garage door effectively will contribute significantly to its longevity and aesthetic value, making it an important aspect of regular home maintenance.
Preparing to Clean the Garage Door
Gathering Supplies
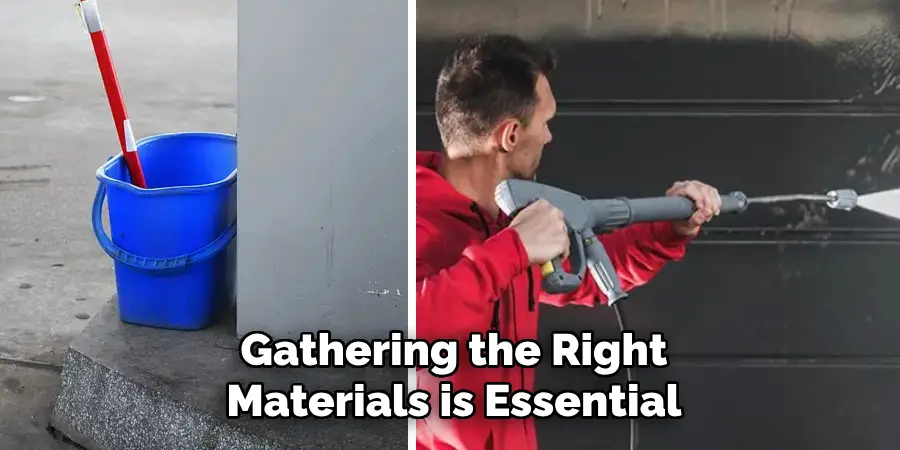
Gathering the right materials is essential to beginning the cleaning process. You will need a mild detergent that won’t harm the metal surface, soft cloths or sponges for applying the solution, a hose or bucket for rinsing, and a non-abrasive brush for scrubbing stubborn spots. For additional effectiveness, you might consider using a pressure washer set to low pressure to gently remove dirt and debris. After cleaning, applying car wax or a protective sealant can help maintain the door’s finish and prevent future corrosion.
Safety Considerations
Safety is paramount when cleaning your metal garage door. Ensure that the door is stable before starting, and consider wearing gloves to protect your hands from any cleaning agents.
Avoid using harsh chemicals, as they can damage the metal or the paint finish. It’s also advisable to wear eye protection to shield against any splashes from the cleaning solution or water.

Inspecting the Door Before Cleaning
Before diving into the cleaning, take a moment to inspect the garage door for any damage. Look for rust spots that may need treatment and check for any loose parts that could impact the cleaning process. Addressing these issues beforehand will ensure more thorough cleaning and help you avoid further complications down the line.
How to Clean a Metal Garage Door: Step-by-Step Guide
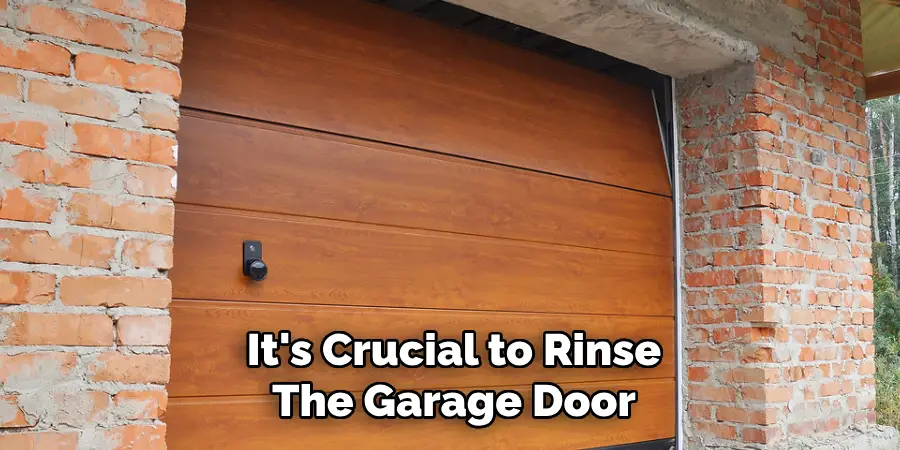
Step 1: Rinse the Door
Before applying any cleaning solution, it’s crucial to rinse the garage door with water to remove loose dirt and debris. This initial step helps to prevent scratching the metal surface while scrubbing.
You can do this effectively using a garden hose, ideally with a spray nozzle attachment for better control, or by employing a pressure washer set to a low-pressure setting. Ensuring the door is thoroughly damp prepares it for cleaning and makes the subsequent application of detergent more effective in lifting stubborn grime.
Step 2: Apply a Cleaning Solution
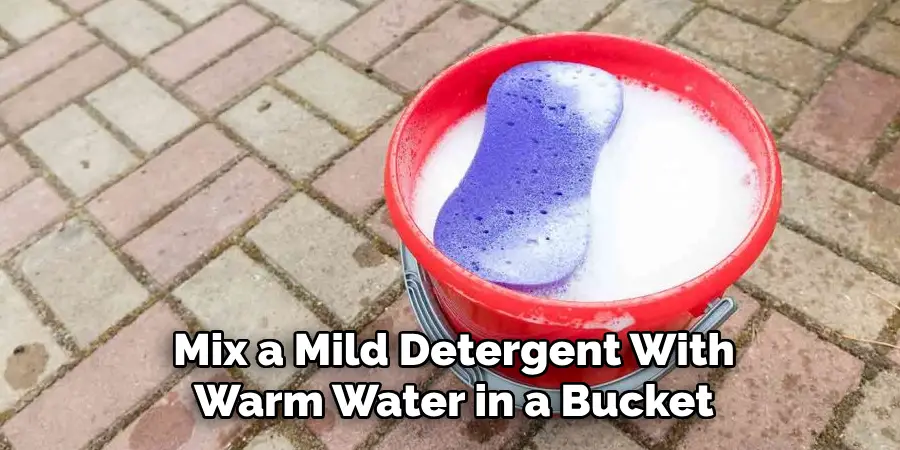
To create an effective cleaning solution, mix a mild detergent with warm water in a bucket, following the manufacturer’s recommendations for dilution. Using a soft sponge or cloth, gently apply the solution to the door, working in sections to ensure complete coverage.
It’s essential to avoid using harsh chemicals or abrasive cleaners, as these can damage the metal or the paint finish, leading to corrosion or unsightly marks. Instead, opt for products specifically designed for cleaning metal surfaces. Pay special attention to any areas that appear particularly dirty or stained, allowing the solution to sit for a few moments to break down the grime before moving on to the next step.
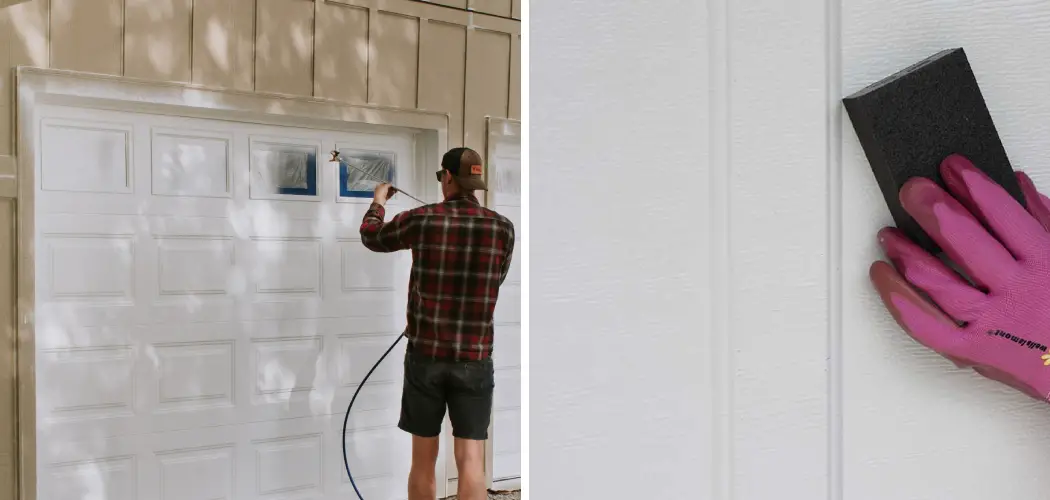
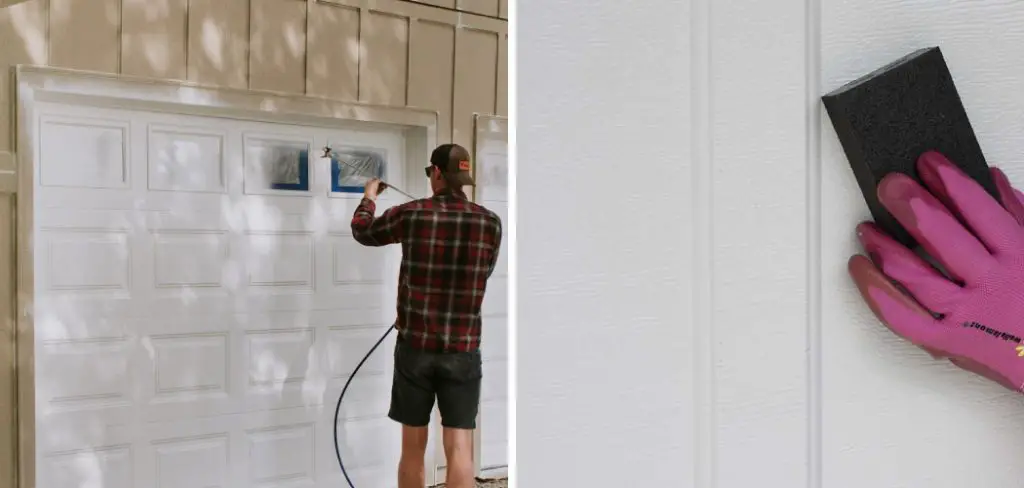
Step 3: Scrub the Door Gently
Once the cleaning solution has been applied, it’s time to gently scrub the door’s surface. Use a non-abrasive brush or a soft sponge to carefully scrub away dirt, stains, and mildew, particularly in especially dirty areas.
Be cautious around any decorative elements or the edges of the door to avoid damaging the finish. A gentle, circular motion is usually most effective, ensuring that you do not exert too much pressure that could scratch the surface. Focus on sections and use a bucket of clean water nearby to rinse the sponge frequently, helping maintain the cleaning solution’s effectiveness.
Step 4: Rinse Thoroughly
After scrubbing, thoroughly rinse the garage door to remove all soap residues, which is vital to prevent streaks or damage to the finish. Just like the initial rinse, use a garden hose or pressure washer on a low setting to wash away the cleaning solution.
Be sure to rinse from top to bottom, allowing any remaining dirt or detergent to flow downward and away from the cleaned areas. It’s essential to ensure that no soap is left behind, as this can create an unattractive film or even harm the door’s protective coating over time. A final inspection of the door post-rinsing can help confirm that the surface is not only clean but also prepares it for protective measures to follow.
Addressing Specific Issues
Removing Rust Spots
Rust spots can significantly detract from the appearance of your metal garage door and, if left untreated, can lead to structural damage. To remove rust, start by using a rust remover, following the manufacturer’s instructions. Alternatively, you can create a paste using baking soda and water, applying it directly to the rust spots.
Allow it to sit for about ten minutes before scrubbing with a non-abrasive brush. It’s essential to address rust early to prevent it from spreading and causing further damage to the metal surface. After treatment, rinse thoroughly with water to clean off any residue.
Dealing with Stubborn Stains
Stubborn stains such as oil, bird droppings, or tree sap require special attention during the cleaning process. For oil stains, consider applying a solution of vinegar and water to help break down the grease. Allow the solution to sit briefly before wiping it away with a soft cloth.
For bird droppings, a gentle automotive tar remover can be effective; however, ensure it’s suitable for use on metal surfaces. Always rinse the area thoroughly after treatment to remove any cleaning residues and maintain the door’s finish.
Cleaning Windows and Seals
If your garage door includes windows, ensure they are not neglected during cleaning. Use a glass cleaner or a vinegar and water solution to wipe down the windows, ensuring clarity and visibility.
Additionally, inspect the weather seals around the door’s edges to prevent moisture buildup, which can lead to rust or mold. Clean the seals with a damp cloth and check for signs of wear or damage, replacing them if necessary to ensure a tight, moisture-resistant fit. This attention to detail will help maintain the overall integrity of your garage door.
Protecting the Garage Door After Cleaning
Applying Wax or Protective Sealant
Once you have thoroughly cleaned your metal garage door, applying a layer of wax or a specialized protective sealant is a vital next step. Select a quality automotive wax or a sealant specifically designed for metal surfaces. Begin by ensuring the door is completely dry before application. Using a soft cloth or foam applicator, evenly apply the product in small sections, following the manufacturer’s instructions for best results.
Allow the wax or sealant to cure as recommended, often letting it sit for a specified duration before buffing. This application creates a protective barrier against future dirt buildup and provides resistance against corrosion and UV damage, significantly enhancing the door’s appearance and durability. Regularly waxing your garage door will also help maintain its shine, reduce the frequency of cleanings needed, and prolong the life of the metal surface.
Lubricating Moving Parts
After cleaning and protecting the door, it’s essential to lubricate its moving parts to ensure smooth operation. Focus on the hinges, rollers, and tracks, as these components experience the most wear and tear. Use a silicone-based or specialized garage door lubricant to avoid attracting dirt and dust. Apply the lubricant directly to the moving parts, wiping away any excess. This simple step will help the door open and close more easily, reducing noise and extending the lifespan of the hardware.
Inspecting and Tightening Hardware
During the cleaning process, take the opportunity to inspect all hardware, including screws and nuts. Check for any loose components and tighten them accordingly to ensure proper functionality. This proactive measure can prevent future operational issues and contribute to your garage door system’s overall safety and efficiency.
Preventive Maintenance Tips
Regular Cleaning Schedule
Establish a regular cleaning schedule to keep your garage door in optimal condition. Aim to clean your door at least twice a year, but increase the frequency after heavy weather conditions or if it’s exposed to salt, pollutants, or industrial debris. This proactive approach helps prevent dirt and grime buildup, prolonging the door’s lifespan.
Touching Up Paint
Periodically inspect your garage door for any chipped or peeling paint. Touching up these areas promptly is crucial, protecting the metal underneath from rust and corrosion. Use exterior-grade paint that matches your door’s color for seamless repairs, ensuring a cohesive appearance while maintaining durability against the elements.
Check for Damage
Regularly check your garage door for signs of wear, rust, or damage. Look for any cracks, dents, or compromised seals, and address these issues promptly. Early intervention can prevent larger problems that may require significant repairs or replacement, ultimately saving you time and money in the long run.
Conclusion
In summary, understanding how to clean a metal garage door involves several key steps, beginning with a thorough cleaning to remove dirt, rust spots, and stubborn stains. After the door is clean, applying a protective wax or sealant is crucial for enhancing durability and appearance.
Regular lubrication of moving parts and tightening of hardware further ensure smooth operation. To promote longevity, establish a consistent cleaning routine and address any damage or wear promptly. By remaining proactive, you can effectively extend your garage door’s lifespan while maintaining its aesthetic appeal. Remember, a well-maintained garage door not only enhances the functionality of your home but also contributes to its overall appearance, making it a vital part of your home maintenance efforts.
I am Rick. I grew up helping my dad with his handyman service. I learned a lot from him about how to fix things, and also about how to work hard and take care of business. These days, I’m still into fixing things- only now, I’m doing it for a living.
I’m always looking for new ways to help people grow and develop. That’s why I have created this blog to share all my experience and knowledge so
that I can help people who are interested in DIY repair.