
Changing a garage door opener might seem like a daunting task, but with the right tools and guidance, it can be a straightforward process. Whether you’re upgrading to a more modern system or replacing a faulty unit, knowing the steps involved can save you time and effort. This guide will walk you through how to change garage door opener.
Benefits of Replacing vs. Repairing an Old Opener
When deciding between replacing or repairing an old garage door opener, it’s important to weigh the benefits of each option. While repairs may seem cost-effective in the short term, replacing an outdated opener often comes with long-term advantages. New openers typically feature advanced safety mechanisms, such as rolling code technology to enhance security. They are also more energy-efficient and quieter compared to older models, adding convenience and peace of mind. Additionally, modern openers often include smart features, like remote access through smartphone apps, making them highly practical for today’s connected households. By replacing an outdated opener, you could also avoid recurring repair costs, saving both time and money in the long run.
Types of Garage Door Openers
There are several types of garage door openers, each with distinct features to suit different needs and preferences. The most common types include:
- Chain-Drive Openers
These are traditional and reliable openers that use a metal chain to lift and lower the garage door. They’re highly durable but tend to be noisier, making them better suited for detached garages.
- Belt-Drive Openers
Belt-drive openers use a rubber belt in place of a chain, resulting in smoother and quieter operation. These are ideal for garages attached to living spaces where noise reduction is a priority.
- Screw-Drive Openers
This type uses a threaded steel rod to move the door. It requires minimal maintenance and operates efficiently, but it may be noisier compared to belt-drive models.
- Direct-Drive Openers
Direct-drive openers have a motor that moves along a stationary chain or rail, making them extremely quiet and reliable. These openers are known for their simplicity and long-lasting performance.
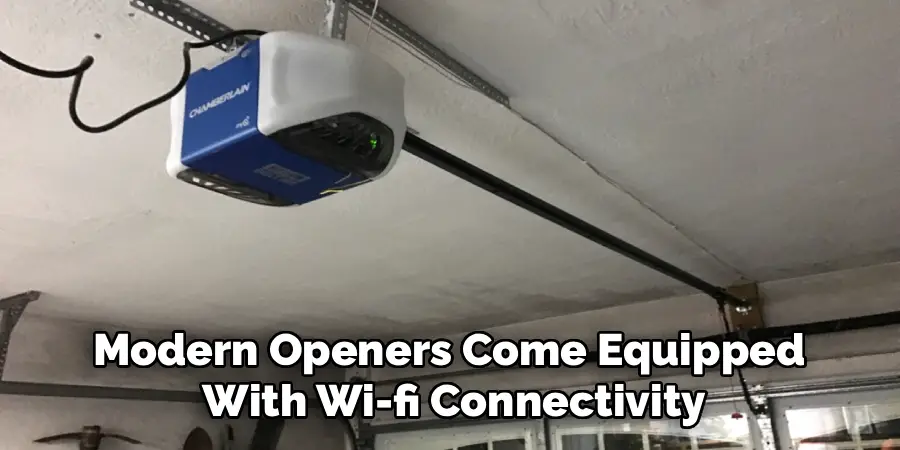
- Smart Garage Door Openers
These modern openers come equipped with Wi-Fi connectivity, allowing you to control and monitor your garage door using a smartphone app. They often include advanced features like scheduling and security notifications.
By understanding the different types, you can choose a garage door opener that best fits your home’s layout, budget, and functional requirements.
Tools and Materials Needed
To successfully install or maintain a garage door opener, you’ll need the following tools and materials:
- Screwdrivers (Phillips and flathead)
- Wrench set
- Power drill and drill bits
- Measuring tape
- Ladder
- Level
- Pliers
- Socket set
- Safety glasses
- Garage door opener kit (including the opener motor, track, and remote controls)
- Mounting hardware (provided in the kit or purchased separately)
Having all necessary tools and materials on hand ensures a smoother and more efficient installation or maintenance process. Always follow the manufacturer’s guidelines for best results.
10 Methods How to Change Garage Door Opener
1. Evaluate Your Current Garage Door Opener System
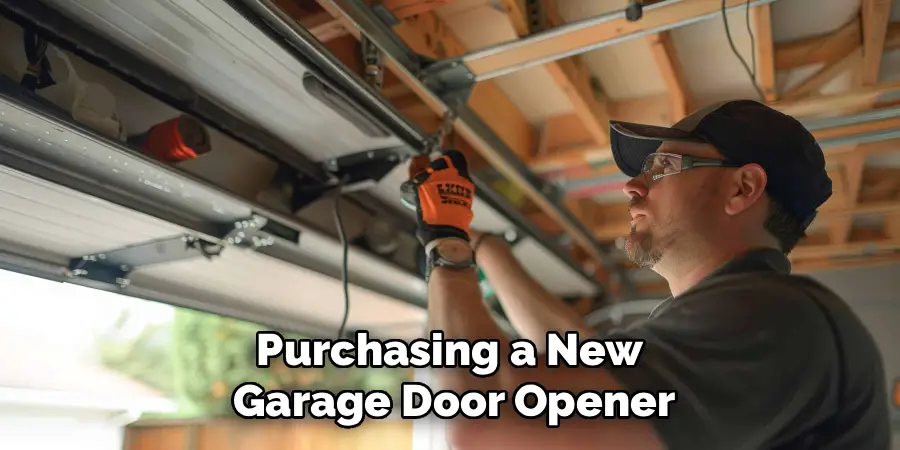
Before purchasing a new garage door opener, it is essential to evaluate your existing system’s condition, type, and specifications. Take note of the brand, model, and the type of opener—whether it is a chain-drive, belt-drive, or screw-drive mechanism. Additionally, assess the horsepower of your current opener to ensure that your new model can handle the weight and size of your garage door. Knowing these details helps you select a compatible and reliable replacement. Measuring the height and width of your garage door will also guide you in choosing an opener suited for your door’s dimensions.
2. Select the Appropriate Garage Door Opener
Once you understand your current setup, shop for a new garage door opener that fits your needs and preferences. Chain-drive openers are durable and economical, but tend to be noisier. Belt-drive models offer quieter operation and smoother performance, ideal for attached garages near living spaces. Screw-drive openers require less maintenance and perform well in extreme temperatures. Consider additional features such as smartphone connectivity, battery backup, automatic lighting, and security rolling codes. Reading customer reviews and consulting with sales associates can help you narrow down your choices.
3. Gather Necessary Tools and Safety Equipment
Having the right tools and safety gear is crucial to completing the job efficiently and safely. Common tools needed include a cordless drill, socket wrench set, screwdrivers, pliers, ladder, and a level. Safety equipment such as gloves, protective eyewear, and sturdy footwear will protect you from injuries. Additionally, ensure you have all mounting hardware, brackets, bolts, and electrical wiring components required by the new opener, as these often vary by manufacturer. Preparing a clean and organized workspace can prevent accidents and facilitate smoother installation.
4. Disconnect Power and Remove Old Garage Door Opener
Safety is paramount; begin by unplugging the existing garage door opener and switching off the circuit breaker that supplies power to the garage. Next, detach any remote control or wall control units. Using the ladder, carefully disconnect the opener’s rail from the door arm and ceiling mount. Remove the mounting brackets and take down the motor unit and rail assembly. Take care not to damage any wires or mounting points if you plan to reuse them. Having a helper can make this step easier, especially when removing heavy components.
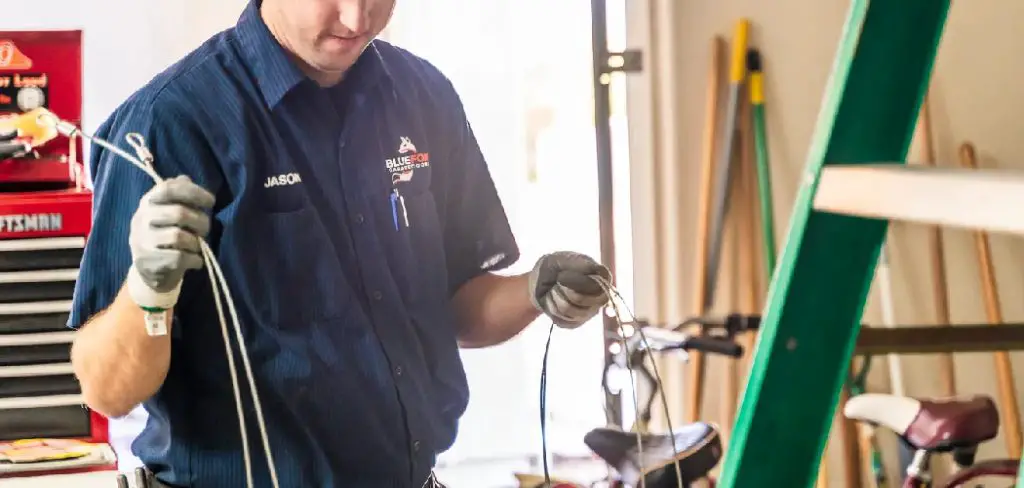
5. Inspect and Repair Garage Door Components
Before installing the new opener, inspect the garage door itself and its components. Check the springs, cables, rollers, and tracks for wear and damage. Replace or repair any parts that show signs of rust, fraying, or misalignment. Properly functioning door hardware is critical for the new opener’s performance and longevity. Lubricate moving parts with a silicone-based lubricant for smooth operation. Ensuring that the door is balanced will reduce strain on the opener and prevent premature failure.

6. Assemble the New Garage Door Opener According to Manufacturer Instructions
Read through the manufacturer’s instruction manual thoroughly before beginning assembly. Lay out all parts and hardware, verifying that everything is included. Assemble the rail, trolley, and motor unit as directed. Pay attention to the orientation of components, as improper assembly can cause operational issues. Some models require attaching the chain or belt drive before mounting, while others may require connecting wiring beforehand. Taking time to assemble carefully will save troubleshooting effort later.
7. Mount the New Opener to the Ceiling and Connect to Door
Using the ladder and a helper, securely mount the new opener’s rail and motor unit to the garage ceiling joists using the provided brackets and hardware. Ensure the rail is level and positioned according to manufacturer specifications. Connect the trolley arm to the garage door’s top bracket, securing it with the correct fasteners. Adjust the trolley so that the door can open and close smoothly without binding. Tighten all mounting bolts firmly to prevent vibration or loosening during operation.
8. Wire the Garage Door Opener Controls and Safety Sensors
Next, install the wall control panel near the door leading from the garage into the house. Run low-voltage wires from the motor unit to the control panel, following the wiring diagram supplied. Then, install the safety sensors on either side of the door, approximately six inches above the floor. These sensors must face each other directly to function properly, creating an invisible beam that stops the door from closing if interrupted. Secure the wiring neatly along the walls or ceiling, using cable clips or conduits to protect and organize the cables.
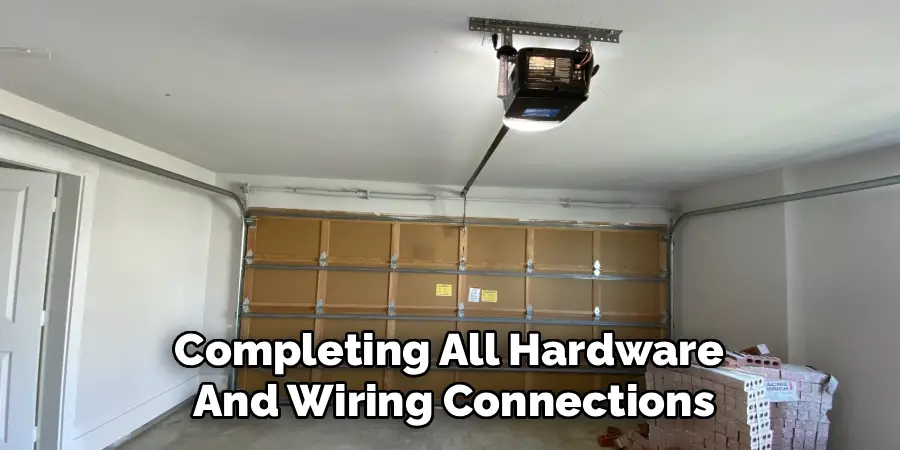
9. Program the Remote Controls and Test the System
After completing all hardware and wiring connections, restore power to the garage door opener. Program your remote controls and wall unit according to the manufacturer’s instructions, typically by pressing a “learn” button on the motor unit and activating the remote. Test the door’s opening and closing functions multiple times, ensuring that the safety sensors stop the door’s descent when an object interrupts the beam. Adjust force and travel limits as necessary to prevent damage to the door or opener. Make sure the door operates quietly and smoothly throughout its range of motion.
10. Perform Final Safety Checks and Maintenance Tips
With the new opener installed and functioning, perform a final round of safety checks. Verify that the emergency release cord is accessible and operates correctly, allowing manual door operation in case of power failure. Test the auto-reverse function by placing an object in the door’s path and ensuring it reverses immediately. Educate all household members on the safe use of the garage door opener and the importance of keeping sensors unobstructed. Schedule regular maintenance, including lubrication and hardware inspection, to maximize the lifespan and reliability of your new system.
Conclusion
Taking the time to properly install, test, and maintain your garage door opener ensures both safety and longevity. By following the guidelines above, you can enjoy the convenience of a reliable system while minimizing risks and unexpected issues. Remember, a well-maintained garage door opener contributes to the overall security and functionality of your home, providing peace of mind for years to come. Now that you know how to change garage door opener, try it yourself today and feel good about completing such a big DIY job!
I am Rick. I grew up helping my dad with his handyman service. I learned a lot from him about how to fix things, and also about how to work hard and take care of business. These days, I’m still into fixing things- only now, I’m doing it for a living.
I’m always looking for new ways to help people grow and develop. That’s why I have created this blog to share all my experience and knowledge so
that I can help people who are interested in DIY repair.