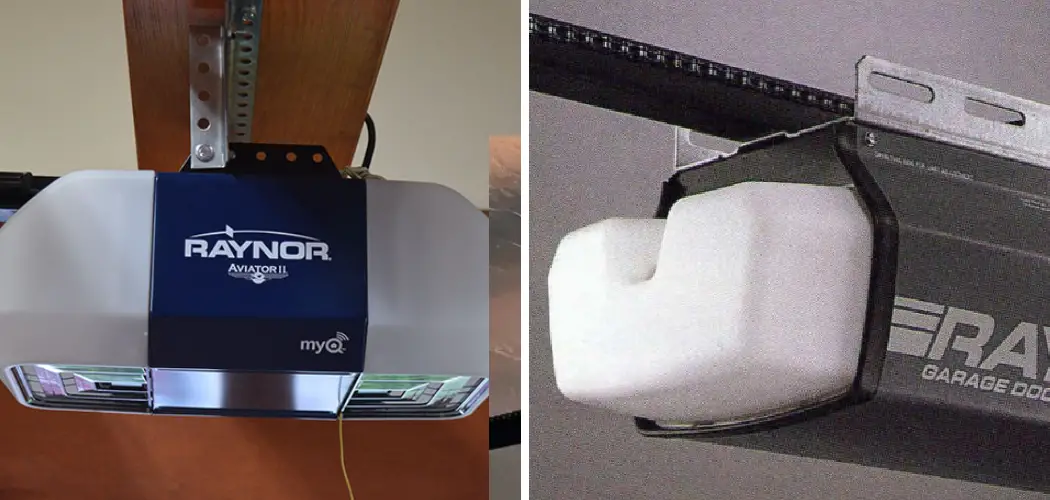
Having a functional remote for your Raynor garage door opener is essential for convenience and ease of access. Over time, the battery in your garage door remote may run low or die, requiring replacement to ensure continued operation.
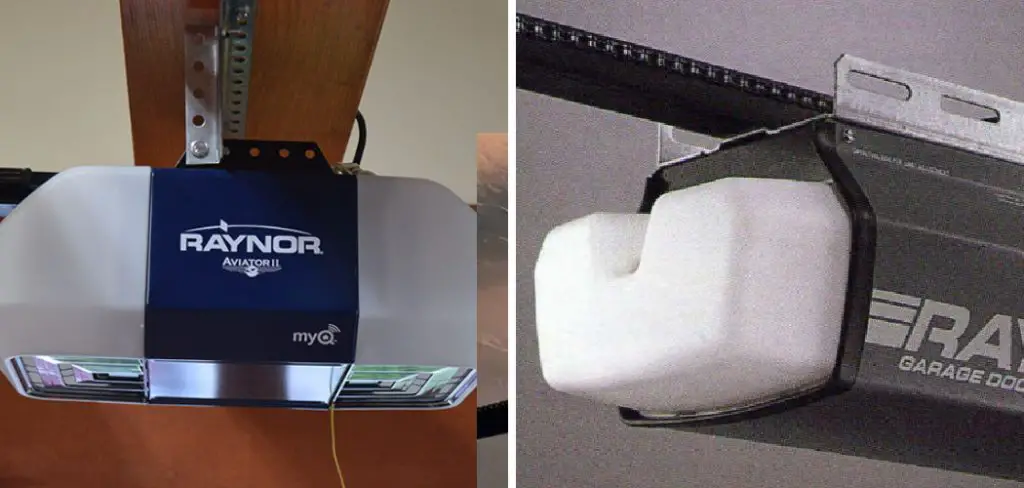
This guide on how to change battery in raynor garage door opener will walk you through the simple steps to change the battery in your Raynor garage door opener remote, saving you time and ensuring your device works reliably.
Why Change the Battery in the Raynor Garage Door Opener Remote?
Changing the battery in your Raynor garage door opener remote is crucial to maintaining its reliability and functionality. A weak or dead battery can lead to inconsistent operation, making it difficult to open or close your garage door when needed. This can be particularly inconvenient during emergencies or bad weather.
Additionally, regular battery replacement helps prevent potential wear and tear on the remote’s components caused by repeated attempts to use a low-powered device. By ensuring the battery is fresh, you can extend the life of your remote and avoid unexpected disruptions in its performance.
Needed Materials
Screwdriver:
Before you begin replacing the battery, you will need a screwdriver to open the remote control. Make sure to select a screwdriver that properly fits the screws on your remote to avoid damaging them. Additionally, it is recommended to have both a flathead and Phillips head screwdriver on hand in case one is not compatible with your remote’s screws.
New Battery:
To replace the old battery, you will need a new one of the same type and size. It is important to use the correct battery to ensure proper functionality of your remote control. Consult your manual or an online guide for the specific type of battery required for your remote.
Replacement Screws (Optional):
In some cases, the screws on your remote control may become damaged or stripped over time. If this is the case, you may need to purchase replacement screws. Make sure to find screws that are compatible with your remote’s size and shape before attempting to replace them.
6 Steps on How to Change Battery in Raynor Garage Door Opener
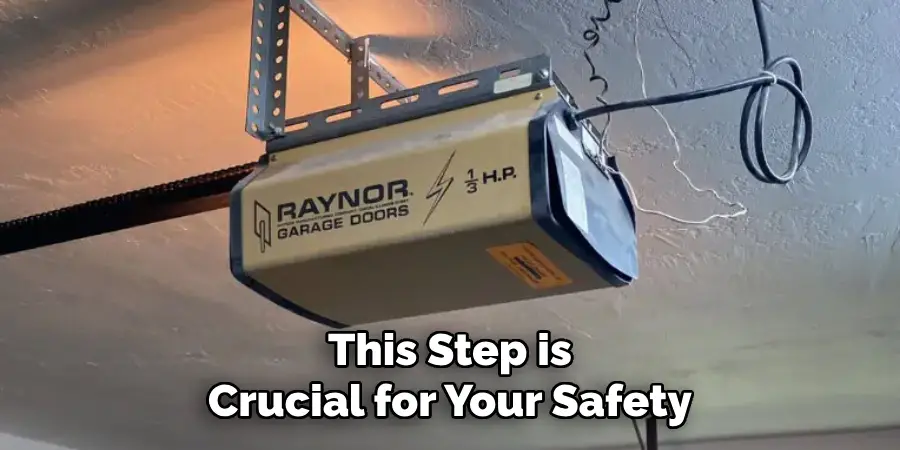
Step 1: Power Off Your Remote Control
Before beginning any work on your garage door remote, ensure it is powered off to prevent accidental operation. Many remotes will stop functioning once the battery is removed, but if your remote has a dedicated power switch, turn it off first.
This step is crucial for your safety and to avoid unintended damage during the replacement process.
Step 2: Locate the Battery Cover
Carefully inspect your garage door remote to find the battery cover. This is typically located on the back of the remote or sometimes on the bottom. Look for a small panel or section that can be removed, often held in place by a clip, latch, or small screws.
If you’re unsure where it is, refer to your remote’s user manual for guidance. Properly identifying the battery cover will ensure smooth progress to the next step.
Step 3: Remove Old Batteries
Once you have located the battery cover, carefully open it using the appropriate method, such as sliding it off, unclipping it, or unscrewing it, depending on the design. After opening the cover, you will see the old batteries inside the compartment. Gently remove the batteries by lifting them out or sliding them from their holders.
Be cautious not to use excessive force to avoid damaging the battery terminals or the compartment. Properly discard the old batteries following your local guidelines for battery disposal.
Step 4: Clean Contacts
Before inserting new batteries, inspect the battery contacts inside the compartment for any dirt, dust, or corrosion. If you notice any buildup, gently clean the contacts using a soft cloth or a cotton swab lightly dampened with rubbing alcohol.
Take care to avoid leaving residue or applying too much liquid, as this may damage the device. Ensuring clean contacts will help maintain proper connectivity and enhance the performance of the batteries. Allow the contacts to dry completely before proceeding to the next step.
Step 5: Insert New Batteries
Carefully place the new batteries into the compartment, ensuring that the positive (+) and negative (-) ends align with the markings inside. Double-check the orientation to avoid any potential damage to the device.
Once the batteries are securely in place, close the compartment cover, ensuring it snaps or slides into position firmly. Proper installation will ensure optimal functionality of your device.
Step 6: Test Functionality
Once the new batteries are inserted, replace the battery cover and test out your remote control. If it still does not work, try pressing each button multiple times to ensure that they are making proper contact with the new batteries. If there is still no response, you may need to replace your remote control entirely.
Following these steps on how to change battery in raynor garage door opener remote, you should now have a working remote control that is ready to use. Remember to properly dispose of the old batteries according to local regulations and always keep spare batteries on hand for future replacements.
Troubleshooting Tips
If your Raynor garage door opener remote is still not functioning properly after replacing the batteries, consider these additional troubleshooting tips:
Check the Remote Programming:
Ensure that the remote is properly programmed to the garage door opener. Refer to the user manual for specific instructions on reprogramming the remote.
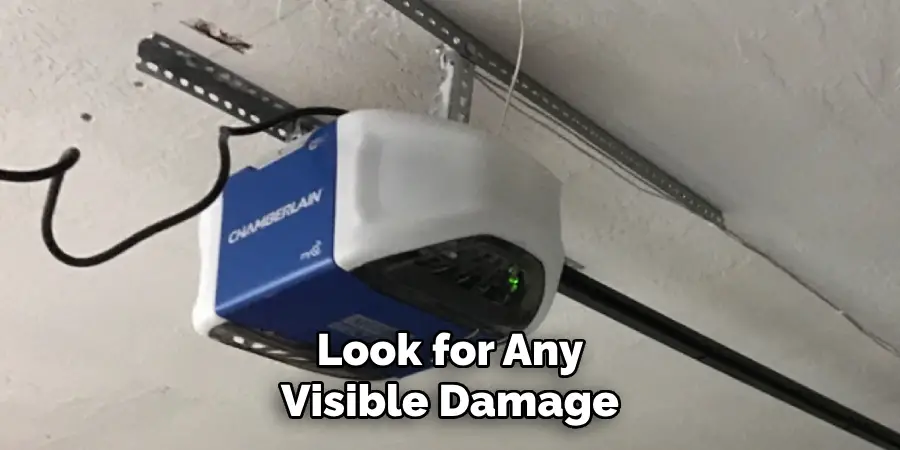
Inspect the Remote for Damage:
Look for any visible damage, such as cracks or corrosion on the battery terminals, which could prevent the remote from working correctly.
Test the Range:
Stand closer to the garage door opener and test the remote. If it works only when you are nearby, there may be interference or an issue with the signal transmission.
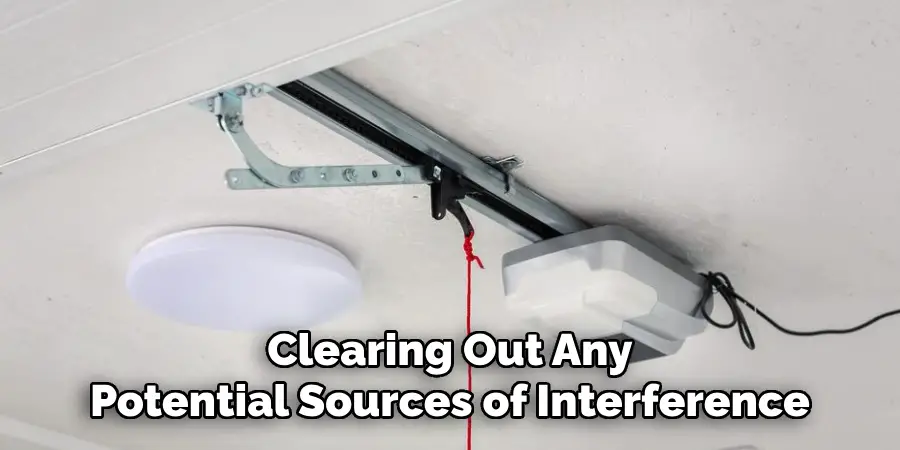
Check for Interference:
Other electronic devices or structural components, such as metal walls, may interfere with the remote’s signal. Try operating the remote in a clear line of sight to the opener.
Inspect the Opener’s Antenna:
Ensure that the antenna on the garage door opener is properly positioned and not damaged. A misaligned or damaged antenna may affect signal reception.
Replace the Remote:
If none of the steps resolve the issue, it might be necessary to purchase a new remote that is compatible with your garage door opener system.
By following these steps, you can address common issues and ensure your garage door remote operates reliably.
Do You Need to Use Professionals?
While many garage door remote issues can be resolved with simple troubleshooting steps, there are situations where involving a professional may be necessary. If the problem persists despite your efforts, it could indicate a more complex issue, such as a malfunctioning opener unit or electrical wiring problems.
Certified garage door technicians have the specialized tools and expertise required to diagnose and repair such problems effectively. Additionally, professional assistance is recommended for installing new systems or when dealing with safety-critical components like the garage door’s springs and tracks. Prioritizing safety and accuracy, professionals can ensure the problem is addressed correctly and efficiently.
Frequently Asked Questions
Q: What Do I Do if My Garage Door Remote Suddenly Stops Working?
A: First, check the batteries and replace them if necessary. Then try reprogramming the remote. If those steps don’t work, inspect the opener’s antenna and replace the remote if needed. If the problem persists, it might be due to interference or a malfunction in the opener itself. Contact a professional for assistance.
Q: Why Won’t My Garage Door Remote Work from Far Away?
A: This could be because of low battery power or interference from other electronic devices. Try replacing the batteries and clearing out any potential sources of interference. If that doesn’t help, check if your remote has an antenna and make sure it is fully extended.
Q: Can I Use a Universal Remote for My Garage Door Opener?
A: Yes, there are many universal remotes available on the market that can be programmed to work with most garage door openers. Just make sure to follow the instructions carefully and test the remote before relying on it for regular use.
Q: Why Isn’t My Garage Door Opening or Closing?
A: There could be a few reasons why your garage door is not functioning properly. The most common reason is a malfunctioning opener, which may require repair or replacement. Other potential causes could include a broken spring or cable, misaligned tracks, or sensor issues. It is recommended that you consult a professional for proper diagnosis and repair of any garage door issues.
Q: How Often Should I Maintain My Garage Door Opener?
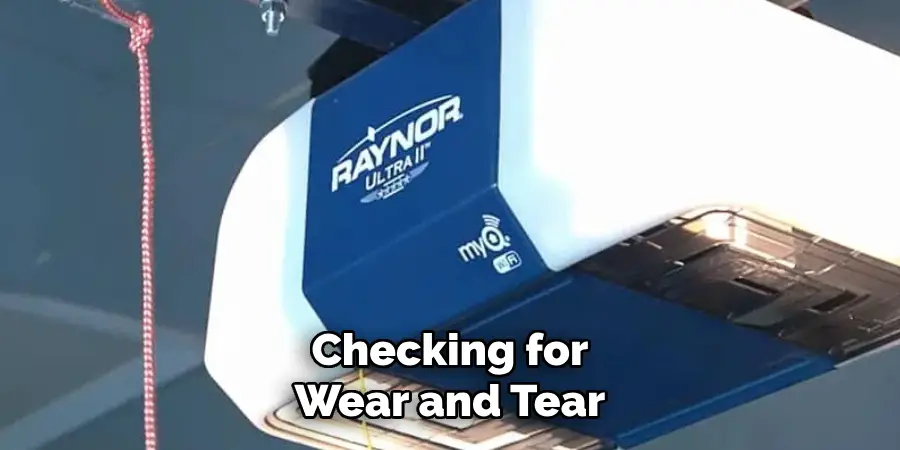
A: It is recommended to perform maintenance on your garage door opener at least once a year. This can involve lubricating moving parts, tightening screws and bolts, checking for wear and tear, and testing the safety features. However, if you notice any issues with your garage door opener such as strange noises or difficulty opening/closing the door, it is important to address them immediately rather than waiting for an annual maintenance check. Regular maintenance can help prevent costly repairs in the future.
Conclusion
Proper maintenance of your garage door opener is essential for ensuring its longevity, safety, and optimal performance. By dedicating time to regular upkeep and promptly addressing any issues, you can avoid inconvenient breakdowns and costly repairs.
Remember, a well-maintained garage door opener not only enhances the functionality of your home but also provides peace of mind for you and your family. Thanks for reading this article on how to change battery in raynor garage door opener.