Knowing how to change battery in clicker garage door opener is a must-have skill for maintaining the functionality of your garage door. A failing remote can disrupt your daily routines, whether it’s entering your garage in bad weather or securing your home at night. The process of replacing the battery might seem daunting for some, but it’s actually quite straightforward.

This guide will walk you through the steps to replace the battery in your Clicker garage door opener, ensuring it works like new again. Whether you’re a complete beginner or inclined to avoid tech-related tasks, this tutorial has got you covered with simple, easy-to-follow instructions. Before getting started, make sure you have the correct replacement battery on hand. Most Clicker garage door openers use a standard coin cell battery, such as a CR2032, but it’s always a good idea to double-check the user manual or your specific model for compatibility. Additionally, having a small screwdriver nearby may be necessary to access the battery compartment. Taking a few minutes to prepare will make the process smooth and hassle-free.
Read on to learn why maintaining your garage door opener is so important and exactly what to do when it’s time to replace the battery.
Why Knowing How to Change a Battery in Clicker Garage Door Opener Is Important
Garage door openers are essential for modern convenience and security. However, like any electronic device, they depend on a reliable power source. A weak or dead battery can turn your once automatic garage door into a manual chore. Knowing how to change battery in clicker garage door opener ensures you’re never left stranded outside your garage or struggling to lift a heavy door manually.
Beyond convenience, a functioning remote helps keep intruders at bay. Since the Clicker garage door remote is designed to sync with multiple systems, regular maintenance like changing the battery plays a key role in maintaining your home’s security.
Learning this simple skill isn’t just about convenience—it’s about taking control of your home’s safety and minimizing unnecessary frustration. By regularly checking and changing the battery in your Clicker garage door remote, you can ensure that your home remains secure and accessible at all times.
10 Step-by-Step Guide on How to Change Battery in Clicker Garage Door Opener
Replacing the battery in your Clicker garage door opener doesn’t require special tools or technical expertise. This easy-to-follow guide will take you through the steps so your remote is back up and running in no time.
Step 1: Verify the Need to Replace the Battery
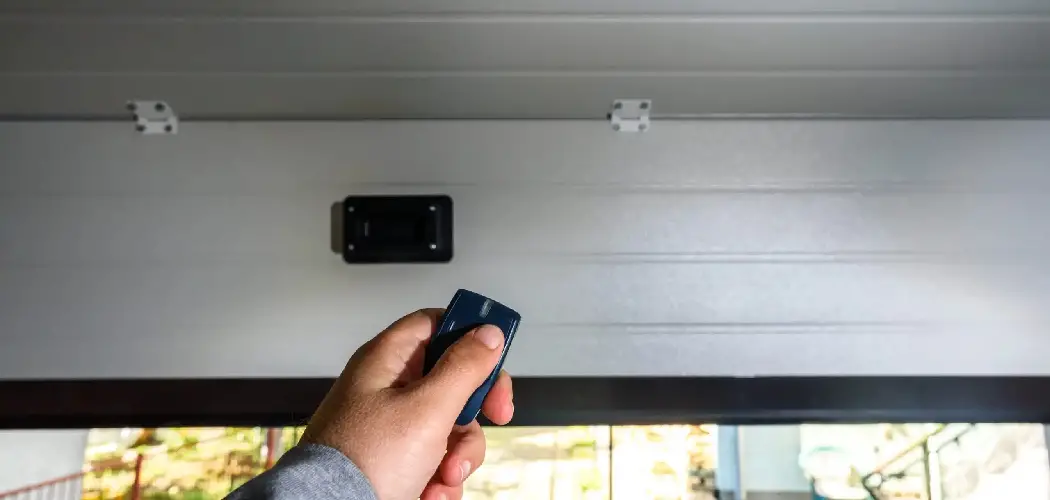
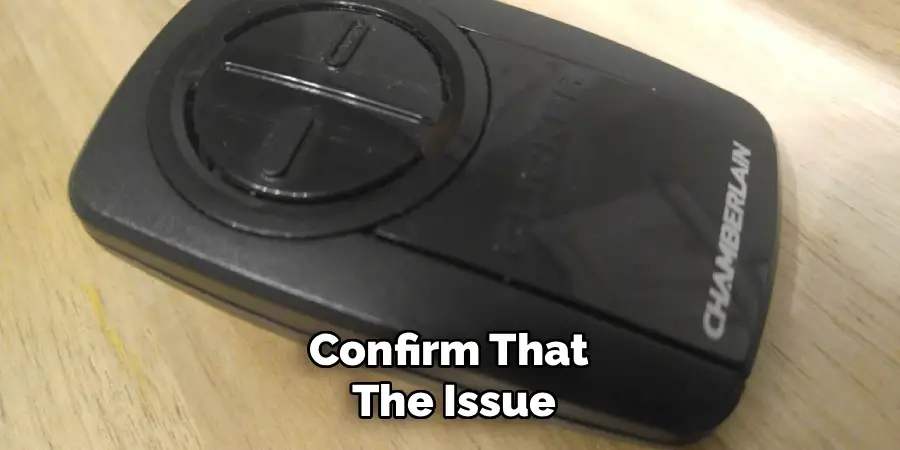
Before opening your remote, confirm that the issue is actually a dead battery. If the door doesn’t respond when you press the remote button, it could indicate a power issue. Double-check by using a wall-mounted control panel. If the door works fine with the panel, the remote battery likely needs replacing.
Step 2: Locate the Battery Compartment
Examine your Clicker remote to find the small, removable panel that houses the battery. Typically, this is located on the back of the remote. Look for slight grooves or markings indicating where the panel can be removed.
Step 3: Open the Battery Compartment
Using a flathead screwdriver or even your fingernail, gently pry open the battery compartment. Be cautious to prevent damage to the casing. If your Clicker has a slide-out tray instead, use the grooves to slide it out smoothly.
Step 4: Identify the Battery Type
After opening the compartment, take note of the battery type. Clicker remotes commonly use coin-cell batteries, such as CR2032 or CR2025, but always confirm by checking the label or the battery itself.
Step 5: Remove the Old Battery
Carefully remove the old battery from its socket. If it’s snugly fitted, use a thin object like the edge of a credit card or a small tool to gently lift it out. Ensure that no part of the old battery remains inside the compartment.
Step 6: Inspect and Clean the Compartment
Before inserting the new battery, inspect the compartment for any debris or corrosion. Wipe it gently with a clean, dry cloth to ensure proper contact between the battery and the terminals.
Step 7: Insert the New Battery
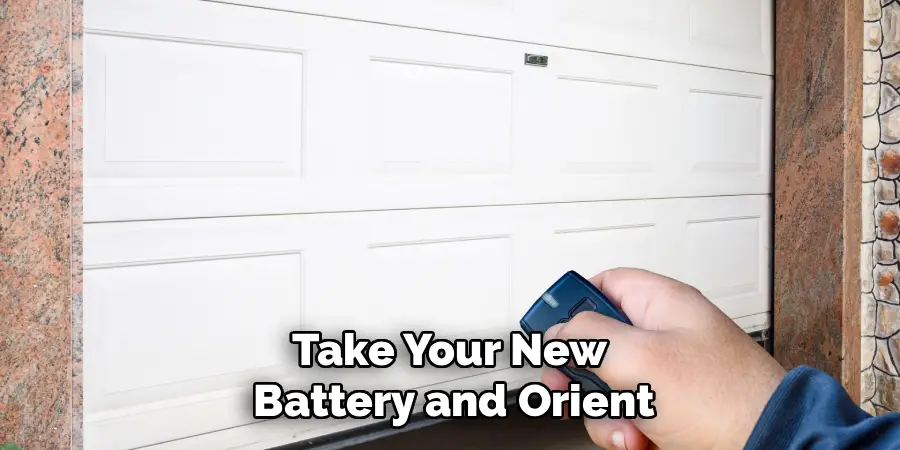
Take your new battery and orient it according to the positive (+) and negative (-) markings in the compartment. Usually, the positive side should face outward. Slide or press it into place gently but firmly.
Step 8: Secure the Battery Compartment
Once the new battery is installed, replace the compartment cover. Ensure it clicks securely into place. If your remote has a screw for added security, tighten it with a small screwdriver.
Step 9: Test the Remote
Point the remote at your garage door and press the button to test its functionality. The door should respond immediately if the battery replacement was successful.
Step 10: Dispose of the Old Battery
Properly dispose of the old battery according to local waste disposal guidelines. Coin-cell batteries can leak harmful substances, so never throw them in regular trash. Many stores offer recycling options for used batteries.
Related DIY Projects
If you enjoyed replacing your garage door remote battery, here are some other simple and rewarding DIY projects you may want to try:
Replacing Smoke Detector Batteries
Regularly changing the batteries in your smoke detectors ensures your home’s safety. Use a step ladder to access the devices, and follow a similar process for exchanging the batteries.
Fixing a Leaky Faucet
Save water and reduce your utility bill by repairing a leaky faucet. With just a few tools like a wrench and replacement washers, you can address common drip issues.
Cleaning and Replacing HVAC Filters
Maintain your home’s air quality by cleaning or replacing the filters in your heating, ventilation, and air conditioning system. This project promotes better air circulation and enhances system efficiency.
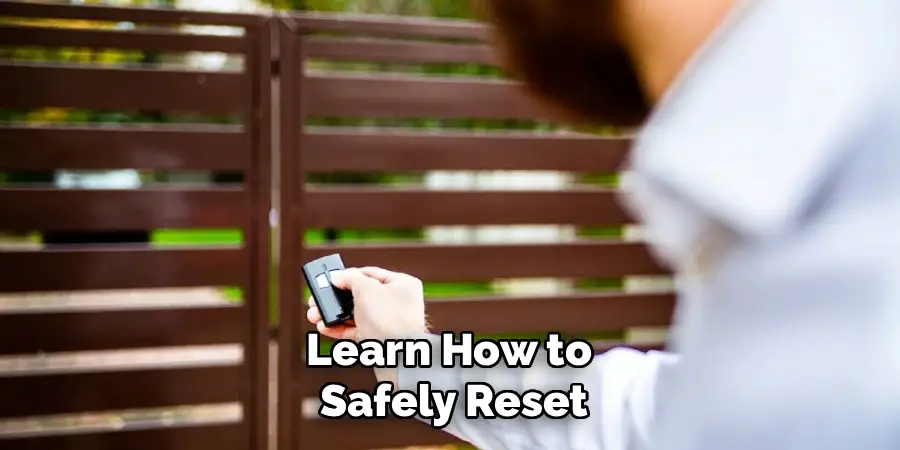
Resetting a Circuit Breaker
Learn how to safely reset a tripped circuit breaker in your home. This is a valuable skill that can restore power quickly during minor electrical hiccups.
Installing Energy-Efficient Light Bulbs
Reduce energy consumption by swapping out old light bulbs for energy-efficient LED bulbs. This project is quick, economical, and beneficial for the environment.
Each of these projects builds your confidence in home maintenance and adds to your practical skills.
Troubleshooting Remote Issues
If your garage door remote is still not functioning after replacing the battery, there could be other underlying issues. Start by ensuring that the remote is properly programmed to work with your garage door opener. Refer to your garage door opener’s manual for programming instructions. Next, check the battery contacts inside the remote for any signs of corrosion or dirt; clean them gently if necessary. If the remote still does not work, ensure there are no obstructions blocking the sensor on the garage door opener. Additionally, test the remote from various distances to see if it is a range issue.
If none of these steps resolve the problem, the issue may lie with the garage door opener itself, such as a faulty receiver or sensor. You may need professional assistance to assess and address the problem. Always consult a qualified technician for complex repairs to avoid potential damage or safety concerns.
Frequently Asked Questions Section
1. How do I know which battery my Clicker garage door opener uses?
The type of battery is usually printed on the back of the remote or inside the battery compartment. Common types include CR2032 or CR2025 coin-cell batteries. If you’re unsure, consult your Clicker user manual or visit the manufacturer’s website for details.
2. My Clicker remote isn’t working after replacing the battery. What should I do?
If your remote doesn’t work after a battery change, ensure the new battery is installed correctly, with the positive and negative terminals aligned appropriately. Check for dirt or corrosion in the battery compartment that might disrupt the connection. If the issue persists, try reprogramming the remote to your garage opener system.
3. How often should I change the battery in my Clicker garage door opener?
Battery life varies, but most Clicker remotes require a new battery every 1-2 years, depending on usage. If you notice weaker signal range or inconsistent performance, it’s likely time for a replacement.
4. Is it safe to use third-party batteries in my Clicker remote?
While third-party batteries are usually less expensive, they may not offer the same level of performance or longevity as name-brand options. Using quality batteries that match the specified type ensures optimal performance and reduces the risk of damage to your remote.
5. Can I replace the battery without reprogramming my Clicker remote?
Yes, replacing the battery will not affect the programming of your Clicker remote. However, if the remote still doesn’t work after inserting a fresh battery, reprogramming may be necessary to reestablish the connection to the garage opener.
Conclusion
Changing the battery in your Clicker garage door opener is a simple yet essential task that ensures your garage door operates smoothly and securely. With this guide, you now have the confidence to replace the battery whenever needed, keeping your remote fully functional and avoiding unwanted downtime.
If you encounter further issues with your Clicker remote after replacing the battery and reprogramming it, consult the user manual or contact customer support for assistance. Occasionally, technical problems may arise that require professional troubleshooting or replacement of the remote. Taking prompt action ensures that your garage door system remains reliable and secure for your daily use.
By following the step-by-step instructions provided here, you’ve not only learned how to change battery in clicker garage door opener but have also taken a small step toward empowering yourself to handle DIY home maintenance tasks.
I am Rick. I grew up helping my dad with his handyman service. I learned a lot from him about how to fix things, and also about how to work hard and take care of business. These days, I’m still into fixing things- only now, I’m doing it for a living.
I’m always looking for new ways to help people grow and develop. That’s why I have created this blog to share all my experience and knowledge so
that I can help people who are interested in DIY repair.