
Are you tired of manually opening and closing your garage door? A Chamberlain garage door opener can make your life much easier by allowing you to open and close the garage door with just a push of a button.
How to change battery in chamberlain garage door opener is a straightforward process that can enhance the performance and reliability of your system. Over time, the remote control and wall-mounted units may require new batteries to ensure they function effectively. A fresh battery guarantees that your garage door operates smoothly and prevents unexpected malfunctions that can cause inconvenience.
In this guide, we will walk you through the necessary steps to safely and efficiently replace the battery in your Chamberlain garage door opener, ensuring that you can continue to enjoy the convenience of easy access to your garage.
What Will You Need?
Before you get started, make sure to gather all the necessary tools and supplies. These may include:
- A new 3V CR2032 battery (or any other battery type recommended by the manufacturer)
- Phillips head screwdriver or a hex key
- A clean cloth or paper towel
It is essential to ensure that you have the correct battery for your specific Chamberlain garage door opener model.
10 Easy Steps on How to Change Battery in Chamberlain Garage Door Opener
Step 1: Locate the Battery Compartment
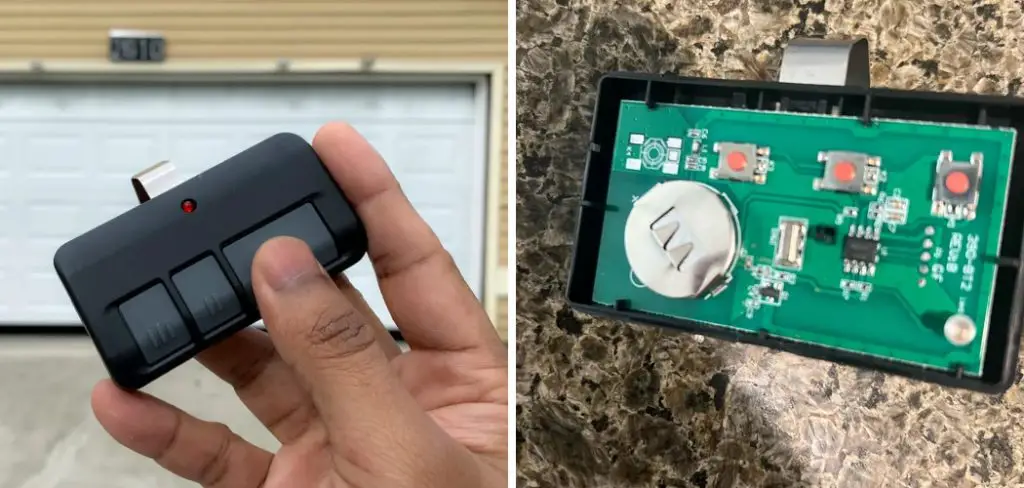
The first step in changing the battery of your Chamberlain garage door opener is to locate the battery compartment, which can be found on both the remote control and the wall-mounted unit. For the remote control, look for a small slot or indentation where you can carefully pry open the casing. This is often located on the back or side of the unit. It’s advisable to handle the remote gently to avoid damaging any components.
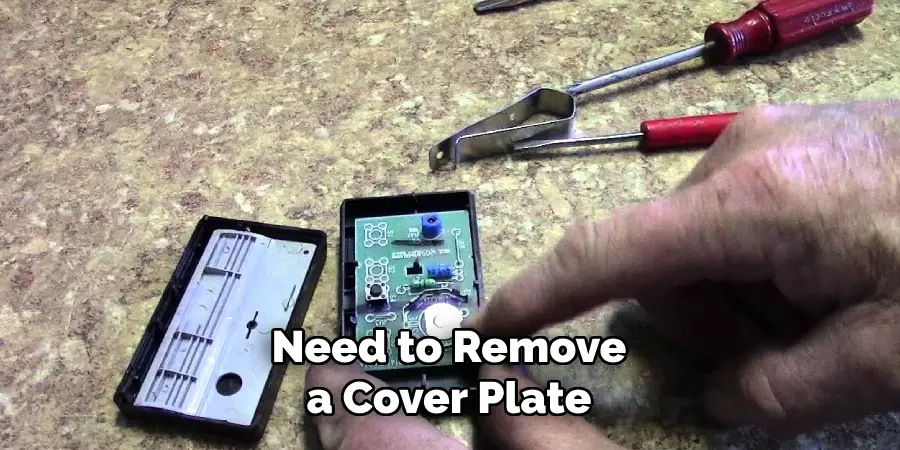
You may need to remove a cover plate to access the battery compartment for the wall-mounted unit. This is usually done by locating the tiny screws that secure the cover and using a Phillips head screwdriver or hex key to remove them. Once removed, slide or lift off the cover to reveal the battery compartment. Note how the battery is positioned within the compartment, as you’ll need to replace it in the same orientation to ensure proper function. Once you’ve accessed the compartment, you’re ready to proceed to the next steps in the battery replacement process.
Step 2: Remove the Old Battery
Now that you have located the battery compartment, gently remove the old battery by either sliding it out or popping it out, depending on the style of the compartment. Be cautious not to damage any surrounding parts or connections while doing this. If the battery is stuck or difficult to remove, you can use a clean cloth to provide some grip, ensuring you don’t apply excessive force that could harm the device. Once the old battery is out, set it aside for proper disposal.
Step 3: Insert the New Battery
Take your new 3V CR2032 battery and align it according to the polarity markings indicated in the battery compartment. Typically, there will be a “+” (positive) and a “-” (negative) symbol showing the correct orientation. Carefully insert the new battery, ensuring it sits firmly within the compartment. Be mindful not to force it in, as this could lead to damage. Once the battery is securely placed, you can seal the compartment again.

Step 4: Reattach the Battery Compartment Cover
After successfully inserting the new battery, it’s time to reattach the battery compartment cover. If you had to remove a cover plate for the wall-mounted unit, carefully align it back into its original position, ensuring that any clips or guides fit appropriately. If your device uses screws to secure the cover, take the Phillips head screwdriver or hex key that you used earlier and tighten the screws back into place. Be cautious not to overtighten, as this could strip the screws or damage the cover.
Step 5: Test the Garage Door Opener
Once the battery compartment is sealed, testing the functionalities of both the remote control and wall-mounted unit is essential to ensure everything is working correctly. Press the buttons on the remote to see if it successfully opens and closes the garage door. For the wall-mounted unit, use the corresponding button to check for smooth operation. If the door responds accordingly, you have completed the battery change. If not, double-check the battery placement and that the battery compartment is secure.
Step 6: Dispose of the Old Battery Properly
After verifying that the new battery is functioning, remember to dispose of the old battery responsibly. Many areas have specific recycling programs for batteries due to their hazardous materials. Look for local recycling facilities or community events that accept batteries to ensure you are disposing of them in an environmentally friendly way. Avoid throwing batteries in the trash, as they can leak harmful chemicals into landfills.
Step 7: Maintain Your Garage Door Opener System
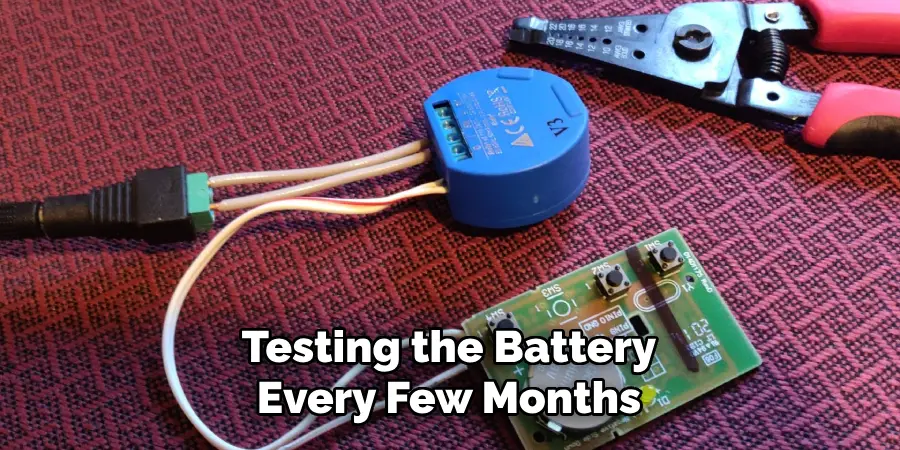
To prolong the life of your Chamberlain garage door opener’s life, regular maintenance checks are advisable. This includes periodically inspecting the remote control and wall-mounted unit for any signs of wear or damage and testing the battery every few months to ensure optimal performance. Keeping the garage door and its components clean and debris-free will also enhance its longevity and functionality.
Step 8: Monitor Performance
Keep an eye on how frequently you need to change the battery. Suppose you change batteries more often than expected. In that case, there may be an underlying issue, such as a malfunctioning power source or an internal fault within the remote or wall-mounted unit. If problems persist, consider consulting the manufacturer’s customer support or a professional technician for further assistance. Only continue to replace batteries after investigating potential root causes.
Step 9: Document Maintenance
Keeping a record of the maintenance performed on your Chamberlain garage door opener is vital for ensuring its long-term functionality. Creating a maintenance log allows you to track important information, such as the date of each battery change, any issues encountered, and the actions taken to resolve those issues. Additionally, you can note how often the batteries are replaced and any patterns that may emerge over time.
This documentation helps you stay organized and serves as a valuable resource should you need to consult with customer support or a technician later on. Consider using a simple notebook or a digital spreadsheet to maintain this log. Regularly updating it after each maintenance session will give you a clearer understanding of your garage door opener’s performance and help identify any potential problems before they escalate.
Step 10: Consider Upgrading Your System
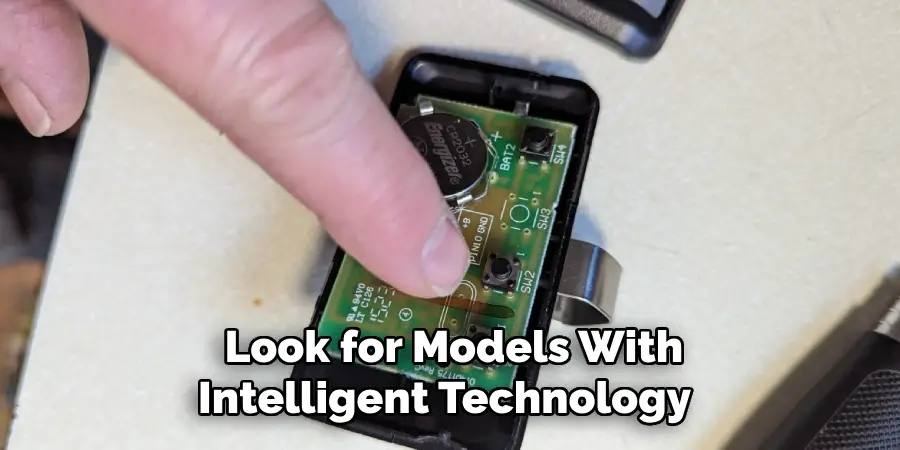
If you find that your Chamberlain garage door opener frequently requires battery replacements or is experiencing performance issues, consider upgrading your system. Advances in technology have led to more efficient models that offer enhanced features and improved energy management, potentially reducing battery usage. Look for models with intelligent technology that can integrate with home automation systems, providing added convenience and control. Before deciding, research the options available, comparing their features, user reviews, and warranty conditions to ensure you choose the best system for your needs.
Following these steps and implementing regular maintenance ensures your Chamberlain garage door opener operates smoothly and efficiently for years.
5 Things You Should Avoid
- Ignoring Safety Guidelines: Always prioritize safety by following the manufacturer’s guidelines. Avoid working on the garage door opener while plugged in or powered on, as this can pose electrical hazards.
- Using Incorrect Tools: Avoid using tools that are not suited for the specific screws or components of your garage door opener. Using the wrong tool can strip screws or damage the cover, leading to costly repairs.
- Forcing Components Together: Avoid using excessive force when inserting the new battery or reattaching the cover. Forcing components can damage the internal parts or misalign the battery compartment, leading to functionality issues.
- Neglecting to Check Polarity: Ensure you pay attention to the polarity markings when inserting the new battery. Installing it backward can prevent the opener from functioning and may even damage the unit.
- Overlooking Environmentally Responsible Disposal: Do not discard the old battery in regular trash. Make sure to properly recycle or dispose of it according to local guidelines to prevent environmental harm and adhere to safety regulations.
By avoiding these common mistakes, you can effectively maintain your Chamberlain garage door opener and ensure it operates safely and efficiently.
Conclusion
How to change battery in chamberlain garage door opener is a straightforward process that, when done correctly, can enhance the longevity and functionality of your system.
By following the steps outlined—preparing for the change, safely replacing the battery, verifying operation, and maintaining a record of your maintenance—you ensure a smooth operation of your garage door opener. Additionally, staying vigilant about monitoring performance and considering upgrades when necessary will keep your opener running efficiently.
Regular attention to these details not only improves convenience but also helps prevent potential issues down the line, allowing you to enjoy a reliable and effective garage door opener for years to come.
I am Rick. I grew up helping my dad with his handyman service. I learned a lot from him about how to fix things, and also about how to work hard and take care of business. These days, I’m still into fixing things- only now, I’m doing it for a living.
I’m always looking for new ways to help people grow and develop. That’s why I have created this blog to share all my experience and knowledge so
that I can help people who are interested in DIY repair.