Keeping your home secure is a priority for every homeowner, and changing the code on your LiftMaster garage door opener is a crucial step in protecting your property. Whether you’ve recently moved into a new home or want to restrict access after sharing your code, knowing how to update it ensures you maintain control over who can enter your garage.

To change the code on your LiftMaster garage door opener, start by locating the “Learn” button on the motor unit—this is usually found near the antenna wire or under a light cover. Press and hold the “Learn” button until the indicator light turns on, signaling that the system is ready to accept a new code. Next, go to your keypad and enter your desired PIN, followed by pressing the “Enter” button. The indicator light will blink or turn off to confirm that the code has been successfully updated. Always test your new code to ensure it works properly and remember to store it somewhere secure.
If you’re new to programming your LiftMaster garage door opener, the process may seem daunting. However, with this beginner-friendly guide, you’ll not only see how manageable it is but also feel confident in securing your home. This article will walk you step-by-step through how to change a LiftMaster garage door opener code, discuss why it’s essential, and answer common questions.
Why Changing Your LiftMaster Garage Door Opener Code Is Important
Garage door openers provide convenience and security, but an outdated or widely shared code can compromise your safety. There are several reasons why changing the code regularly or after certain events is a wise decision:
Prevent Unauthorized Access: If someone outside your family or trusted circle knows your opener code, they could potentially enter your home without your consent.
Post-Shared Access: After giving temporary access to a neighbor, house sitter, or maintenance professional, resetting the code ensures you’re the sole controller again.
Reduce Security Risks: Technology advances daily, and some outdated access codes are easier to exploit. Changing it regularly keeps your security system updated and safe.
Peace of Mind: When your home is secure, you can live worry-free knowing your family and belongings are protected.
Updating the code is a straightforward step that significantly enhances the security of your home and family. Now, let’s explore precisely how to change a LiftMaster garage door opener code with clear instructions anyone can follow.
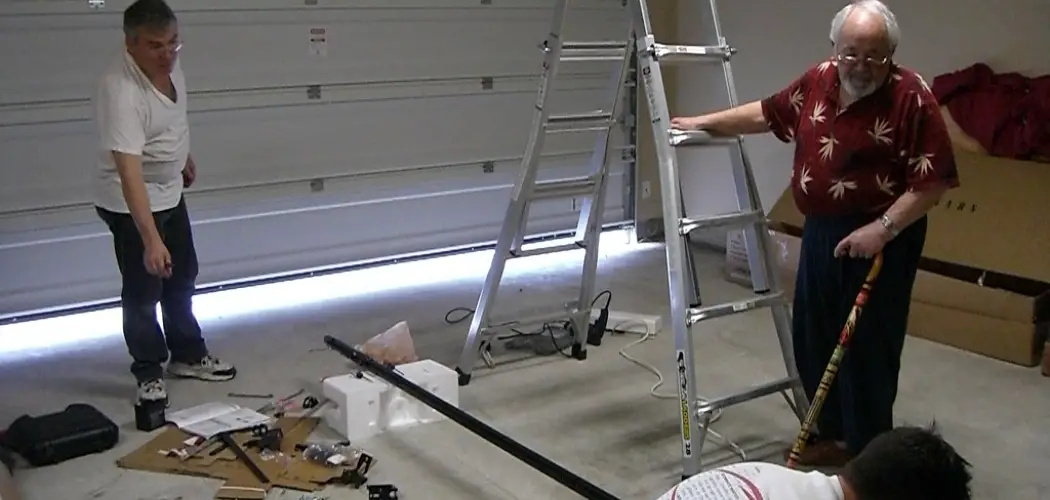
7 Step-by-Step Guide: How to Change a LiftMaster Garage Door Opener Code
Reprogramming your LiftMaster garage door opener is often just a matter of resetting the system and pairing it with a new code or remote. Below, we break down the process into easy-to-follow steps.
Step 1: Locate the “Learn” or “Code” Button
Before you can reset the code, you need to find the “Learn” button, which is typically on the motor unit. The location of this button depends on your LiftMaster model, but it’s commonly found near the antenna or under a light cover.
The button is often labeled “Learn” or “Smart” and may have an accompanying indicator light. Take a moment to familiarize yourself with your garage door opener’s setup, as the button’s placement might change depending on whether your model uses a wall console or a remote keypad. Remember, this button is the gateway to pairing new codes or devices.
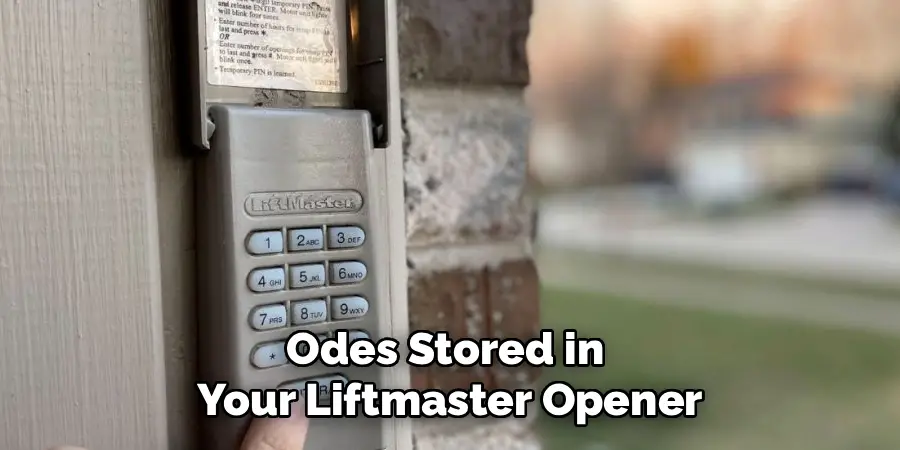
Step 2: Erase the Existing Codes
Once the “Learn” button is located, the next step involves erasing all former codes stored in your LiftMaster opener. Press and hold the button for at least 5 to 10 seconds until the indicator light turns off or blinks. This signifies the memory has been wiped.
By clearing the memory, you’re removing all previously connected remotes and codes to ensure no one can access your garage with the old credentials. Don’t worry about losing access yourself—proceeding with the next steps will create a new code.
Step 3: Enter a New Code on Your Keypad
For LiftMaster models with a keypad, you can create a unique access code that’s easy for you to remember. After pressing the “Learn” button, you’ll have 30 seconds to input and save a new code.
Carefully type the code on the keypad, then press the program button (often marked as “Enter” or with a specific symbol). Pay close attention to the keypad’s response; the opener’s light should blink or you may hear a small click, signaling the new code is saved successfully.
Step 4: Test the New Keypad Code
Before you move on, verify that the new code is working correctly. Stand away from the garage door, enter the freshly created code, and press the required activation button.
Watch for the garage door’s response—it should open or close smoothly. If it doesn’t work, repeat steps 3 and 4, ensuring you’ve followed the instructions carefully and entered the code within the designated time frame.
Step 5: Pair Remote Controls
If your LiftMaster opener uses remotes instead of, or alongside, a keypad, you’ll need to pair these devices with your new code. After pressing the “Learn” button, press a button on your remote within 30 seconds to sync the remote with the opener.
Each remote needs programming individually, so repeat this step for every device you plan to use. It’s also essential to clear out and update old remotes’ programming to ensure no outdated access points remain active.
Step 6: Adjust the Frequency Setting (Optional)
Some LiftMaster models allow you to adjust the operating frequency for enhanced security. Changing the frequency can help combat any interference or vulnerabilities in older installations.

Consult your LiftMaster manual to determine how to change the frequency on your specific model. Though optional, this step can further enhance your garage security.
Step 7: Confirm System Updates
The final step involves one last confirmation to ensure all system updates have been saved successfully. Test both your wall keypad and remote controls again to guarantee all devices are communicating correctly with the opener.
If everything works as planned—congratulations! You’ve successfully updated your LiftMaster garage door opener code, providing your home with a new level of customized security.
Additional Security Tips
To further enhance the security of your garage and home, consider the following additional measures:
Install a Security Camera
Adding a security camera near your garage can serve as both a deterrent to potential intruders and a tool for monitoring activity. Choose a model with motion detection and smartphone alerts for real-time updates.
Use a Timer for Automatic Lights
Set up a timer or motion-activated lights near your garage. Bright lights can deter unauthorized access by illuminating the area whenever someone approaches.
Secure Garage Windows
If your garage has windows, ensure they are frosted or treated with a reflective film to prevent outsiders from peeking inside. Adding sturdy locks can also make them more secure.
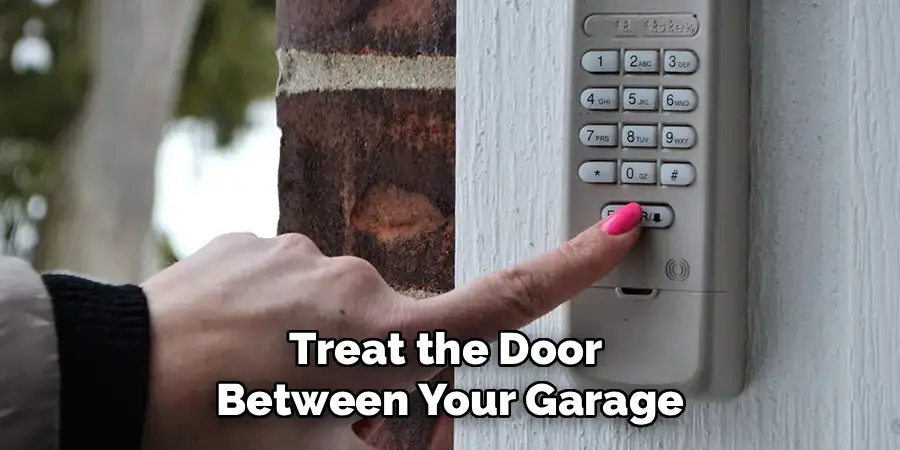
Lock the Door Connecting the Garage to Your Home
Treat the door between your garage and home like an external entrance. Use a heavy-duty lock and ensure the door is solidly built for added security.
Use a Manual Lock on the Garage Door
Many garage doors come with manual locking mechanisms. Even with an opener system, using this lock when you’re away for extended periods adds an extra layer of safety.
By implementing these strategies, you can strengthen your home’s defensiveness against potential intrusions and enjoy greater peace of mind.
Frequently Asked Questions
How often should I change my LiftMaster garage door opener code?
Changing the code every 6–12 months is a good practice, ensuring optimal security. However, update it immediately after sharing temporary access or noticing any suspicious activity. Consistent updates limit unauthorized use of your garage, reinforcing control over your home’s entry points.
What can I do if I forget my new garage door opener code?
If you forget your updated code, you can reset the system entirely by holding the “Learn” button for 10 seconds to erase existing memory. Then, follow the programming steps to create a new code. Always keep your code someplace secure but accessible for future reference to avoid such situations.
Can I change the code without a keypad?
Yes, you can! Many LiftMaster models enable programming via the remote control and the “Learn” button alone. While keypads provide added convenience, remotes serve as an alternative for inputting and updating access codes.
Why won’t my new code work after programming?
If your new code doesn’t work, there are a few possible reasons, such as entering the code outside the 30-second programming window or not pressing the “Enter” button to confirm changes. Double-check each step, and consider consulting your user manual for specific troubleshooting tips linked to your model.
Are LiftMaster garage door codes secure?
Yes, modern LiftMaster garage door openers use rolling code technology, meaning the access code changes every time it’s used. This prevents hackers from intercepting and reusing your credentials. However, frequently updating your chosen codes enhances security further.
Conclusion
Changing the code on your LiftMaster garage door opener is an easy yet impactful way to keep your home safe and secure. By following these clear steps, you can ensure that only trusted individuals have access to your garage.
Regular maintenance of your garage door opener is just as important as updating its security codes. Inspecting the system for any signs of wear, cleaning the sensors, and ensuring the tracks are clear of debris can help extend the life of the unit and maintain reliable operation. A well-maintained garage door opener not only offers convenience but also enhances overall safety for your home.
Whether you’re a new homeowner or simply tightening your home’s security, learning how to change a LiftMaster garage door opener code is an essential skill. Take control of your property, protect your loved ones, and enjoy the peace of mind that comes with a secure home. Now is the perfect time to update your code and feel the difference it makes!
I am Rick. I grew up helping my dad with his handyman service. I learned a lot from him about how to fix things, and also about how to work hard and take care of business. These days, I’m still into fixing things- only now, I’m doing it for a living.
I’m always looking for new ways to help people grow and develop. That’s why I have created this blog to share all my experience and knowledge so
that I can help people who are interested in DIY repair.