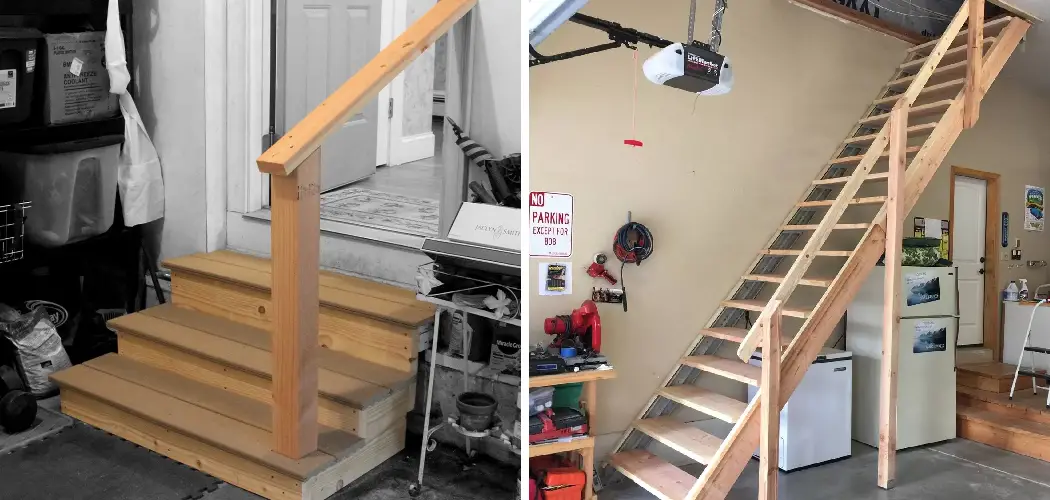
Building garage stairs is crucial for those looking to maximize their space, whether for accessing a loft, a storage area, or an upper level.
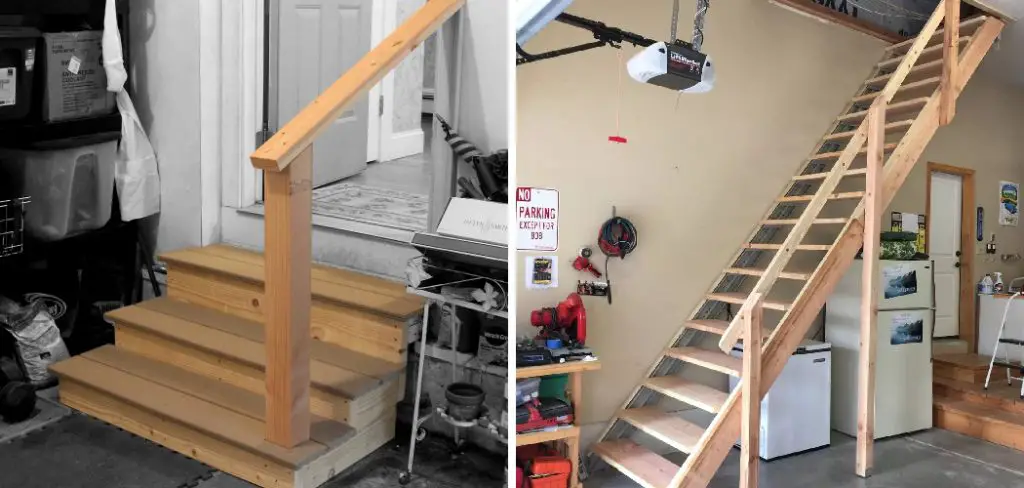
Many garages have underutilized vertical space that can be transformed into functional areas with well-constructed stairs. The need for safe and sturdy stairs cannot be overlooked, as they provide essential access while ensuring safety for users. In this article, we will provide a comprehensive guide on how to build garage stairs.
Our overview will walk you through the process, starting with careful planning and accurate measurements, followed by the actual construction and finishing touches. By following these steps, you can create a reliable and aesthetically pleasing staircase that enhances the usability of your garage space.
Planning and Design
Assessing the Space and Layout
Evaluating the available space in your garage is a vital first step in planning your staircase. Begin by measuring the vertical height from the garage floor to the upper level that the stairs will access; this will determine the total rise of your staircase.
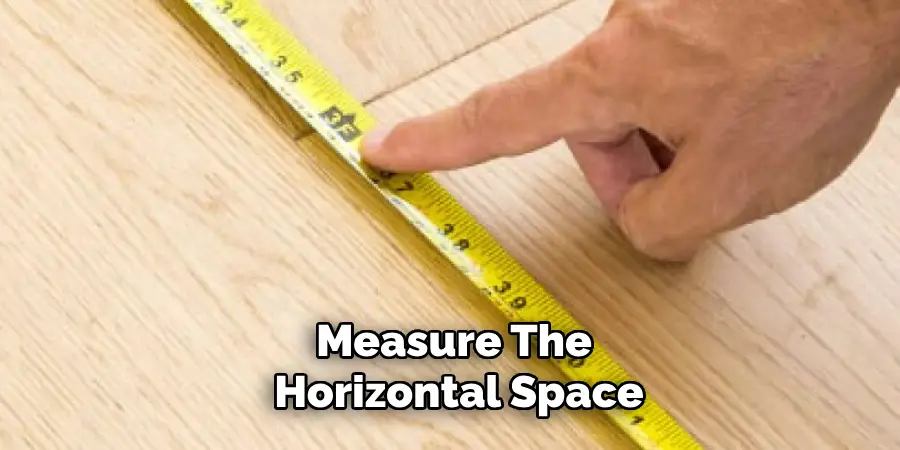
Next, measure the horizontal space to ensure you have adequate room for the stair width, which should comfortably accommodate foot traffic.
Consider the orientation of the stairs—whether they will be straight, L-shaped, or other configurations—based on the garage’s layout and any obstructions, such as vehicles or storage. A well-thought-out design will ensure easy navigation and access while using the available space best.
Design Considerations and Building Codes
Several key factors must be considered to ensure functionality and safety when designing your garage stairs.
The number of steps will be dictated by the rise and run—specifically, the tread depth and riser height. A comfortable range for riser height is typically 7 to 8 inches, while treads should ideally be 10 to 12 inches deep. The overall slope of the staircase should not exceed a 30-degree angle for optimal safety and convenience.
It is crucial to adhere to local building codes and safety standards, which may outline specific requirements for handrails, stair width, and maximum tread heights. Ensuring compliance with these regulations enhances safety and may be required for obtaining necessary permits. By keeping these design considerations in mind, you can create a staircase that is both practical and secure.
Gathering Materials and Tools
Before you begin building your garage stairs, it’s essential to gather all the necessary materials and tools to ensure a smooth construction process. Everything on hand will save you time and minimize interruptions during the build. Here’s a comprehensive breakdown of what you’ll need.
Materials List
- Stringers: These are the structural supports that will shape the staircase.
- Treads: The horizontal surfaces where you will step, typically made from 2×12 lumber.
- Risers: The vertical components that connect each tread and define the height of each step.
- Wood Screws and Nails: For joining components securely.
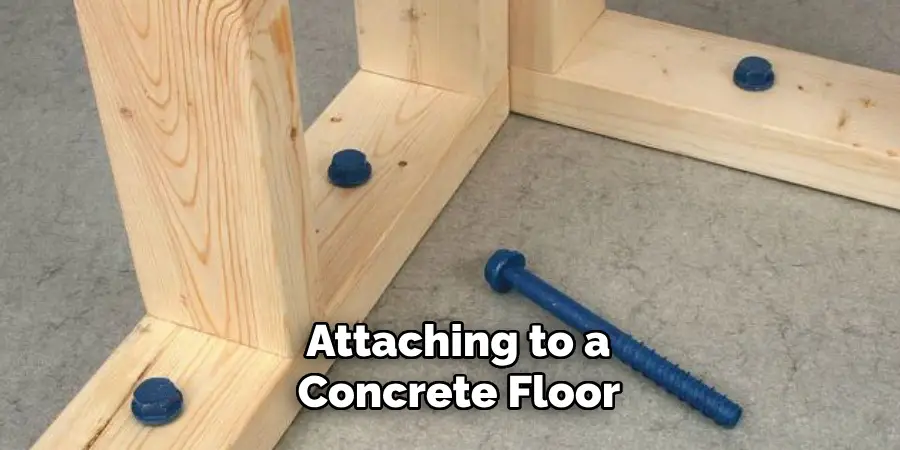
- Concrete Anchors: Necessary if attaching to a concrete floor for additional stability.
- Wood or Metal Handrails: To provide support and safety when using the stairs.
Essential Tools
- Circular Saw: This is used to cut lumber to the required dimensions.
- Measuring Tape: To ensure accurate measurements throughout the project.
- Carpenter’s Square: Useful for checking angles and ensuring straight cuts.
- Level: To verify that the staircase is even and properly aligned.
- Drill: For creating holes and fastening screws and anchors.
- Safety equipment: Don’t forget gloves and goggles to protect yourself while working.
How to Build Garage Stairs: Cutting and Preparing the Stringers
Measuring and Marking the Stringers
To create stringers for your garage stairs, accurate measuring and marking are crucial in ensuring comfortable and safe steps. First, take the total rise and run measurements calculated during the planning phase.
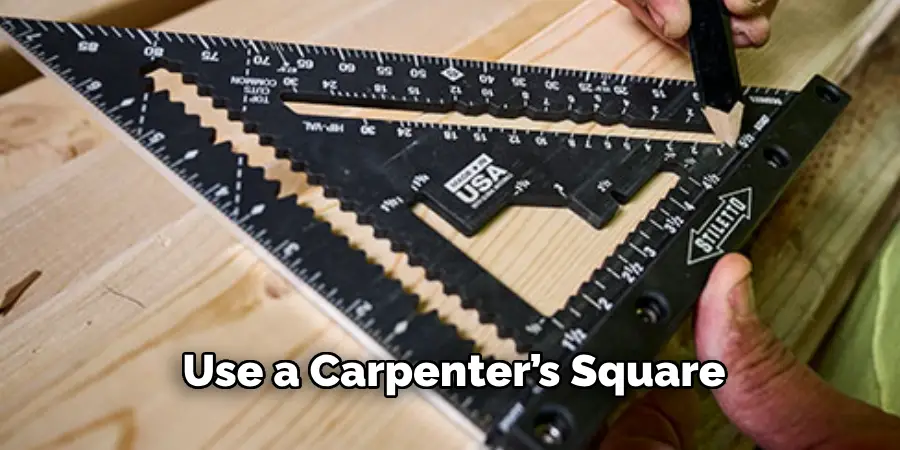
Use a carpenter’s square to mark the rise and run on a length of lumber, which is typically 2×12, for each stringer. For each step, you will typically mark a rise of 7 to 8 inches and adjust the run to 10 to 12 inches, forming a right triangle. Make sure to account for the number of steps; as you reach the last riser, both the total run and rise should equal the height of the space to be accessed.
Draw straight lines at each mark by aligning the carpenter’s square on the board. This technique ensures that the staircase adheres to safety standards and offers a comfortable ascent and descent.
Cutting the Stringers
Once your stringers are measured and marked accurately, it’s time to cut them out using a circular saw.
Carefully position the saw along the marked lines and make your cuts. Precision here is paramount; take your time to follow the lines exactly to avoid uneven steps. Measure twice before each cut to double-check that your markings are correct. This attention to detail is essential, as even a minor error could lead to misaligned steps and compromise safety.
Consider using a saw guide to enhance your control for deep cuts or when a board is too cumbersome to maneuver. After cutting, inspect each stringer to ensure they are uniform; this consistency is key to a well-built staircase.
Reinforcing the Stringers
Reinforcing your stringers is often necessary to ensure they can adequately support the weight of the stairs and users, especially for wider staircases.
One effective method is to add a middle stringer, which provides additional support between the outer stringers. If using thicker wood, ensure that the lumber is strong enough to handle the load while maintaining a balance between weight and durability.
When reinforcing, secure the stringers to the framing of the garage with screws or brackets to prevent shifting or flexing over time. It is vital to regularly check for any signs of wear or weakness once the stairs are in use, as this proactive approach will help maintain a safe and sturdy structure. Following these reinforcement tips can create a reliable foundation for your garage stairs.
Installing the Stringers
Attaching the Stringers to the Upper and Lower Surfaces
Once your stringers have been cut and reinforced, it’s time to securely attach them to the upper floor or landing and the garage floor. Begin by positioning the upper ends of the stringers against the floor joists of the upper surface, ensuring they fit snugly and are level with the same height as the landing.
Use a level tool to check that the stringers are straight and aligned correctly; this step is essential for a safe and comfortable ascent. Once you confirm alignment, use wood screws to fasten the stringers to the joists, ensuring they sink completely into the wood for a secure hold.
Position the stringers against the garage floor at the lower ends, where you may need to use concrete anchors for additional stability. Drill pilot holes for the anchors, secure the stringers firmly against the flooring and double-check for level before finalizing the installation.
Adding Temporary Supports
Incorporating temporary supports such as braces or clamps is highly recommended to keep your stringers aligned and stable during installation. Before securing the treads and risers, position these supports diagonally from the stringers to the floor or wall, creating a triangular shape that provides enhanced stability.
This method will prevent any shifting or misalignment while you work. Make sure the supports are firmly in place, then verify that the stringers remain level throughout the process.
Using clamps can offer added convenience, allowing easy adjustments if the stringers require slight repositioning. Supporting your stringers ensures that they remain aligned physically and provides peace of mind while completing the installation. Once the treads and risers are in place, you can carefully remove the temporary supports, revealing a sturdy set of stairs built to withstand regular use.
Installing Treads and Risers
Cutting and Installing the Treads
To begin installing the treads for your garage stairs, first measure the width of each stringer. Generally, treads are cut from 2×10 or 2×12 lumber for durability and strength. Measure the distance between the two outer edges of the stringers to determine the correct width.
For the length, consider the run of each step, which should match the depth specified in your earlier calculations. Using a circular saw, carefully cut the lumber to the desired dimensions. When attaching the treads, make sure they overhang slightly on both sides for a finished look.
Secure each tread to the stringers using strong wood screws or nails, ensuring that the screws penetrate deeply into both the tread and the stringers. This will provide a sturdy base and prevent any movement. Additionally, verify that each tread is level before securing, as this is essential for safety and comfort when using the stairs.
Cutting and Installing the Risers
Next, you will need to cut and install the risers, which will be positioned vertically between each tread. For standard stairs, risers typically measure 1 inch thick and should match the height of your steps, usually around 7 to 8 inches. Measure the distance between the back edge of the tread and the garage floor for accurate height measurements.
Use the same sturdy materials, such as 1×8 or 1×10 lumber, to ensure they provide adequate support. To achieve a clean and uniform look, align the risers evenly with each other and against the treads. Secure them in place using screws to attach them to both the stringers and the bottom edge of the treads. This additional support will enhance the overall structure and make the stairs feel more solid underfoot.
Securing the Stairs
Once the treads and risers are installed, securing the entire staircase to both the garage floor and the upper landing is crucial.
Using concrete anchors, screws, or other appropriate fasteners, attach the bottom of each stringer to the ground for stability.
Drill pilot holes into the flooring and insert fasteners, ensuring each stringer is firmly anchored. At the upper landing, check that the stringers are flush against the floor joists and secure them with suitable screws, which will prevent any shifting or wobbling.
After securing, check the stability by applying pressure on each step to ensure there are no creaks or movement. If necessary, make adjustments to tighten loose fittings or exceed the required levels. This thorough installation process ensures that your stairs are safe and can handle regular use without compromising structural integrity.
Adding Handrails and Finishing Touches
Installing the Handrails
To enhance the safety of your staircase, attach handrails according to local building codes, which typically specify a height between 34 and 38 inches above the stair treads. Begin by securing the handrail to the wall or stringers using sturdy brackets that can support the weight of users.
Ensure the brackets are evenly spaced for stability and anchored securely, with additional support at the top and bottom of the staircase. It’s vital to check that the handrail is level and firmly attached before finishing.
Finishing the Stairs
Once the handrails are in place, focus on the finishing touches for your stairs. Start by sanding the treads to create a smooth surface that enhances the wood’s natural beauty. Consider painting or staining the stairs for a polished look while also protecting against wear.
Add non-slip adhesive strips on the treads to increase safety, especially in high-traffic areas. These finishing elements improve the appearance of your stairs and contribute to their safety and longevity.
Conclusion
In summary, building garage stairs involves a series of key steps that, when followed carefully, lead to a successful installation. Begin by planning your design and accurately cutting the stringers, ensuring they are level and securely anchored. Next, install the treads and risers for a sturdy foundation, then attach the handrails to enhance safety.
Throughout this process, taking your time, double-checking measurements, and adhering to safety guidelines are essential. Remember, how to build garage stairs is a rewarding DIY project that significantly boosts the functionality and safety of your garage space. By investing the effort and attention required, you’ll achieve a durable set of stairs and gain the confidence that comes with completing a meaningful home improvement project.
I am Rick. I grew up helping my dad with his handyman service. I learned a lot from him about how to fix things, and also about how to work hard and take care of business. These days, I’m still into fixing things- only now, I’m doing it for a living.
I’m always looking for new ways to help people grow and develop. That’s why I have created this blog to share all my experience and knowledge so
that I can help people who are interested in DIY repair.

