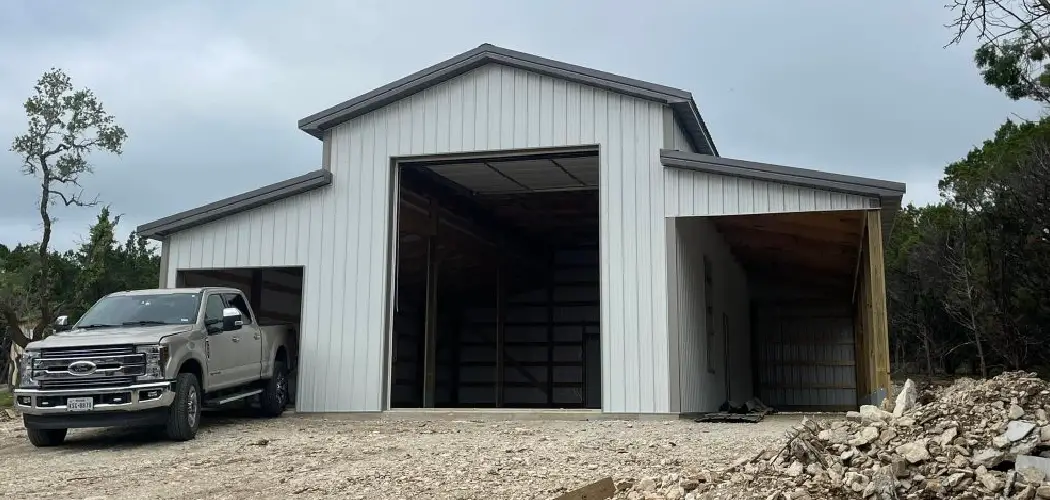
Building a strong and stable foundation is a crucial first step when constructing a garage. The foundation serves as the base that supports the entire structure, ensuring durability and safety over time. A well-planned foundation not only protects the garage from shifting and settling but also prevents issues such as water damage or uneven flooring.

This guide on how to build a garage foundation will walk you through the essential steps and considerations for constructing a high-quality garage foundation, helping you create a lasting structure you can rely on.
Why is a Solid Foundation Important?
A solid foundation is crucial for the stability and longevity of any garage. It provides the groundwork to evenly distribute the weight of the structure, preventing issues like cracking or sinking over time. Without a strong foundation, the garage may suffer from structural instability, which can compromise both its functionality and safety.
Furthermore, a well-built foundation helps protect the garage from environmental factors such as water intrusion, frost heaving, or soil erosion, ensuring the structure remains durable in various weather conditions. Investing time and effort into creating a solid foundation is essential for avoiding costly repairs and maintaining the integrity of your garage for years to come.
Needed Materials
To build a strong and sturdy foundation for your garage, you will need some essential materials. These may include:
Concrete Mix:
This is the most common material used for building foundations. It provides a solid base that can withstand heavy loads and harsh weather conditions. You can choose from various types of concrete mixes, depending on the specific needs of your project.
Rebar:
Short for reinforcing bar, this steel rod is commonly used to add strength and support to concrete structures. It helps prevent cracking and improves the overall stability of the foundation.
Gravel:
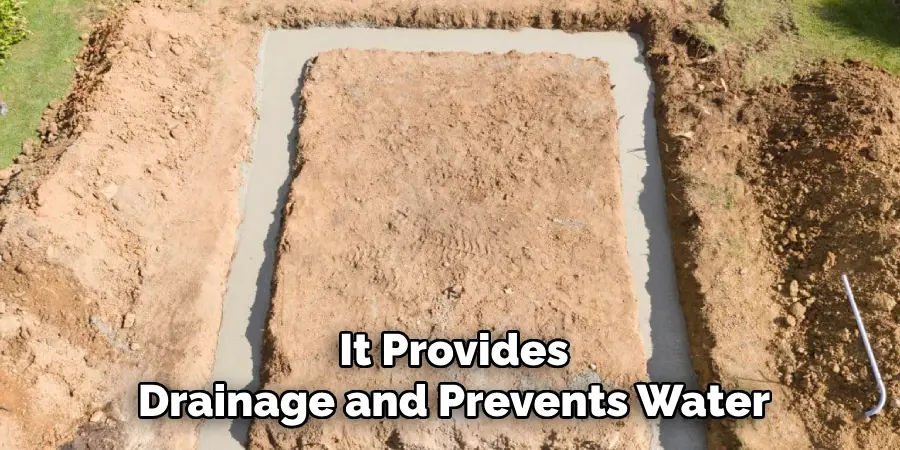
Also known as aggregate, gravel is an important component in creating a stable foundation. It provides drainage and prevents water from accumulating under the foundation, which can cause damage over time.
9 Step-by-Step Guidelines on How to Build a Garage Foundation
Step 1: Prepare the Site
Start by selecting and clearing the area where the garage foundation will be built. Remove any vegetation, debris, or large rocks that may obstruct the site. Use stakes and string to outline the perimeter of the foundation, ensuring the dimensions match your plans.
Next, check the ground for any uneven areas and level them using a shovel or grading equipment. Proper site preparation is crucial to ensure a stable and durable foundation.
Step 2: Mark Out the Dimensions of the Foundation
Once the site has been prepared and leveled, it’s time to mark the exact dimensions of the garage foundation. Begin by reviewing the plans to confirm the measurements. Using the stakes and string previously set up, measure and adjust the layout to match the specified dimensions precisely.
Use a tape measure to verify that all sides are accurate and that the corners form perfect right angles; a builder’s square can assist with this. Double-check your measurements to avoid costly errors later in the construction process.
Step 3: Excavate
With the layout marked and confirmed, the next step is to excavate the site for the garage foundation. Begin by removing the topsoil within the marked perimeter to reach a stable layer of subsoil. Depending on the foundation design, you may need to dig trenches for footings or create a level excavation for a slab foundation.
Use appropriate equipment such as a shovel, backhoe, or excavator, depending on the size of the project. Ensure the depth of the excavation meets the requirements outlined in the plans, allowing for any additional gravel or concrete layers. Take care to maintain the integrity of the marked boundaries throughout the process and remove any roots, rocks, or debris that could compromise the foundation’s stability.
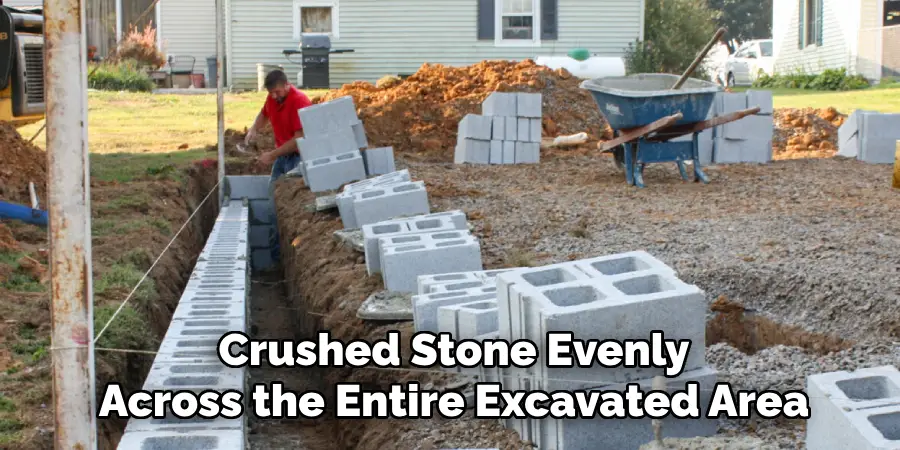
Step 4: Create a Level Base
After completing the excavation, it is essential to create a level base to provide a stable and even surface for the foundation. Begin by spreading a layer of gravel or crushed stone evenly across the entire excavated area. Use a rake to ensure the material is uniformly distributed, and then compact it thoroughly with a plate compactor or tamper.
Check the level of the base frequently with a spirit level or laser level to confirm accuracy. Adjust as needed to achieve a perfectly flat surface that complies with the project specifications. This step is critical for ensuring the longevity and structural integrity of the foundation.
Step 5: Lay Down Gravel
Once the base surface is level and compacted, begin laying down a second layer of gravel or crushed stone. Spread the material evenly across the prepared base using a shovel and rake. Aim for a consistent thickness that matches the project requirements, typically around 2-4 inches unless specified otherwise.
After spreading, compact the gravel thoroughly using a plate compactor to create a stable and durable surface. Check the level once more, making any necessary adjustments, to ensure the gravel layer is smooth and even. This layer will help provide drainage and additional support for the structure above.
Step 6: Construct Formwork
Constructing formwork is an essential step to define the shape and boundaries of your project. Begin by measuring and marking the precise dimensions of the area where the structure will be poured or built. Use sturdy materials such as wooden boards or metal framing to build the formwork, ensuring it is strong enough to hold the weight of the concrete or other building materials.
Secure the formwork in place with stakes or screws, checking that all edges are level and aligned properly. For curves or irregular shapes, flexible formwork materials may be used. Double-check the stability and integrity of the formwork to avoid movement or shifting during subsequent steps. This framework will ensure a clean and accurate final result.
Step 7: Reinforce with Steel Rebar
To strengthen the structure and ensure durability, place steel rebar within the formwork. Cut the rebar to the required lengths, and use wire or clips to securely connect overlapping pieces, forming a sturdy grid or framework. Position the rebar so that it sits evenly within the form, ensuring adequate coverage with concrete later.
Use spacers to keep the rebar lifted off the bottom of the formwork, preventing direct contact with the ground or outer edges. This reinforcement will help the finished structure withstand stresses and provide long-term stability.
Step 8: Pour Concrete
Once the rebar is securely in place, you are ready to pour the concrete. Begin by mixing the concrete to the desired consistency, ensuring it is smooth and free of lumps. Use a concrete mixer for larger projects or mix by hand for smaller jobs. Carefully pour the concrete into the formwork, starting at one end and working your way to the other. Use a shovel, trowel, or a rake to evenly distribute the concrete, ensuring it fills all gaps and covers the rebar completely.
To remove air pockets and improve the strength of the final structure, use a concrete vibrator or tap on the formwork gently. Level off the surface by using a screed or straight edge, following the top edges of the formwork as a guide. Finally, smooth the surface with a trowel for a clean finish and allow the concrete to begin curing undisturbed. Proper pouring and leveling are critical to creating a durable and stable structure.

Step 9: Let it Cure
Curing is a crucial step in ensuring the concrete achieves its maximum strength and durability. After pouring and leveling, cover the surface with a curing blanket or plastic sheet or apply a curing compound to retain moisture. Keep the concrete moist for at least 7 days by gently spraying it with water or using wet burlap sheets. Avoid putting any stress on the structure during this period to prevent cracks and weakening. Proper curing enhances the concrete’s longevity and resistance to weathering, making it an essential step in the construction process.
Following these steps on how to build a garage foundation will ensure that you have a strong and durable foundation for your garage. However, it is important to note that the success of any construction project depends on proper planning, execution, and adherence to safety measures.
Frequently Asked Questions
Q1: Do I Need a Building Permit to Build a Garage Foundation?
A1: Yes, in most cases, you will need a building permit from your local government before starting construction on your garage foundation. It is important to check with your local authorities to determine the specific requirements and regulations for building a garage foundation in your area.
Q2: Can I Build My Own Garage Foundation or Should I Hire a Professional?
A2: Building a garage foundation requires technical knowledge and experience, so it is recommended to hire a professional contractor. They have the expertise and equipment to properly excavate, form, pour, and cure the concrete for your foundation.
Q3: How Long Does It Take to Build a Garage Foundation?
A3: The time it takes to build a garage foundation can vary depending on the size and complexity of the project, as well as weather conditions. On average, it can take anywhere from 1-3 weeks for the concrete to fully cure and be ready for construction to continue.
Conclusion
Building a sturdy and reliable garage foundation is a crucial step in ensuring the longevity and safety of your structure. By understanding the various factors involved, such as proper excavation, the curing process, and the overall timeline, you can better plan and prepare for your project.
Hiring a professional contractor with the right expertise can save time and ensure a high-quality result. With the right foundation in place, you’ll set the stage for a garage that meets your needs for years to come. Thanks for reading this article on how to build a garage foundation.
I am Rick. I grew up helping my dad with his handyman service. I learned a lot from him about how to fix things, and also about how to work hard and take care of business. These days, I’m still into fixing things- only now, I’m doing it for a living.
I’m always looking for new ways to help people grow and develop. That’s why I have created this blog to share all my experience and knowledge so
that I can help people who are interested in DIY repair.