When it comes to the function and convenience of your garage door, attaching it properly to the opener is essential. A well-installed garage door opener not only ensures seamless operation but also enhances your safety and home security. However, this can feel intimidating if you’re a beginner tackling the process for the first time.
Fortunately, with the right guidance, connecting your garage door to the opener is an achievable task, even for novices. This article provides a detailed, step-by-step guide on how to attach garage door to opener, covering everything from preparation to final testing. Whether you’re installing a brand-new system or reconnecting after repairs, you’ll find everything you need to get the job done right.
Before starting, ensure you have all the necessary tools and materials ready. This typically includes a wrench, screwdriver, ladder, and the user manual for your garage door opener. It’s also crucial to work in a well-lit area and follow any safety precautions, such as unplugging the opener to avoid accidental activation during the process. Preparation is key to a smooth installation and will save time by preventing interruptions once you begin.
Why Attaching Your Garage Door to the Opener Properly Matters
Garage doors and openers are integral to many homes, offering both security and convenience. But improper connections can lead to frustrating malfunctions, difficult open-and-close operations, or even safety hazards. By ensuring your opener is correctly attached to the garage door, you:
- Prevent accidents caused by sudden door detachment.
- Extend the longevity of your garage door system by reducing undue strain.
- Ensure smooth, reliable operation every time you use your opener.
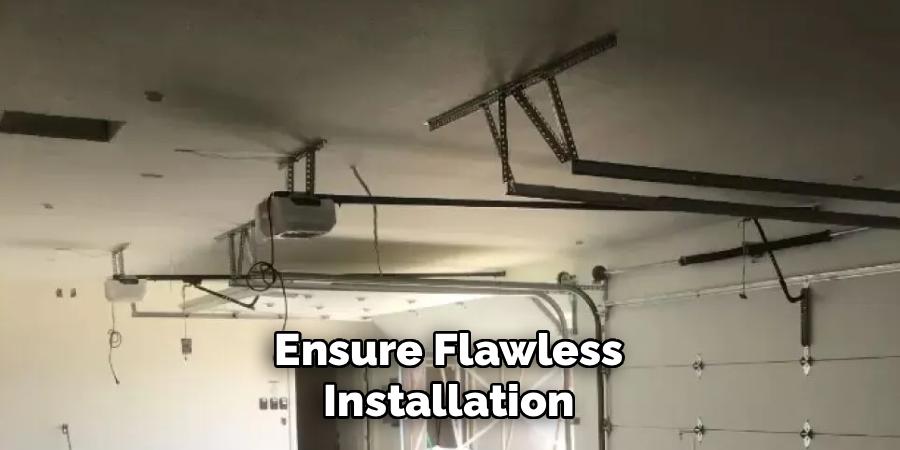
For homeowners accustomed to DIY projects, this task offers significant cost savings compared to hiring a professional. Equipping yourself with the right tools and instructions is the first step toward flawless results. That’s where this guide steps in—to ensure your garage door works safely and efficiently.
Step-by-Step Guide to How to Attach Garage Door to Opener
Step 1: Prepare Your Tools and Workspace
Before starting, clear your garage of obstacles and gather the necessary tools. Typical tools include a drill, wrench set, screwdriver, level, and ladder. For safety, ensure you have gloves and safety goggles. Inspect the garage door opener and mounting hardware, checking for any missing pieces or visible defects.
It’s important to test your garage door’s manual functionality before attaching it to the opener. Ensure it glides smoothly along the tracks when you open or close it. If there’s significant resistance or any jerky movement, address these issues by lubricating the tracks or tightening the bolts. A well-maintained door minimizes strain on your opener and promotes a secure attachment.
Step 2: Identify the Correct Connection Points
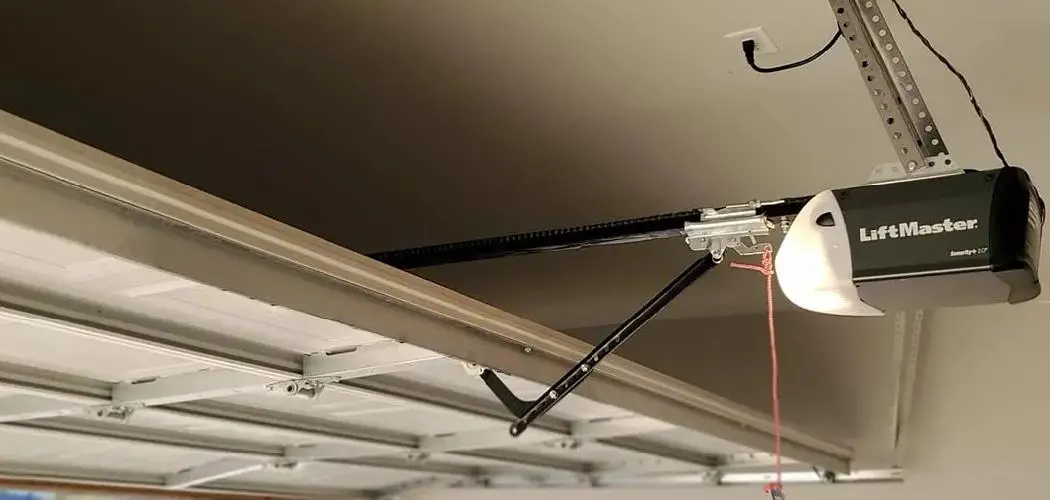
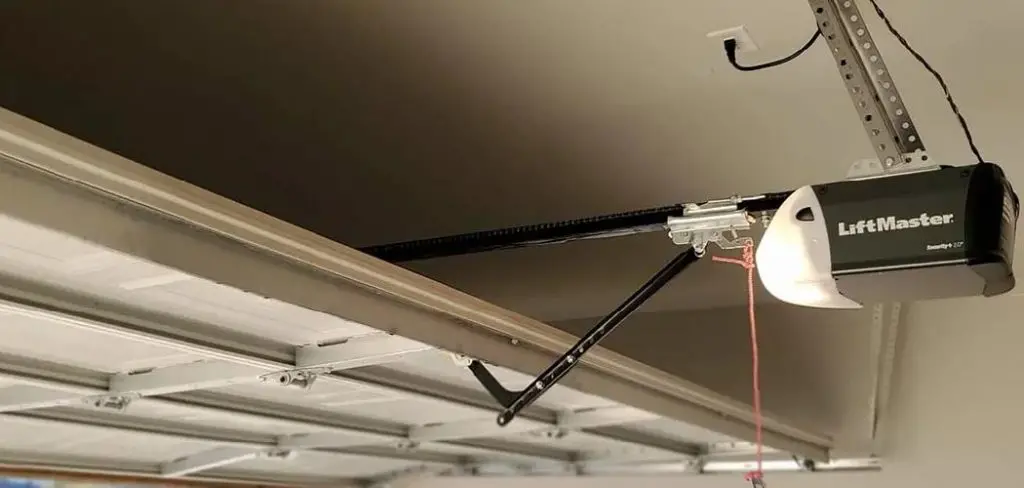
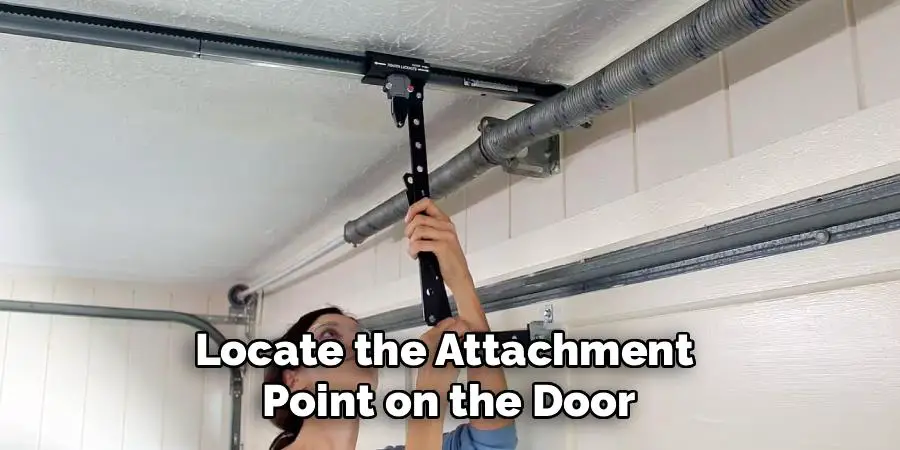
The garage door and opener must align properly to work efficiently. Locate the attachment point on the door—typically a reinforced bracket installed at the center of the top panel. If there’s no bracket in place, contact your door manufacturer or purchase a universal door bracket to install manually.
Aligning your garage door opener’s track and trolley with this connection bracket is vital for proper operation. The track should be straight and not at an angle, while the trolley—responsible for opening and closing movement—should rest in its default position at the far end of the track. Misalignment during this step can result in uneven door movement.
Step 3: Attach the Emergency Release Rope
Before attaching the door to the opener, ensure the trolley is in “manual” mode by pulling the emergency release rope. This feature disengages the opener, allowing you to move the trolley along the track by hand. Properly testing this mechanism ensures that your system will allow manual operation in the event of a power outage.
Double-check that the trolley moves smoothly along the length of the track when engaged manually. A sticky or stuck trolley could indicate potential obstructions or improper alignment that need correcting before proceeding with attachment.
Step 4: Connect the Garage Door to the Trolley
With the door bracket and trolley aligned, use the provided arm or metal attachment bar to secure the door to the opener trolley. This piece often comes as two parts that connect at an adjustable angle, allowing precise alignment between the opener and the door. Follow the manufacturer’s instructions for securing bolts and pins.
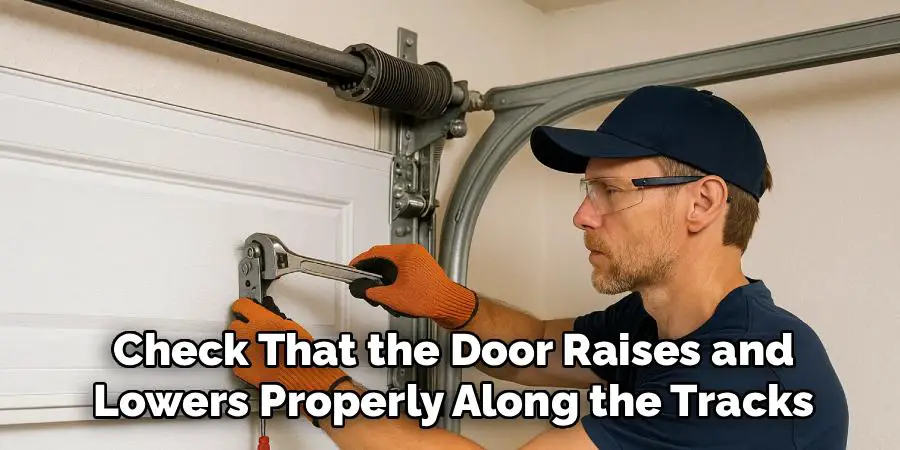
It’s crucial to tighten all screws and bolts firmly during this stage. Loose connections not only cause operational issues but may also lead to significant wear or damage after repeated use. Once connected, check that the door raises and lowers properly along the tracks.
Step 5: Check the Opener’s Electrical Wiring
To ensure smooth operation, inspect the garage door opener’s electrical components. Confirm that the wall control, remote, and sensors are securely connected to the opener. Most systems use color-coded wiring for simplicity during installation. Double-check that all sensor lights are functioning and aimed correctly toward each other.
Faulty wiring or misaligned sensors can prevent your opener from operating, even if it’s properly attached to the door. Take extra care to untangle any loose wires and use cable clips to secure them neatly along the garage wall.
Step 6: Test the Automatic Garage Door Operation
Reconnect the power supply to the garage door opener and use the wall control or remote to test its operation. Pay attention to the speed and noise levels while it opens and shuts. A smooth and quiet motion indicates the system is working correctly, while excessive vibration or rattling may suggest misalignment.
This is a good time to test the safety reversing mechanism. Place an object under the door and attempt to close it—the door should automatically reverse upon contact. Fine-tune the door’s settings according to the instructions if this function isn’t working as expected.
Step 7: Adjust the Sensitivity and Force Settings on the Opener
Modern openers include sensitivity and force adjustment knobs, typically located on the sides of the unit. These settings control how hard the opener pulls or pushes your garage door during operation.
Overly high sensitivity can strain your system, while too little force might prevent the door from moving entirely. Incrementally adjust these settings while testing the door’s motion to ensure consistent, efficient operation.
Step 8: Perform Final Inspections
With everything in place, perform a detailed inspection of all connections, wiring, and system components. Look for any bolts that might need additional tightening, and make sure the trolley is fully secured to both the opener and the door bracket. Inspect the emergency release mechanism again to confirm manual operation is unhindered.
Lastly, test the door several more times to ensure it’s functioning under various conditions. If problems persist, consult the manufacturer’s manual for troubleshooting guidance or seek professional assistance.

Maintenance Tips
Regular maintenance is key to ensuring the longevity and reliability of your garage door system. Here are some helpful tips to keep it in optimal condition:
Lubricate Moving Parts – Apply a high-quality silicone or lithium-based lubricant to the rollers, tracks, hinges, and springs every six months to reduce friction and prevent wear.
Check the Balance – Disconnect the opener and manually lift the door halfway. If it stays in position, the balance is correct. If not, the springs may need adjustment by a professional.
Inspect the Weather Seal – Examine the rubber seal along the bottom of the door for cracks or wear. Replace it if damaged to improve energy efficiency and protect against elements.
Clean the Tracks – Remove debris, dirt, or buildup from the tracks using a damp cloth. Avoid applying lubricant, as this can attract more debris.
Test the Safety Features – Periodically check the auto-reverse mechanism by placing an object in the door’s path. Ensure the door reverses immediately upon contact.
Tighten Hardware – Vibrations over time can loosen bolts and screws. Inspect and tighten all hardware, including brackets, to keep everything secure.
Performing these routine maintenance tasks will not only improve performance but also reduce the likelihood of costly repairs in the future.
Frequently Asked Questions
How long does it take to attach a garage door to an opener?
On average, the process takes 2 to 6 hours, depending on your experience and tools. First-timers might require more time to carefully follow instructions and troubleshoot alignment or wiring issues.
Do I need special tools to attach the opener?
The job often requires basic tools like a wrench, drill, and screwdriver. However, having a level and stud finder can make alignment much easier. Most necessary hardware comes with your garage door opener kit.
Can one person perform the installation alone?
Yes, but having a helper simplifies tasks like lifting the door while securing brackets. Some steps, such as aligning the opener track, can be cumbersome without assistance.
What should I do if my opener doesn’t work after installation?
Start by checking the power supply, wiring, and alignment. Examine the sensors for any misalignment or obstructions. If problems persist, refer to your owner’s manual for troubleshooting tips.
Is professional installation better than DIY?
While DIY saves money, professionals have the expertise to ensure flawless installation. Opt for professional help if you’re uncomfortable handling tools or troubleshooting mechanical systems.
Conclusion
Attaching your garage door to an opener doesn’t have to be daunting. By following a step-by-step approach and addressing potential problems along the way, you can ensure a successful setup. Taking the time to properly align and secure the components will ultimately save you from future malfunctions or repairs. Now that you know how to attach garage door to opener, it’s time to give it a try and enjoy a seamless, reliable system! Enjoy the satisfaction of knowing you’ve achieved this important home improvement task—adding both function and value to your home.
Remember to perform routine maintenance on your garage door opener to keep it operating smoothly. Regularly check for any loose bolts, worn-out parts, or unusual noises that might indicate a problem. Lubricate the moving parts as recommended by the manufacturer, and test the safety features to ensure they’re working correctly. With consistent care, your garage door system will remain reliable and efficient for years to come.
I am Rick. I grew up helping my dad with his handyman service. I learned a lot from him about how to fix things, and also about how to work hard and take care of business. These days, I’m still into fixing things- only now, I’m doing it for a living.
I’m always looking for new ways to help people grow and develop. That’s why I have created this blog to share all my experience and knowledge so
that I can help people who are interested in DIY repair.