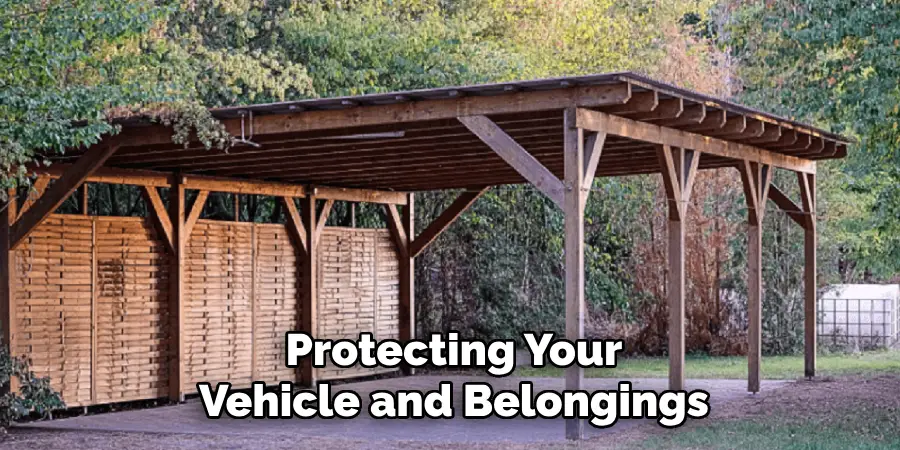
Anchoring a carport is an essential step to ensure its stability and longevity. A properly secured carport can withstand various weather conditions, such as strong winds and heavy rain, protecting your vehicle and belongings.

This guide on how to anchor a carport will walk you through the basics of anchoring a carport, covering different surfaces and techniques to help you create a secure and reliable structure.
Why Anchor a Carport?
Before we dive into the steps, it’s essential to understand why anchoring a carport is crucial. Here are some reasons:
Stability:
Anchoring your carport provides stability and prevents it from shifting or toppling over in strong winds. This not only protects your vehicle and belongings but also ensures the safety of your family and neighbors.
Building Codes:
Most areas have building codes that require carports to be anchored for safety reasons. Failure to comply with these codes could result in fines or even legal consequences if an accident were to occur.
Longevity:
An anchored carport is more likely to withstand harsh weather conditions, increasing its lifespan and saving you from costly repairs or replacements.
Needed Materials
To anchor a carport, you will need the following materials:
- Metal Ground Stakes or Augers
- Hammer or Mallet
- Drill and Drill Bits (if Using Augers)
- Concrete Mix (if Using Anchors)
- Water
- Shovel or Post Hole Digger
- Measuring Tape
- Level
8 Step-by-step Guides on How to Anchor a Carport
Step 1: Determine the Location
- Choose a location for your carport that is level and has solid ground.
- Make sure there are no underground utilities in the area before digging.
- Measure and mark the location for each anchor point, making sure they are evenly spaced.
Step 2: Prepare the Ground
- Use a shovel or post hole digger to dig holes at each marked location.
- The holes should be approximately 12 inches deep and slightly wider than the diameter of your ground stakes or augers.
- Remove any rocks or debris from the holes.
- If your location is on a slope, you may need to build a retaining wall before proceeding with the installation.
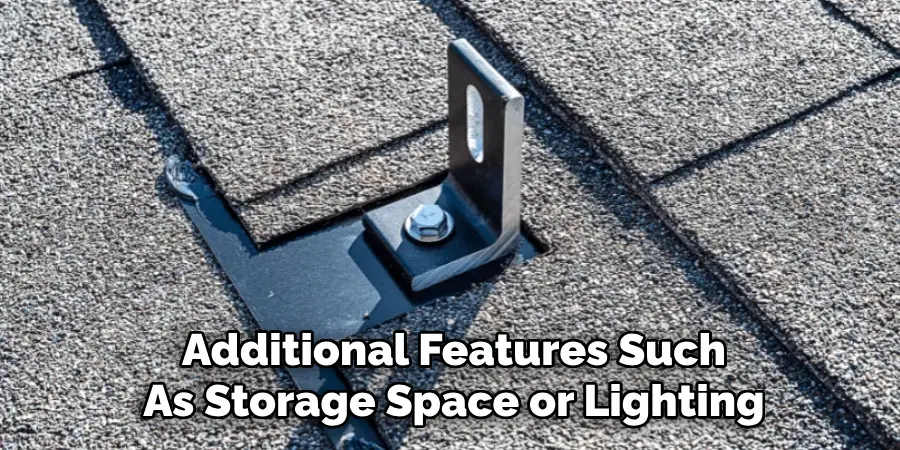
Step 3: Install Ground Anchors
- Depending on the type of ground anchors you have chosen, follow the manufacturer’s instructions for installation.
- In most cases, you will need to insert the stakes or augers into the holes and secure them with concrete or by backfilling with soil.
- Ensure that each anchor is securely in place and level before moving on to the next step.
Step 4: Assemble Carport Frame
- Lay out all of the frame pieces according to your carport’s instruction manual.
- Connect the frame pieces together using the appropriate hardware, such as bolts or screws.
- Make sure all connections are tight and secure to ensure a sturdy structure.
- Use a level to ensure that the frame is straight and even on all sides.
- If your carport has a roof, follow the instructions for attaching it to the frame.
- It may be necessary to have additional help during this step to hold the frame pieces in place while securing them together.
Step 5: Raise the Carport Frame
- With the help of at least one other person, carefully lift and raise the assembled frame into an upright position.
- Carefully check that it is level and adjust it if necessary.
- Ensure that all anchors are still securely in place before proceeding to fully erect the frame.
- Once the frame is upright, have someone hold it in place while you attach the remaining hardware to complete the frame assembly.
- Use a level to ensure that all corners and sides are plumb and square.
- Securely tighten all hardware and fasteners to ensure the stability of the frame.
- At this point, the frame should be fully assembled and ready for any additional components or attachments.
- It is recommended to periodically check the frame for any loose hardware or connections, especially if it will be subjected to heavy use or varying weather conditions.
- Regular maintenance and tightening of hardware can help prolong the lifespan of the frame and ensure its stability and safety.
Step 6: Attach Roof Panels
- Depending on your specific carport model, you may be required to attach roof panels before raising the frame.
- Follow the manufacturer’s instructions for securing roof panels to the frame.
- If no instructions are provided, use appropriate screws or nails to attach the panels securely.
- Ensure that the roof panels are evenly spaced and aligned before proceeding.
- Use safety equipment such as gloves and goggles when handling roofing materials.
- In areas with heavy snow or wind, consider reinforcing the roof panels with additional supports for added stability.
Step 7: Secure Additional Support
- To add extra stability and support to your carport, consider adding additional supports such as braces or cross beams.
- These can be attached between vertical posts or along the roof frame.
- Follow the manufacturer’s instructions for the proper positioning and attachment of these supports.
- These extra supports can help distribute weight and prevent sagging or damage to the roof panels.
Step 8: Finishing Touches
- Once all components of the carport have been fully assembled, check for any loose or incorrectly positioned parts.
- Use appropriate tools to tighten any loose bolts or screws.
- Apply a coat of rust-inhibiting paint to all metal parts and allow it to dry completely before using the carport.
- Arrange any additional storage or organization systems, such as shelves or hooks, inside the carport for added convenience.
Following these steps on how to anchor a carport will ensure that your carport is sturdy, secure, and ready to withstand the elements. With proper maintenance and care, your carport will provide many years of protection for your vehicle. Happy building!
Do You Need to Use Professionals?
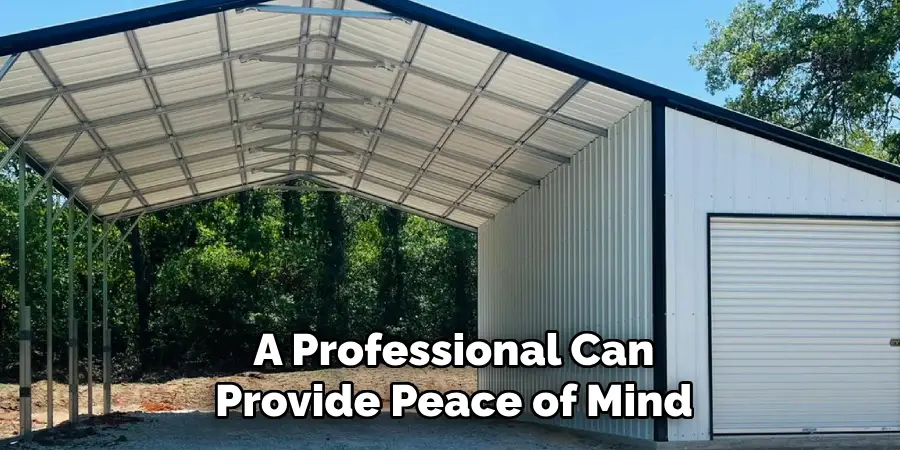
Deciding whether to hire professionals to anchor your carport depends on several factors, including your experience, the complexity of the installation, and the local climate. If you are confident in your DIY skills and have the necessary tools, you may be able to install and anchor the carport yourself by following the instructions.
However, in areas prone to extreme weather conditions like heavy winds, storms, or snow, professional assistance can ensure that the carport is securely anchored and meets local safety standards. Additionally, professionals bring expertise and efficiency, often completing the project faster and with greater precision. If you have any doubts about your ability to complete the task, consulting a professional can provide peace of mind and long-term reliability.
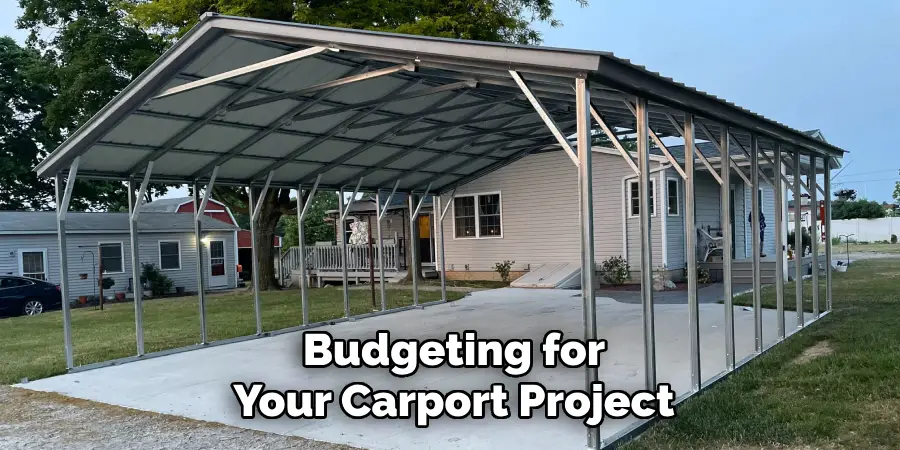
How Much Will It Cost?
The cost of installing a carport can vary widely depending on several factors, including the size, materials, and design of the structure, as well as labor costs if you choose to hire a professional. Basic single-vehicle carports made of metal or prefabricated kits can start as low as $800 to $1,500. Larger, custom-built carports or those made from premium materials such as wood can range from $2,000 to $6,000 or more.
Additionally, hiring a professional for installation could add $500 to $2,000 to the overall cost. It’s important to get multiple quotes and consider your specific needs when budgeting for your carport project.
Frequently Asked Questions
Q: Can I Use Concrete Instead of Anchors to Secure My Carport?
A: While it is possible to use concrete as an alternative, we strongly recommend using anchors specifically designed for carports. Concrete can crack and shift over time, compromising the stability of your carport. Anchors designed for carports are specifically made to withstand the weight and pressure of the structure, providing a more secure and reliable option.
Q: Do I Need a Permit for a Carport?
A: This varies depending on your location. It is important to check with your local government or building department to determine if you need a permit before building your carport. In some areas, permits may only be required if the carport exceeds a certain size or height.
Q: How Long Will it take to Build My Carport?
A: The time it takes to build a carport will vary based on factors such as size, complexity, and experience level. On average, it can take anywhere from a few days to a couple of weeks to complete the construction process. However, it is important to consider any potential delays such as weather conditions or permit approvals.
Q: Can I Customize My Carport?
A: Yes, carports can be customized to fit your specific needs and preferences. You can choose from various materials, colors, roof styles, and additional features such as storage space or lighting. It is important to work with a reputable builder who offers customization options and can help bring your vision to life.
Conclusion
In conclusion, building a carport is a great way to protect your vehicle from harsh weather conditions and provide additional storage space. By following the steps outlined in this guide on how to anchor a carport, you can successfully build your own carport and customize it to fit your specific needs.
Remember to always prioritize safety by carefully reading through instructions and using appropriate tools during construction. With proper maintenance and care, your carport will provide years of
I am Rick. I grew up helping my dad with his handyman service. I learned a lot from him about how to fix things, and also about how to work hard and take care of business. These days, I’m still into fixing things- only now, I’m doing it for a living.
I’m always looking for new ways to help people grow and develop. That’s why I have created this blog to share all my experience and knowledge so
that I can help people who are interested in DIY repair.