Garage door openers are essential for any homeowner who wants to conveniently access their garage from the comfort of their car. With advancements in technology, most modern garage door openers come equipped with a light timer feature.
This feature allows users to preset how long the lights on their garage door opener will stay on after use. It is a convenient and energy-efficient way to ensure that your garage is well-lit without wasting electricity.
The main advantage of knowing how to adjust the light timer on your garage door opener is that you can customize it to fit your needs and preferences. This means that you can set the timer for a longer or shorter period of time, depending on how much lighting you need in your garage. Read this blog post to learn how to adjust light timer on garage door opener.
Step-by-step Instructions for How to Adjust Light Timer on Garage Door Opener
Step 1: Inspect the Light Timer
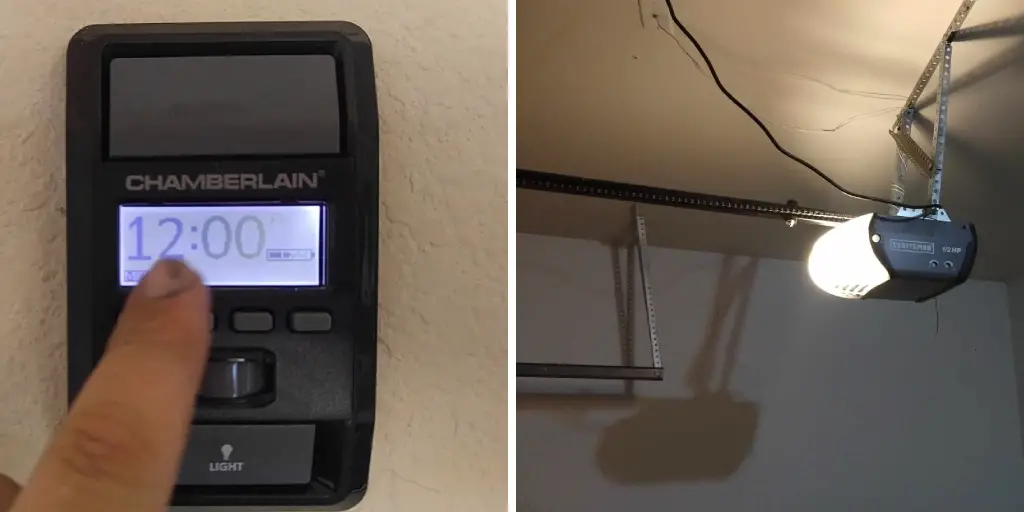
If your garage door opener has a light timer feature, you should be able to locate it on the control panel of your garage door opener. Take a close look at the timer and familiarize yourself with its buttons and settings. If you are unsure whether or not your garage door opener has a light timer, consult the user manual for more information.
Step 2: Locate the Adjustment Buttons
Once you have familiarized yourself with the light timer, locate the adjustment buttons on it. These buttons may be labeled as “Up” and “Down” or may have arrows pointing in those directions. Make sure you can easily access these buttons.
Step 3: Turn Off Light Timer
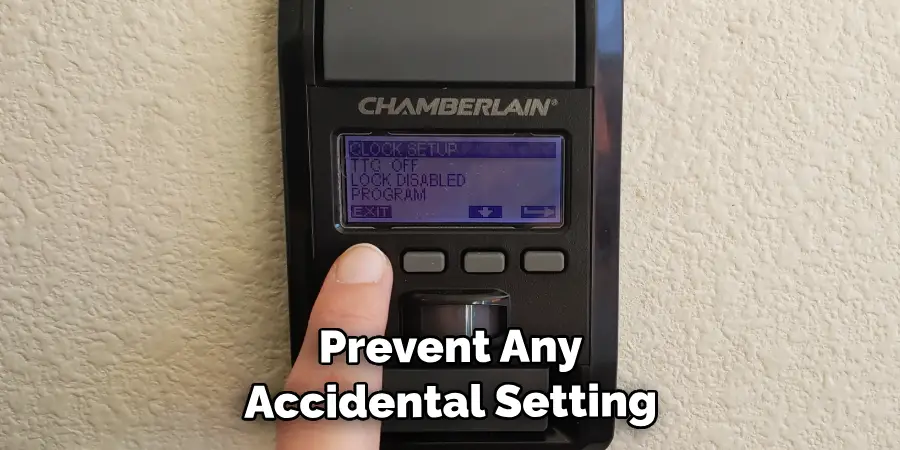
Before adjusting the light timer, make sure to turn it off. This will prevent any accidental setting changes while you are adjusting it. Press and hold either the “Up” or “Down” button, depending on whether you want to increase or decrease the amount of time that the light remains on. You may need to hold down these buttons for a few seconds until the timer starts flashing.
Step 4: Set the Desired Time
Once the timer is flashing, use the “Up” and “Down” buttons to set your desired time. Make sure to keep an eye on the timer display to ensure that you have selected the correct time. After setting the desired time, release the “Up” or “Down” button. This will save your selected time and exit the adjustment mode.
Step 5: Test the Light Timer
To ensure that the light timer has been properly adjusted, test it by opening and closing your garage door. The light should now turn on and off according to your selected time. If you find that the light timer is still not set to your desired time, repeat steps 4-7 until you reach the correct setting.
Step 6: Turn On Light Timer
Once you are satisfied with the adjustment, turn the light timer back on. This will activate the new settings and allow your garage door opener to use its light timer feature. If you encounter any difficulties while adjusting the light timer, refer to the user manual for further instructions and troubleshooting tips.
The manufacturer’s website may also have helpful resources available. Remember to always exercise caution when working with your garage door opener and its features. By following these step-by-step instructions, you can easily adjust the light timer on your garage door opener and customize it to your liking. Keeping a well-lit garage not only adds convenience but also enhances safety and security.
Safety Tips for How to Adjust Light Timer on Garage Door Opener
- Keep away from the garage door when testing or adjusting the light timer. Always make sure to turn off the power before performing any adjustments.
- Wear protective gear such as gloves and safety glasses while handling the garage door and its components.
- Familiarize yourself with the specific model of your garage door opener and its features, including how to adjust the light timer. Consult the instruction manual if needed.
- Make sure the light bulb used in the garage door opener is of the correct wattage and type recommended by the manufacturer. Using incorrect bulbs can cause malfunctions or even fires.
- Regularly inspect the garage door opener for any signs of wear and tear, such as frayed wires or loose connections. Immediately address any issues before adjusting the light timer.
- Keep the garage door opener and its components clean and free from any debris or obstructions. This will help prevent accidents and ensure smooth operation.
- If you are unsure about how to properly adjust the light timer on your garage door opener, seek assistance from a trained professional.
In addition to these safety tips, it is important to also keep in mind some general precautions when working with any type of electrical equipment.
Are There Any Energy-saving Benefits to Using a Light Timer on Your Garage Door Opener?
There are many benefits to using a light timer on your garage door opener, especially when it comes to energy saving. Here are some of the ways that a light timer can help you save energy:
- Efficient Use of Electricity: By setting specific times for your garage door lights to turn on and off, you can ensure they only consume electricity when needed. This will prevent unnecessary energy usage and reduce your overall electricity bill.
- Reduced Light Pollution: With a timer, you can set the duration of time for your garage door lights to stay on, ensuring they are not left on overnight or during the day when natural light is available. This will help reduce light pollution in your neighborhood and contribute to a more sustainable environment.
- Enhanced Security: A well-lit garage can deter potential burglars or intruders. By setting a timer for your lights to turn on and off at specific times, you can create the illusion of someone being present even when you are away from home. This will not only save energy but also provide an added layer of security.
- Increased Convenience: With a light timer, you no longer have to remember to turn your garage door lights on or off every time you leave or enter your home. This makes it easier and more convenient for you, especially when you are in a rush.
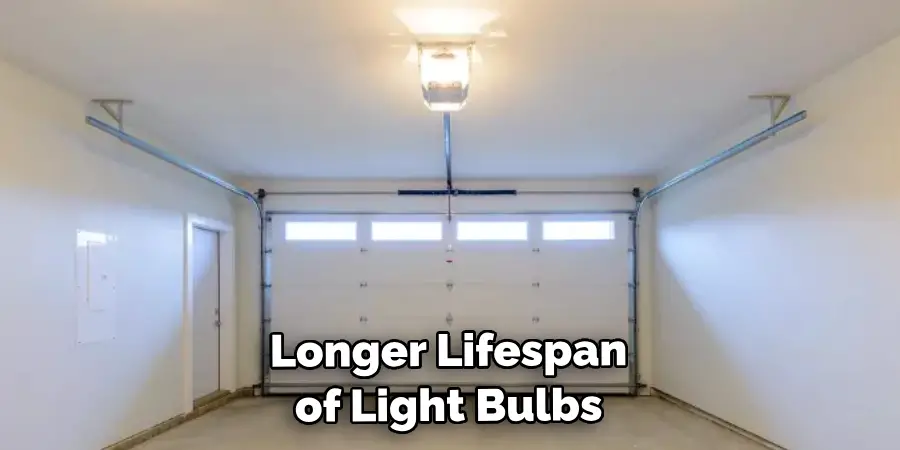
- Longer Lifespan of Light Bulbs: By using a timer, you can ensure that your garage door lights are not left on for extended periods of time, which can cause them to burn out faster. This will save you money on constantly replacing light bulbs and reduce waste.
- Customization Options: Many modern light timers offer customizable features such as the ability to set different schedules for weekdays and weekends or randomize lights to make it seem like someone is at home. These options not only save energy but also give you more control over your garage’s lighting.
Overall, using a light timer on your garage door opener can have a positive impact on both the environment and your wallet. It is a simple and effective way to save energy without sacrificing convenience or security.
How Do You Troubleshoot Any Issues With the Light Timer on Your Garage Door Opener?
Whether you have a new garage door opener or a well-used one, it’s possible that at some point, you’ll encounter issues with the light timer. The light timer is an essential feature that controls how long your garage light stays on after you open or close the garage door. If the light timer malfunctions, it can be frustrating and inconvenient, especially if you’re trying to park in a dark garage. Thankfully, troubleshooting issues with the light timer on your garage door opener can be relatively simple and easy.
1. Checking the Power Source
One of the first things you should do when troubleshooting any issue with your garage door opener is to check its power source. Make sure that the outlet where your opener is plugged into has power. If you’re using an extension cord, ensure that it’s not frayed or damaged. If the outlet and extension cord are functioning correctly, then the issue may be with your opener itself.
2. Inspecting the Light Timer
If your power source is not an issue, the next thing to check is the light timer on your garage door opener. It’s possible that it has been accidentally disabled or changed. Refer to your garage door opener’s manual and follow the instructions on how to adjust the light timer. If your opener doesn’t have a manual, you can usually find one online by searching for the model number of your opener.
3. Replacing Light Bulbs
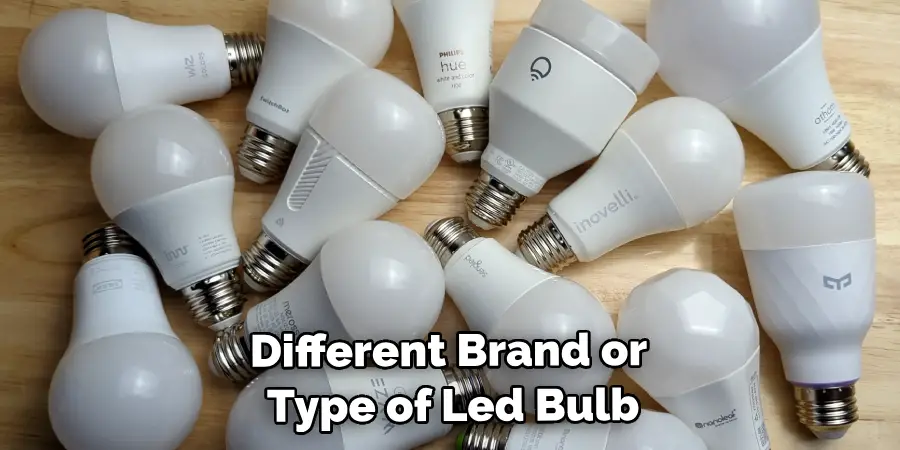
If your light timer is functioning correctly but the light still isn’t turning on, there could be an issue with the light bulbs. Make sure to replace them with bulbs of the same wattage and type. If using LED lights, be mindful that some LED bulbs can cause interference with garage door openers. In this case, try switching to a different brand or type of LED bulb.
4. Checking for Dust
Sometimes, dust and debris can accumulate on the light sensor of your garage door opener, causing it to malfunction. Use a soft cloth or compressed air to clean the sensor and see if that resolves the issue.
5. Resetting Your Garage Door Opener
If all else fails, you can try resetting your garage door opener by unplugging it from its power source for a few seconds. Then plug it back in and test the light timer again. If the problem persists, it may be time to call a professional to take a look at your opener.
Conclusion
In conclusion, adjusting the light timer on a garage door opener can be a helpful and convenient feature for homeowners. However, it is important to understand the potential disadvantages of making this adjustment.
One major disadvantage is that the timer may not always accurately reflect the natural lighting conditions outside. This means that at certain times of day, the lights may turn on automatically when they are not needed, wasting electricity and potentially causing annoyance for neighbors. I hope this article has been beneficial for learning how to adjust light timer on garage door opener. Make Sure the precautionary measures are followed chronologically.
I am Rick. I grew up helping my dad with his handyman service. I learned a lot from him about how to fix things, and also about how to work hard and take care of business. These days, I’m still into fixing things- only now, I’m doing it for a living.
I’m always looking for new ways to help people grow and develop. That’s why I have created this blog to share all my experience and knowledge so
that I can help people who are interested in DIY repair.