Adjusting the force settings on a Genie garage door opener is an essential step in ensuring the safe and efficient operation of your garage door. The force controls determine how much power the opener needs to use when opening or closing the door, which can help prevent unnecessary wear on the system or potential accidents. Whether you’re addressing a newly installed opener or troubleshooting an existing one, understanding how to adjust the force is a straightforward but valuable skill for any homeowner. This guide will walk you through the process of how to adjust genie garage door opener force adjustment.

What Is Force Adjustment on a Garage Door Opener?
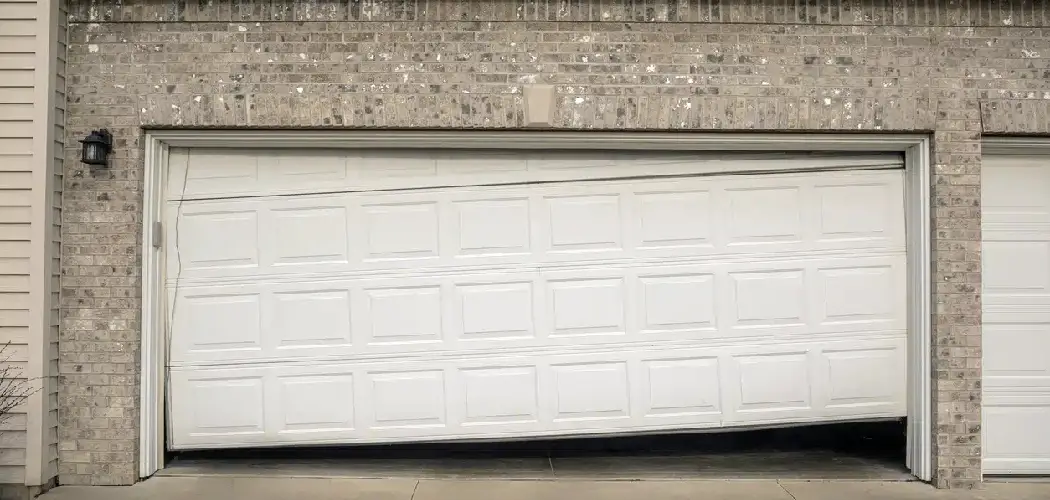
Force adjustment refers to the process of setting the amount of force your garage door opener uses to open and close your garage door. This feature is essential for ensuring the efficient and safe operation of the system. When properly adjusted, the force settings prevent the door from applying too much power, which could lead to damage, or too little power, which may cause the door to stall mid-operation. It also enhances safety by reducing the risk of accidents, such as the door closing with excessive pressure on an object or person. Force adjustment is typically calibrated during installation or can be fine-tuned if your door begins exhibiting improper function, such as reversing unexpectedly or struggling to move smoothly.
Tools and Materials Needed
To properly adjust the force settings on your door, you will need the following tools and materials:
- Screwdrivers (flathead and Phillips): For adjusting screws on the motor unit or control panel.
- Owner’s Manual: To reference specific instructions and diagrams for your door model.
- Step Ladder: For safely accessing the motor unit, especially for overhead doors.
- Safety Gloves: To protect your hands while working on mechanical components.
- Flashlight: To illuminate hard-to-see areas, particularly in dimly lit spaces.
- Marker or Tape: To mark the current settings for reference before making adjustments.
Ensure that the workspace is clear and well-lit before starting, and consult your manual to confirm the required tools for your specific door system.
10 Methods How to Adjust Genie Garage Door Opener Force Adjustment
1. Understand the Purpose of Force Adjustment
Before making any adjustments, it is important to understand why force adjustment matters. The force setting regulates the amount of pressure the opener applies to move the door. If the force is set too low, the door might stop or reverse prematurely, failing to open or close completely. Conversely, if set too high, the door could continue to move despite encountering an obstruction, which can be dangerous. Proper force adjustment balances smooth operation with safety, protecting users and preventing damage.
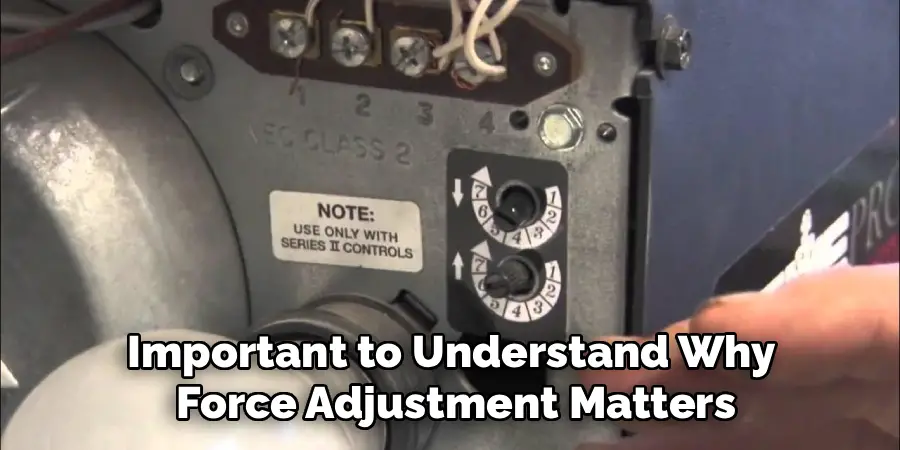
2. Locate the Force Adjustment Controls on Your Genie Opener
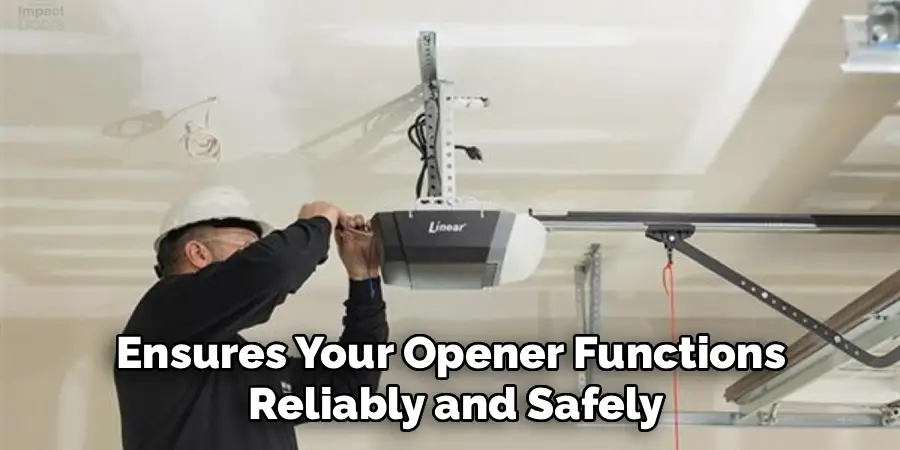
On most Genie garage door openers, the force adjustment controls are located on the motor unit, often near the travel limit dials. These controls are typically marked as “Up Force” and “Down Force” or simply “Force” and may be adjusted using a small screwdriver or dial. Consult your model’s user manual to identify the exact location and type of control. Some modern Genie openers feature electronic force settings accessed via a control panel or smartphone app, so knowing your model specifics is vital.
3. Prepare for Adjustment by Disconnecting the Power
For safety, unplug the garage door opener or turn off its circuit breaker before making mechanical adjustments. This step prevents accidental activation of the door, which could cause injury or damage. While some force adjustments can be done with the unit powered on, starting with power off reduces risk during initial setup or inspection. Always follow manufacturer safety recommendations to protect yourself during the process.
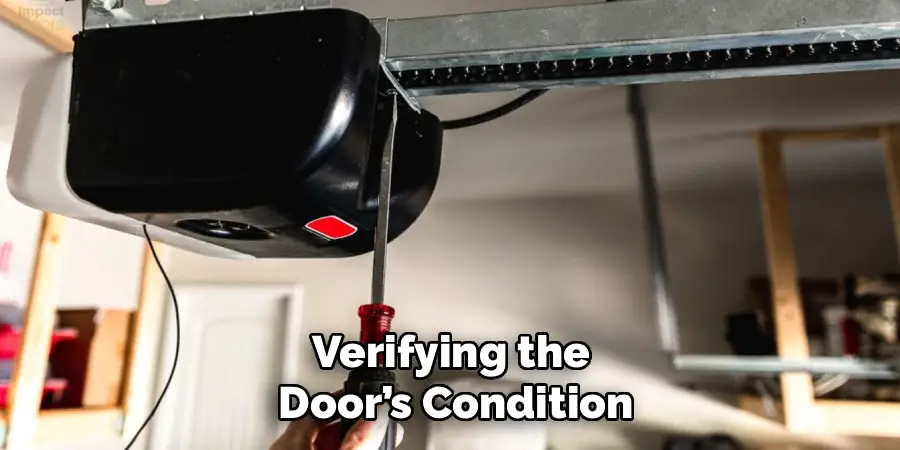
4. Test the Door Balance and Condition Before Adjusting
Before changing force settings, test the physical balance and condition of the garage door. Disconnect the opener’s trolley by pulling the emergency release cord, then manually raise and lower the door. It should move smoothly and stay open about halfway without assistance. If the door is unbalanced or difficult to move, force adjustment alone will not solve operational issues. Address any problems with springs, rollers, or tracks first to ensure the door’s mechanics are sound.
5. Reconnect Power and Enter Adjustment Mode
After verifying the door’s condition, restore power to the opener. On many Genie models, entering force adjustment mode involves pressing and holding a “Learn,” “Program,” or “Force Adjust” button on the motor unit or control panel. The opener’s lights may blink or an audible beep may indicate that it is in adjustment mode. This prepares the unit to accept force setting changes. If your model uses a remote or smartphone app, follow the specific instructions provided by the manufacturer.
6. Adjust the Up Force Setting Carefully
Begin with adjusting the force required to lift the door, referred to as the “Up Force.” Using a screwdriver or dial, increase or decrease the force in small increments, then test the door’s upward movement by pressing the wall control or remote button. The door should open smoothly without hesitation or stopping. If it struggles or reverses, incrementally increase the force. Conversely, if the motor sounds strained or the opener moves faster than normal, reduce the force slightly to avoid wear and tear.
7. Adjust the Down Force Setting Accurately
Next, adjust the “Down Force,” which controls the power applied when closing the door. This setting is critical for safety because it governs how the door responds to obstacles. Adjust the force so that the door closes smoothly and reverses immediately upon encountering resistance, such as an object on the floor. To test this, place a 2×4 piece of wood or similar obstruction in the door’s path and observe whether the door reverses. Increase or decrease the down force until this safety feature works reliably every time.
8. Fine-Tune Force Settings Based on Door Performance
After initial adjustments, fine-tune the force settings by observing the door’s performance over several open and close cycles. Pay attention to how the opener sounds and moves. If the door hesitates, stalls, or reverses too easily, increase the force slightly. If the door slams shut or pushes hard against the floor, reduce the force. Small incremental adjustments are key—large changes can cause improper operation or damage. Keep notes of your adjustments for reference.
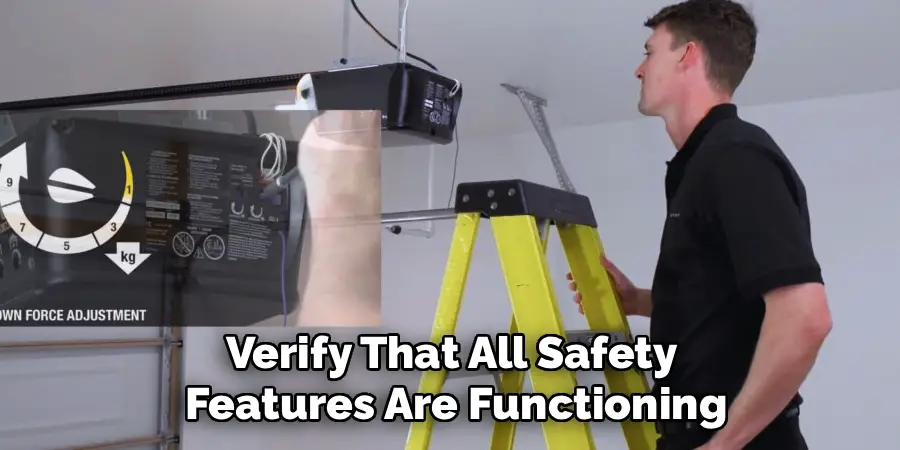
9. Test the Safety Features and Emergency Release Function
Once you have set the force properly, verify that all safety features are functioning. The door should stop and reverse immediately upon contact with an obstruction. Additionally, test the emergency release cord by disengaging the trolley to ensure manual operation is possible. Proper force adjustment should not interfere with these safety mechanisms. If problems persist, review the force settings or consult a professional technician.
10. Maintain Regular Inspection and Re-Adjustment as Needed
Garage doors and openers undergo wear over time, so periodic inspection and force re-adjustment are necessary to maintain optimal operation. Factors such as changes in temperature, humidity, and door hardware wear can affect the force required. Schedule routine checks every six months or annually, adjusting the force as needed to account for these changes. Regular maintenance will prolong the life of your Genie garage door opener and enhance safety.
Troubleshooting Common Issues
Even with proper maintenance, you may encounter occasional issues with your Genie garage door opener. Below are some common problems and tips for resolving them:
- Door Does Not Open or Close: Check the power supply to ensure the opener is connected and receiving electricity. Verify the remote batteries are functioning and replace them if necessary. If the issue persists, inspect the safety sensors for proper alignment and clear any obstructions.
- Door Reverses Before Closing Completely: This could be caused by an obstruction in the door path or incorrect limit settings. Clear the door’s path and adjust the limit and force settings as described in the user manual.
- Unusual Noises During Operation: Squeaking or grinding sounds may indicate parts in need of lubrication or loose hardware. Apply lubricant to the moving parts and tighten any bolts or screws as needed.
- Remote Control Not Functioning: Ensure the remote is within range, its batteries are fresh, and it is programmed correctly. If necessary, reprogram the remote following the manufacturer’s instructions.
- Opener Light Does Not Turn On: Replace the lightbulb if burned out and ensure the bulb is compatible with the opener. Avoid using bulbs that exceed the recommended wattage.
If problems persist despite troubleshooting, consult the product manual or contact Genie customer support for further assistance. Promptly addressing issues ensures your opener functions reliably and safely.
Conclusion
Proper force adjustment is fundamental to the reliable and safe operation of your Genie garage door opener. By following these ten detailed methods, you ensure that your garage door moves smoothly without excessive strain or danger. Remember, if you are ever uncertain about adjusting the force yourself, do not hesitate to seek help from a professional garage door technician who can provide expert service and advice. So, there you have it – a quick and easy guide on how to adjust genie garage door opener force adjustment.
I am Rick. I grew up helping my dad with his handyman service. I learned a lot from him about how to fix things, and also about how to work hard and take care of business. These days, I’m still into fixing things- only now, I’m doing it for a living.
I’m always looking for new ways to help people grow and develop. That’s why I have created this blog to share all my experience and knowledge so
that I can help people who are interested in DIY repair.