Garage door tensioners play a critical role in the stability, safety, and smooth operation of your entire garage door system. When properly adjusted, a tensioner ensures that your door opens and closes evenly, operates quietly, and remains safely balanced in any position. However, if the tension is set incorrectly, you might encounter problems such as uneven or jerky door movement, loud squeaking or grinding noises, or difficulty getting the door to open and close at all. These issues not only compromise daily convenience but can also create safety hazards or accelerate wear on your garage door’s components.
This guide provides a step-by-step overview of how to adjust garage door tensioner systems, helping you restore smooth, reliable function and safety. Whether you’re addressing persistent door sagging or simply completing seasonal maintenance, understanding the mechanics behind tension adjustment can help you protect your investment. Most importantly, the process involves working with high-tension components—so we’ll stress critical safety precautions every step of the way to ensure your repair is both effective and free of unnecessary risk.
Understanding Garage Door Tensioners
What is a Garage Door Tensioner?
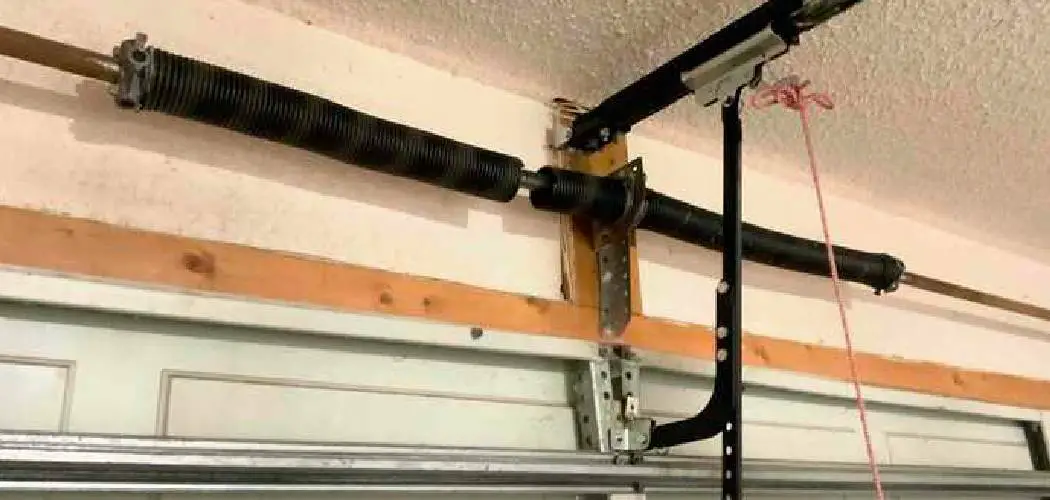
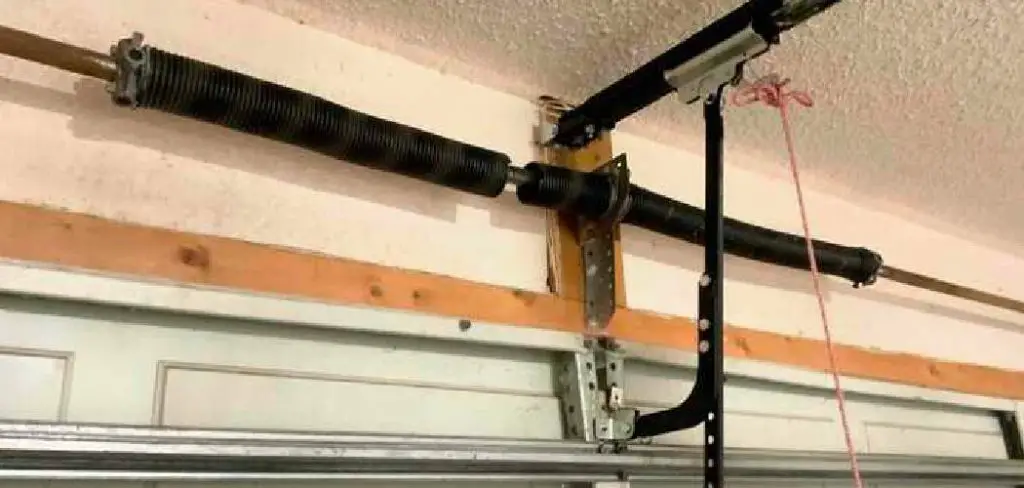
At its core, a garage door tensioner ensures that your door remains balanced as it opens and closes. It regulates the amount of force applied by the springs, which provide the lifting power to counteract the weight of the door. When the tension is properly set, the door can be lifted and lowered with minimal effort, staying securely in a partially open or fully closed position without drifting. The tensioner works in concert with torsion springs or extension springs, which are attached by sturdy cables to the door itself. The basic goal of this system is to offset the weight, allowing even heavy garage doors to move smoothly with a push of a button or light manual pressure.
Types of Tensioner Systems
Garage door tensioners typically fall into two categories: torsion spring tensioners and extension spring tensioners. Torsion springs are mounted horizontally above the door and wind or unwind as the door moves. Extension springs run parallel to the door’s tracks and stretch as the door closes. Both rely heavily on proper tension adjustment to operate safely. Torsion systems are more common in modern installations due to their reliability and smoothness, while extension spring systems may be found in older garages or lighter door setups.

Common Signs That Garage Door Tension Needs Adjustment
Door Fails to Stay Open or Closed
If you notice that your garage door will not remain fully open or closed, this could indicate incorrect spring tension. Too little tension and the door may fall shut, creating a hazard or making it difficult to bring your vehicle in or out. Too much tension, on the other hand, might cause the door to jerk upward or not rest against the ground when closed. Hidden safety risks and abnormal door movement are often rooted in tension issues.
Uneven or Jerky Movements
Does your garage door open smoothly one day and jerk or wobble the next? Inconsistent or uneven movement usually signals tension that is either not balanced correctly between the springs or has gradually changed over time due to wear. You might also see one side lag behind or notice a twisting motion, all of which stem from imbalanced force in the spring system.
Excessive Noise During Operation
Loud grinding, popping, or squeaking sounds every time you open or close the garage door can usually be traced back to improper spring tension. Excess tension makes the springs and cables strain, producing harsh noise and increasing the likelihood of mechanical failure. These unpleasant sounds are your garage door’s way of calling out for attention—don’t ignore them, or you may face more costly repairs in the future.
Tools and Safety Gear You Need
Essential Tools
To adjust a garage door tensioner, you’ll need a few core tools: winding bars to safely turn the torsion springs, a wrench set for loosening and tightening hardware, clamps or locking pliers to secure the door in place, and a sturdy stepladder to reach overhead components. These are staples in most home workshops, but if you’re missing any, be sure to acquire them before you start—never attempt to use makeshift tools when working with springs under tension.
Safety Equipment
Working on garage door springs can be dangerous due to the immense force they store. Always wear safety goggles to protect your eyes from snapping wires or accidental tool slips, along with heavy-duty gloves to shield your hands. Sturdy, closed-toe shoes or boots provide proper footing and avoid loose clothing that could become entangled. Safety considerations are paramount; if you’re unsure at any stage, seek professional help.
Preparing Your Garage Door for Adjustment
Disconnect the Garage Door Opener
Before beginning the adjustment process, ensure the automatic opener is completely disengaged. Unplug the opener or disconnect it using the manual release cord—typically a red rope hanging from the trolley track. This step allows you to move the door manually without resistance from the electric motor, and prevents sudden activation while you’re working.
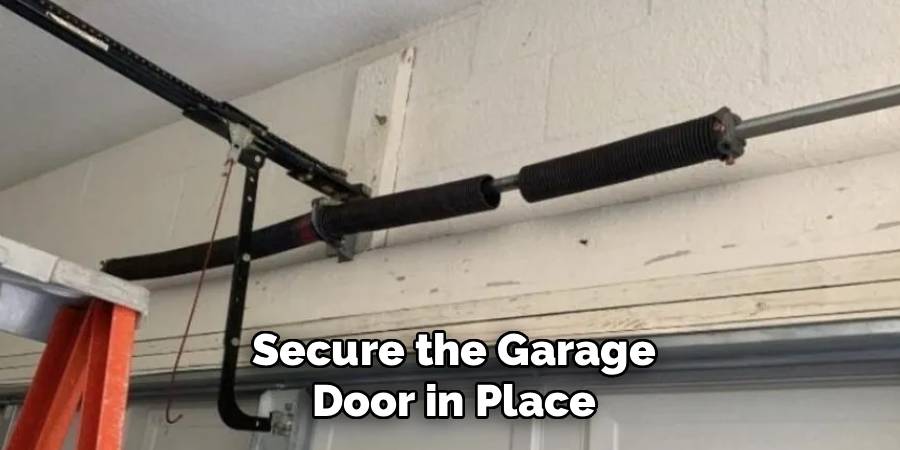
Secure the Garage Door in Place
Raise or lower the garage door to about halfway, then secure it firmly using locking pliers or C-clamps on the tracks just below the bottom rollers. This stabilization is crucial to keep the door from suddenly moving if the tension changes abruptly, protecting you from injury and preventing property damage.
Inspect the Tensioner and Springs
Take a moment to closely examine all springs, cables, and hardware for signs of wear, rust, fraying, or deformation. Damaged parts should be replaced before you proceed—adjusting tension on weakened components is not just ineffective, it is dangerous. Check that anchor brackets and fasteners are solid and that winding cones or adjustment hooks are in good condition.
5 Step-by-Step Guide on How to Adjust Garage Door Tensioner
Step 1 – Loosen the Set Screws on the Torsion Spring
Once your tools and safety precautions are in place, begin by slowly inserting winding bars into the winding cone of the torsion spring (for torsion spring systems). Carefully apply pressure to the bar to hold the spring’s force, then use your wrench to slightly loosen the set screws that secure the cone to the shaft. Always keep at least one bar inserted to maintain positive control over the spring’s tension at all times.
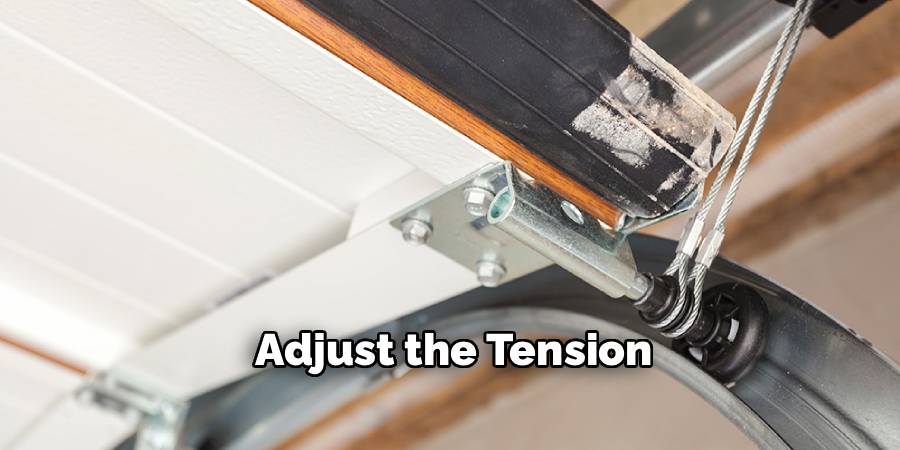
Step 2 – Adjust the Tension
To increase tension (if the door sags shut or won’t stay open), wind the torsion spring upwards by turning it in the direction specified in your manufacturer’s manual. To decrease tension (if the door springs open or is hard to close), unwind the spring slightly. Each quarter turn makes a meaningful difference, so proceed gradually and test between adjustments as needed.
Step 3 – Retighten the Set Screws
After achieving your adjustment, hold the winding bar firmly and retighten the set screws on the winding cone. Confirm that the spring is stable and the cone does not slip on the shaft. Remove the winding bar slowly and carefully, being mindful not to lose grip or allow the spring to unwind unexpectedly.
Step 4 – Balance Test for Proper Adjustment
Release the door from the locking pliers or clamps, then manually lift it to various positions. The door should remain in place when released at any height. If it drifts upward or downward, repeat the adjustment steps—small increments are best for safety and accuracy.
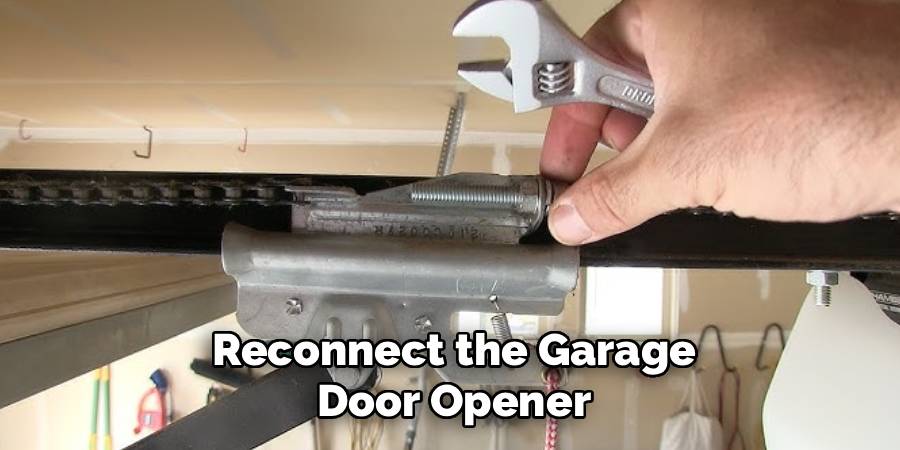
Step 5 – Reconnect the Garage Door Opener
Once the door passes the balance test and moves easily by hand, restore power or the connection to your automatic opener. Test the opener for smooth, regular operation through several full open-close cycles. Listen for abnormal sounds and watch for smooth, level movement that signals your adjustments were successful.
Troubleshooting Common Issues During Adjustment
What to Do if the Door Doesn’t Move Evenly
If, after tension adjustments, your garage door still rises unevenly or binds, the culprit might be the angle of the winding bars during adjustment, or uneven spring tension between the left and right sides. Double-check that each spring shares the load equally and rewind if needed. In some cases, worn-out rollers or a bent track can hinder movement, necessitating further repairs.
Dealing with Stiff Springs or Resistance
Stiffness during adjustment or persistent difficulty moving the door might indicate excessive spring tension or internal rust in the spring coils. Sometimes, a bit of specialized torsion spring lubricant helps. If lubrication doesn’t resolve the problem and the spring feels difficult to control, discontinue your work and consult a professional, as high tension makes further adjustment unsafe.
Preventive Maintenance Tips for Garage Door Tensioners
Periodic Checks for Balance
Making tension checks a routine part of your garage maintenance schedule helps catch problems before they escalate. Every few months, disconnect the opener and check whether the door stays in place at mid-height, signaling that tension is correctly set.
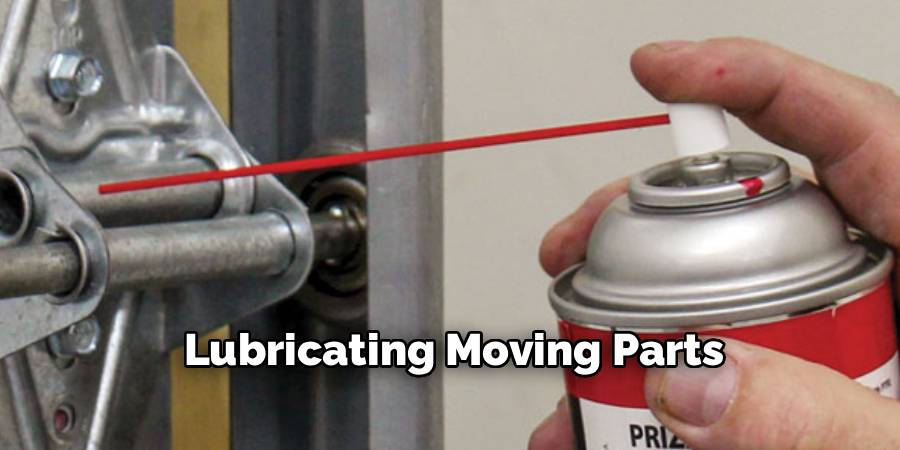
Lubricating Moving Parts
Smooth springs and rollers make for a quieter, longer-lasting system. Apply an appropriate lubricant to the torsion springs, hinges, and rollers to reduce friction. This not only makes regular operation easier, but also prolongs the life of every moving part.
Replacing Worn Components
Replace cables or springs at the first signs of rust, fraying, or loss of elasticity. Springs have a limited lifespan and are best replaced proactively rather than after a sudden break, which can cause sudden door drops or property damage.
Safety Guidelines for DIY Garage Door Adjustment
Adjusting garage door tensioners requires respect for the powerful forces involved. Never attempt tension adjustments without proper tools or experience—improvisation with inadequate tools can result in serious injury. Work slowly, keep your face and body clear of the spring’s potential path, and never remove both winding bars at once until all tension is fully released or contained. If your door uses extension springs, always replace safety cables at the same time as the springs themselves. For highly complicated, multi-door systems or anything involving damaged or corroded springs, err on the side of caution and request professional help.
Knowing When to Hire a Professional
Identifying Complex Issues Beyond DIY Repairs
If you encounter broken springs, frayed or snapped cables, or mounting brackets that don’t feel secure, these are all warning signs that the repair requires expert skills and equipment. High-tension adjustments that feel out of your comfort zone or scenarios where the door will not balance at all demand professional intervention for the sake of your safety.
Benefits of Professional Services
A reputable garage door professional brings years of specialized experience, along with the tools and replacement parts required to restore proper tension with precision. Professional service ensures that your system will be adjusted to manufacturer specifications, reducing risk and delivering peace of mind. Additionally, pros can spot emerging problems in hinges, tracks, or motors that might not be immediately visible to the DIYer.
Final Thoughts on How to Adjust Garage Door Tensioner
Proper garage door tension is essential for reliable, safe, and smooth operation. By mastering how to adjust garage door tensioner systems, you gain the confidence to solve everyday problems—like dropping doors, noisy springs, or unwanted jerks—without costly delays or middlemen. While most adjustments are manageable for well-prepared homeowners who follow safety protocols and use the right tools, never hesitate to call a professional for cases involving damage, unfamiliar mechanics, or complex multi-spring setups.
A well-tensioned garage door is more than just convenient—it’s a cornerstone of home safety and longevity. Regular checks, lubrication, and attentive repair will keep your door running effortlessly, year after year. With the guidance in this article, you’re equipped to maintain, adjust, and enjoy every benefit your garage door system offers.
I am Rick. I grew up helping my dad with his handyman service. I learned a lot from him about how to fix things, and also about how to work hard and take care of business. These days, I’m still into fixing things- only now, I’m doing it for a living.
I’m always looking for new ways to help people grow and develop. That’s why I have created this blog to share all my experience and knowledge so
that I can help people who are interested in DIY repair.