Adjusting your Chamberlain garage door opener might sound like a daunting task, especially if you’re not familiar with the mechanics of garage doors. But learning this essential home maintenance skill ensures your garage door operates smoothly, safely, and efficiently. Whether you’re dealing with unbalanced tension, misaligned sensors, or noisy operation, proper adjustments can make a significant difference. This guide will walk you through everything you need to know, step by step, in a beginner-friendly way.

Before starting, ensure you have the necessary tools, such as a wrench, screwdriver, and level. Begin by disconnecting the garage door opener from the power source to prioritize safety. Next, examine the garage door tracks for any debris or obstructions that could hinder proper movement. Check the balance of the door by manually lifting it halfway; if it doesn’t stay in place, this indicates a tension issue that may require adjusting the torsion springs. Always handle these components carefully, as they are under high tension and can be dangerous without proper knowledge or tools.
Below, you’ll find clear instructions to help you master your Chamberlain garage door opener while extending its lifespan and ensuring safety for everyone using it. Let’s get started!
Why Adjusting a Chamberlain Garage Door Opener is Important
A properly adjusted garage door opener is critical for both safety and convenience. Here’s why making these adjustments matters to homeowners, especially those with busy households or garages doubling as workspaces.
Smooth and Reliable Operation: Over time, your Chamberlain garage door opener’s settings may slip, leading to slow, jerky, or uneven door movements. An adjustment helps the garage door open and close smoothly every time.
Preventing Wear and Tear: Misaligned settings or incorrect tension puts unnecessary strain on the motor, cables, and springs. Routine adjustments minimize wear, saving you from costly repairs down the road.
Safety Concerns: Chamberlain garage doors come with built-in safety sensors to prevent accidents. Misaligned sensors or incorrect force limits may compromise these essential safety features, increasing the risk of injury or damage.
Energy Efficiency: A poorly adjusted garage door may not fully close or seal, affecting your garage’s insulation. This, in turn, impacts your energy bills by trapping in unwanted heat or cold.
By following this guide, you’ll safeguard your Chamberlain garage door opener’s functionality while ensuring it operates at peak performance.
Step-by-Step Guide to How to Adjust a Chamberlain Garage Door Opener
Correctly adjusting a Chamberlain garage door opener requires a systematic approach. Follow these steps to troubleshoot and fine-tune your opener effectively.
Step 1: Familiarize Yourself with the Opener Settings
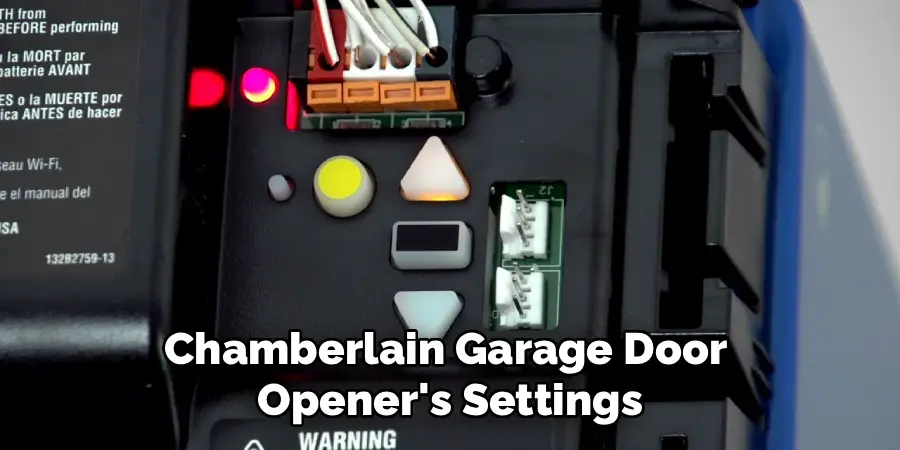
Before beginning, review your Chamberlain garage door opener’s manual to understand the various settings and controls. Locate the limit screws, force dials, and safety sensors, which are typically housed in the motor unit near the ceiling.
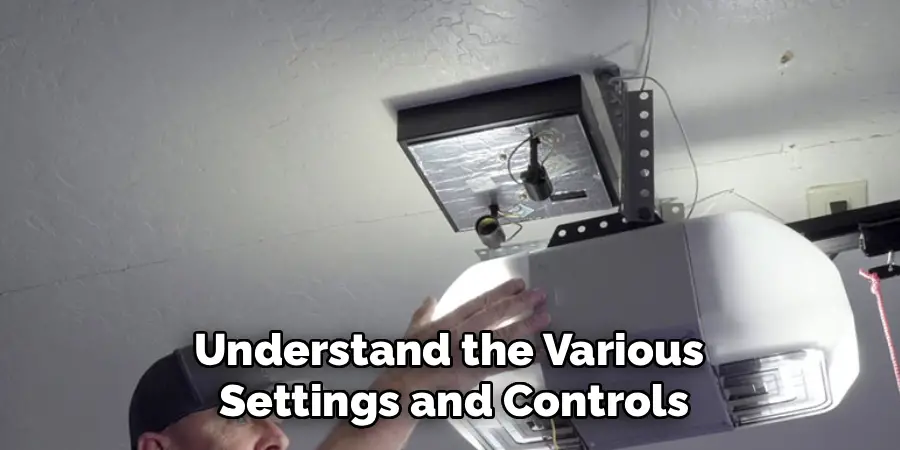
These controls enable you to fine-tune the travel limits, the amount of closing and opening force, and sensor alignment. Taking the time to familiarize yourself with these components helps ensure smoother adjustments later.
Understanding how each setting works is essential. For example, the “travel limit” controls how far the door goes up or down, while “force control” determines how much resistance the motor uses to open or close the door. Equipped with this knowledge, you’ll work more efficiently as you go through the adjustment steps.
Step 2: Check Door Balance
A balanced garage door is crucial for proper function. Disconnect the Chamberlain garage door opener by pulling the emergency release cord. Then, manually lift the garage door halfway and release it.
If the door stays in place, it’s balanced. However, if it falls or rises, this imbalance must be addressed before adjusting the opener. Often, imbalances are caused by worn-out springs or cables, which may need professional servicing.
By balancing your door first, you allow the opener’s motor to work in optimum conditions. Ignoring this step could lead to inaccurate settings or increased strain on your garage door system.
Step 3: Adjust the Travel Limits
Travel limits control how far your garage door travels when opening or closing. To fine-tune these limits, locate the limit screws on the opener. Typically, these are designated as “up” and “down.”
Using a flat-head screwdriver, turn the “up” screw clockwise to reduce the door’s travel distance or counterclockwise to increase it. Repeat the process for the “down” limit screw. After making adjustments, test the door via the remote control to ensure the door fully opens and closes without hesitation.
Perform incremental adjustments, as over-tightening the screws may cause the door to overshoot its ideal stopping point. Take the time to observe the door’s behavior and refine the settings to achieve seamless operation.
Step 4: Align the Safety Sensors
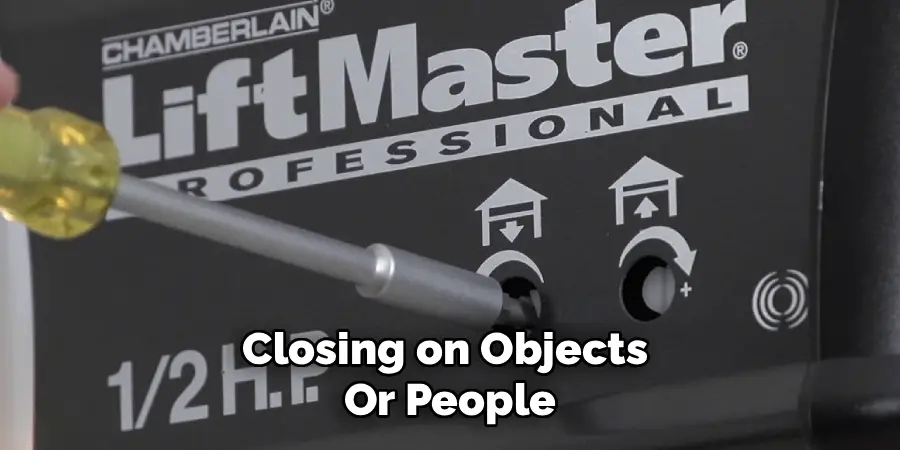
Chamberlain garage door openers are equipped with safety sensors that prevent the door from closing on objects or people. These sensors, located near the floor on either side of the door, must face each other perfectly.
Inspect the lenses of each sensor for dirt or debris and gently clean them with a soft cloth. If the sensors are misaligned, adjust their positions until their indicator lights stop flashing and display a steady glow.
Proper sensor alignment not only ensures safer operation but also reduces the number of false stops or reversals when closing the door.
Step 5: Adjust Force Control
Force control settings affect how much effort the garage door opener uses to open and close the door. Locate the force control dials on the motor unit, which are typically labeled as “open force” and “close force.”
Start by setting these dials to a medium level and test the door. If the door struggles to open or close, gradually increase the force. Conversely, if the door shuts with excessive speed or impact, reduce the force.
Calibrating the force settings promotes smoother operation and extends the lifespan of your opener’s motor and hardware.
Step 6: Ensure the Door’s Close Position is Sealed
When the garage door is fully closed, it should sit flush against the ground to create a proper seal. If gaps exist, adjust the down travel limit as described earlier. Additionally, inspect the door’s weatherstripping for wear or damage and replace as necessary.
Ensuring a tight seal prevents dust, pests, and temperature fluctuations from affecting your garage, keeping it more insulated and comfortable.
Step 7: Test the Safety Reversal Mechanism
The safety reversal system is another critical feature of Chamberlain garage door openers. Test it by placing a flat object like a piece of wood on the floor beneath the door. Close the door using the remote control.
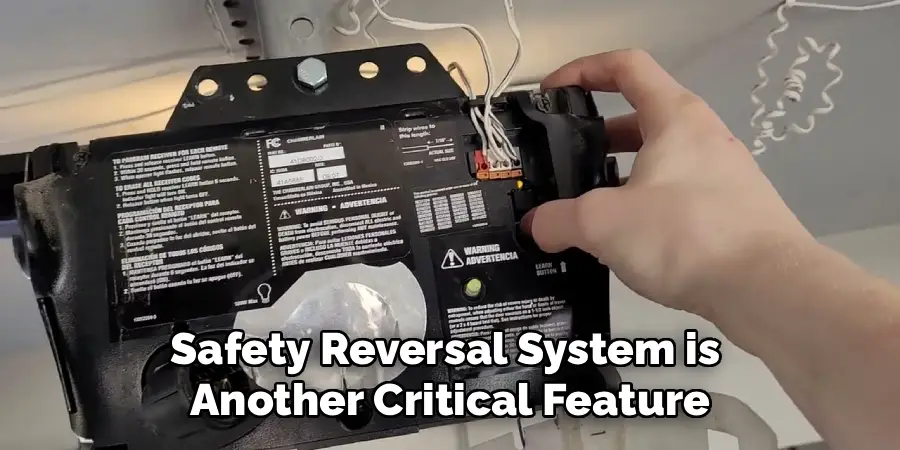
When the door contacts the object, it should automatically reverse and return to the open position. If this doesn’t happen, adjust the force settings or inspect the safety sensors until the system functions as intended.
Testing this mechanism regularly ensures the safety of everyone using the garage door.
Step 8: Test the Remote Controls and Wall Panel
Finally, test the garage door using all its control methods, including wall panels and remotes. Confirm that all settings are now properly adjusted and that the door operates without erratic movements or noise.
Regularly testing the system ensures that everything remains in working order and allows you to catch potential issues early, before they escalate into larger problems.
Troubleshooting Tips
If you encounter problems with your garage door, here are some common issues and their potential solutions:
Garage Door Doesn’t Open or Close
- Check the power supply to ensure the motor is receiving electricity.
- Inspect the remote control and replace the batteries, if necessary.
- Verify that the door’s sensors are aligned and free of debris.
Unusual Noises During Operation
- Lubricate the moving parts, such as hinges, rollers, and tracks, using a recommended lubricant.
- Inspect for loose hardware or worn parts and tighten or replace them as needed.
The Door Reverses Before Closing Completely
- Examine the safety sensors to ensure they are clean and aligned.
- Decrease the closing force on the garage door opener if it is set too high.
The Door Moves Unevenly or Seems Stuck
- Check for obstructions in the tracks and clean them thoroughly.
- Inspect the springs and cables for wear or damage, but do not attempt to adjust these yourself unless you are qualified.
Remote or Wall Panel Does Not Respond
- Reset the garage door opener by unplugging it for a few minutes and plugging it back in.
- Reprogram the remote following the manufacturer’s instructions.
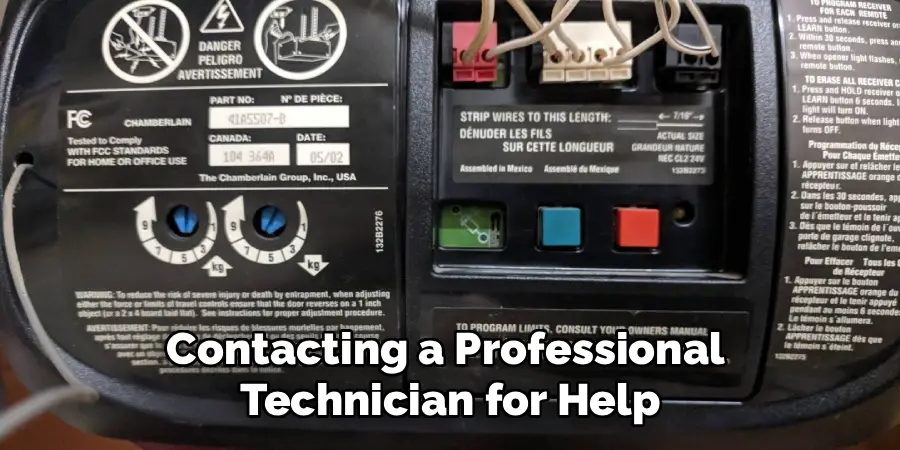
If these tips don’t resolve the issue, consider consulting the manufacturer’s manual or contacting a professional technician for help. Regular maintenance and timely repairs will extend the life of your garage door system.
Frequently Asked Questions
Why is my Chamberlain garage door not closing all the way?
Your garage door may not close fully due to misaligned sensors, incorrect travel limit settings, or obstructions in the path. Start by checking the safety sensors to ensure they’re properly aligned and free of dirt. If the issue persists, adjust the “down” limit screw slightly to increase the door’s travel distance.
How often should I adjust my Chamberlain garage door opener?
While minor adjustments may occasionally be needed, most systems function well for years without intervention. However, it’s a good idea to inspect and test your opener every 6–12 months to spot potential issues early, such as alignment problems or force imbalances.
Can I adjust a Chamberlain garage door opener by myself?
Yes, you can perform many adjustments yourself using the steps outlined in this guide. Basic tools like a screwdriver will suffice for most tasks. However, if you notice significant wear or serious imbalance, professional repairs might be necessary.
Why is my garage door noisy after adjusting?
Excessive noise could result from improperly set force controls or unlubricated moving parts. Double-check your settings and apply garage door lubricant to the tracks, rollers, and hinges to reduce noise during operation.
What happens if I ignore maintenance on my Chamberlain opener?
Neglecting maintenance can lead to poor performance, increased wear and tear, noisy operation, and potential safety risks. Regular adjustments and inspections are essential to extend the lifespan of your opener and ensure safe operation.
Conclusion
Adjusting your Chamberlain garage door opener is a straightforward process that enhances performance and ensures safety. With knowledge of the settings and components, you can maintain smooth operation and avoid common issues like misaligned sensors or improper force settings.
To keep your Chamberlain garage door opener functioning reliably, it’s recommended to perform routine maintenance checks. Inspect the chain or belt for signs of wear, lubricate moving parts as needed, and ensure the sensors remain clean and properly aligned. These simple steps can prevent costly repairs and prolong the life of your garage door system.
By following this step-by-step guide, you’ll not only save time and money but also gain the satisfaction of mastering a practical, hands-on skill. Take control of your garage door maintenance today—your Chamberlain garage door opener will thank you!
I am Rick. I grew up helping my dad with his handyman service. I learned a lot from him about how to fix things, and also about how to work hard and take care of business. These days, I’m still into fixing things- only now, I’m doing it for a living.
I’m always looking for new ways to help people grow and develop. That’s why I have created this blog to share all my experience and knowledge so
that I can help people who are interested in DIY repair.