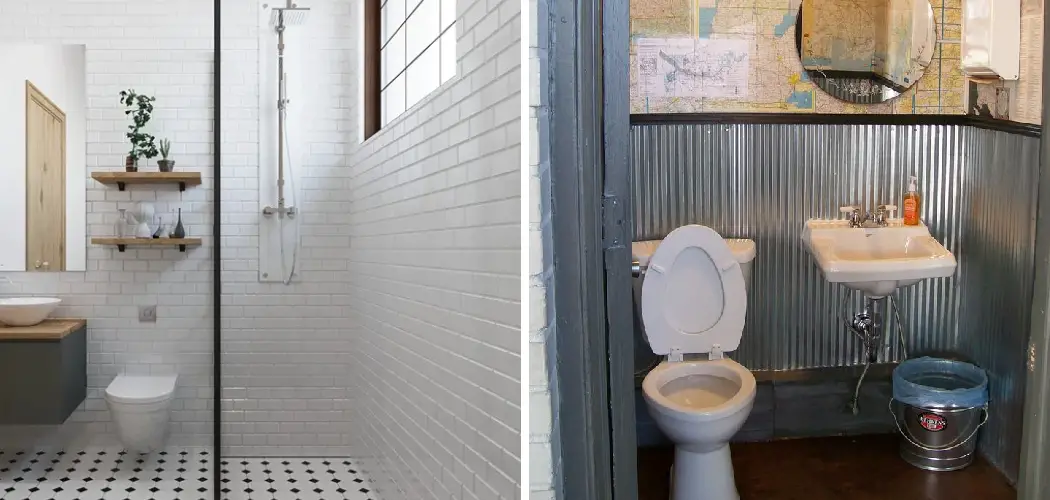
Adding a bathroom to a garage can significantly enhance the functionality and convenience of your home, making it a wise investment for many homeowners.
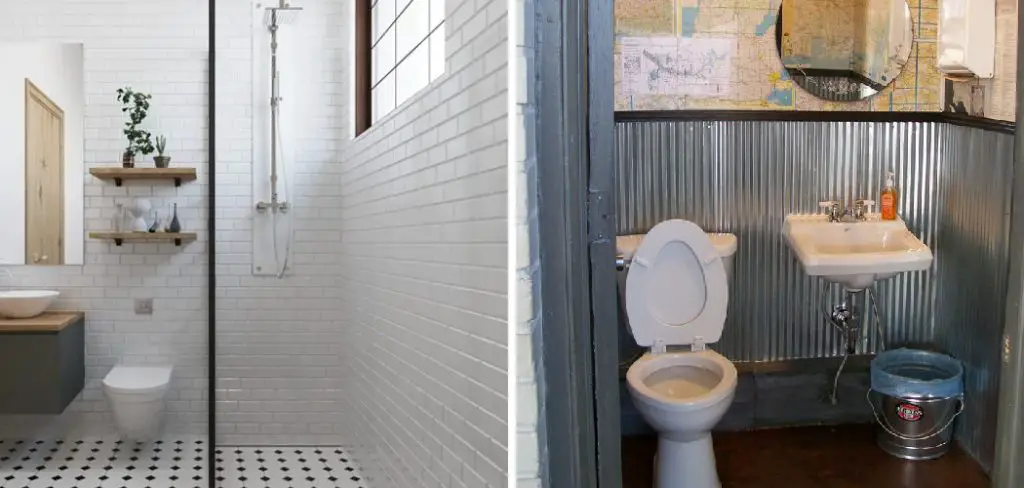
This project not only provides a practical solution for extra guests or family members but can also increase the overall value of your property.
Whether you envision a simple half-bath or a more elaborate full bathroom, careful planning and execution are essential to ensure that your new space is both aesthetically pleasing and compliant with local building codes. In this guide, we will explore how to add a bathroom to a garage.
Benefits of Adding a Bathroom to a Garage
Adding a bathroom to your garage offers numerous advantages that can greatly enhance your living environment. First and foremost, it provides added convenience, particularly for homeowners with active lifestyles or frequent visitors. This eliminates the need for guests to enter the main living areas, ensuring privacy for both residents and visitors.
Additionally, a dedicated bathroom can help to keep the house cleaner by reducing foot traffic through the main living spaces, especially when returning from outdoor activities.
Moreover, including a bathroom in your garage can increase the overall value of your home. Prospective buyers often view additional bathrooms as a significant asset, leading to higher property value and more interest in the market.
Lastly, the versatility of a garage bathroom can be a practical feature for various needs, from a mudroom-style entrance for wet or dirty clothing to a changing area for pool parties and outdoor gatherings. Overall, the benefits are not just functional; they can also improve your lifestyle and home experience.
Planning and Permits
Before embarking on the journey to add a bathroom to your garage, it is crucial to carefully plan the project and obtain the necessary permits. Start by assessing the available space in your garage to determine the most suitable layout and design for the bathroom.
Consider factors such as accessibility, plumbing requirements, and how the new bathroom will integrate with existing structures. It might be beneficial to sketch out a floor plan to visualise the space effectively.
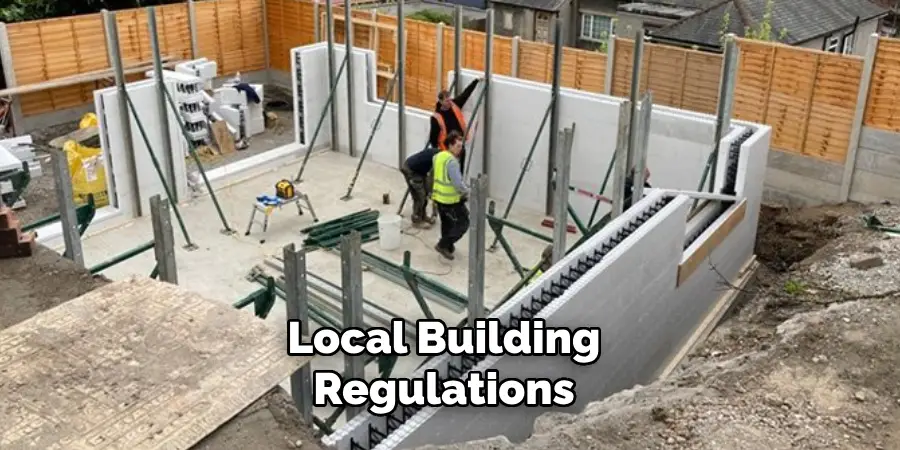
Next, consult your local building regulations to understand the specific requirements for adding a bathroom. Many municipalities require permits for plumbing work, electrical installations, and structural modifications. This may include submitting plans for approval and scheduling inspections during different stages of construction.
Taking the time to ensure compliance with local codes not only helps avoid fines but can also ensure the safety and functionality of your new bathroom. Engaging a licensed contractor or a professional Designer can also expedite this process and bring valuable expertise to your project.
10 Methods How to Add a Bathroom to a Garage
1. Assess the Space and Plan the Layout
Before you begin, it’s crucial to assess the available space and plan the layout of your new bathroom. Start by measuring the garage to determine how much room you can allocate for the bathroom without compromising the functionality of the remaining garage space. Consider the placement of essential fixtures such as the toilet, shower, and sink, and ensure there is sufficient space for each.
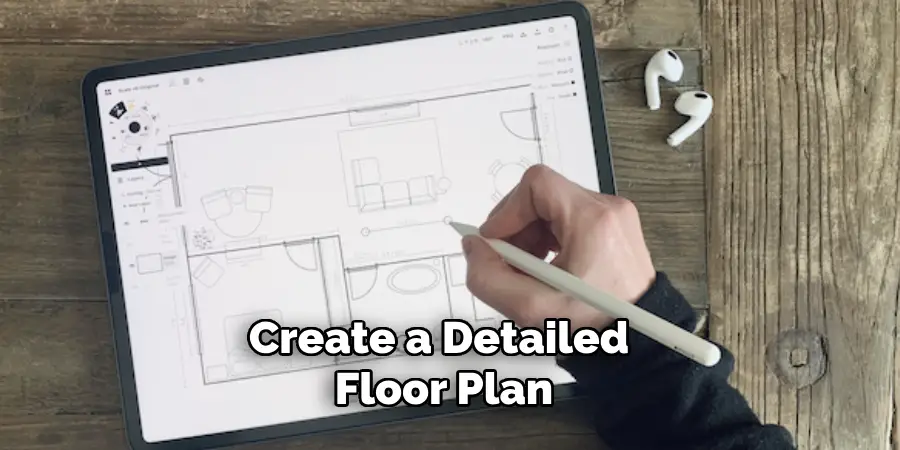
Create a detailed floor plan, taking into account the locations of existing doors, windows, and utilities. This methodical planning will help you visualize the final result and identify any potential challenges before you start the actual construction.
2. Check Local Building Codes and Permits
Adding a bathroom to a garage typically requires compliance with local building codes and obtaining the necessary permits. Contact your local building department to understand the specific requirements for plumbing, electrical work, and structural modifications.
Ensure that your plans meet all code requirements, including ventilation, lighting, and accessibility standards. Securing the proper permits is essential to avoid legal issues and ensure that your project meets safety and quality standards. This step is crucial for both the success of your project and the long-term functionality of your new bathroom.
3. Install Plumbing and Drainage
Installing plumbing and drainage is a key component of adding a bathroom to your garage.
Start by determining the best location for water supply lines and drainage pipes, considering proximity to existing water sources and the layout of your new bathroom. You may need to extend existing plumbing lines from the main house or install new pipes, which may involve cutting through walls or floors.
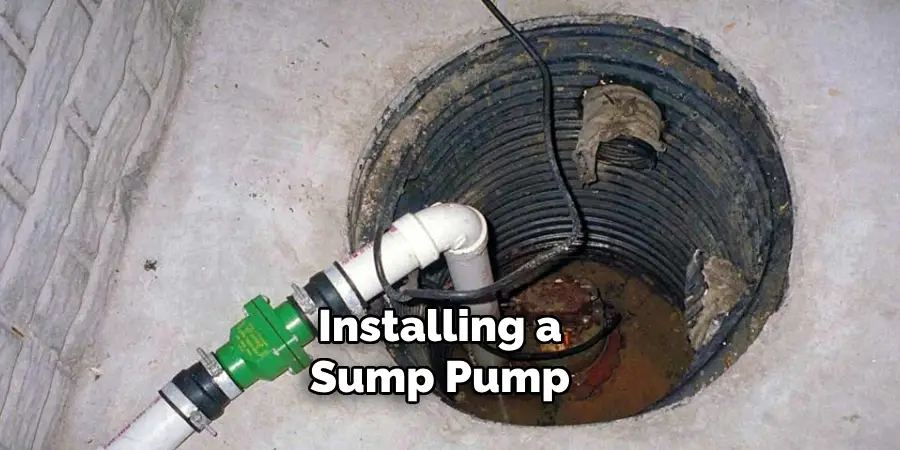
Ensure that you include proper drainage for the toilet, shower, and sink, and consider installing a sump pump if your garage is below the level of your home’s main sewer line. Hiring a licensed plumber to handle these tasks is recommended to ensure that the installation is done correctly and adheres to local codes.
4. Address Electrical Needs
Adding a bathroom requires proper electrical wiring to support lighting, ventilation, and any additional electrical fixtures.
Plan the placement of electrical outlets, switches, and light fixtures according to your bathroom layout. Install GFCI (Ground Fault Circuit Interrupter) outlets to ensure safety in wet areas. If your garage’s existing electrical system is not sufficient to handle the additional load, you may need to upgrade your electrical panel or run new circuits.
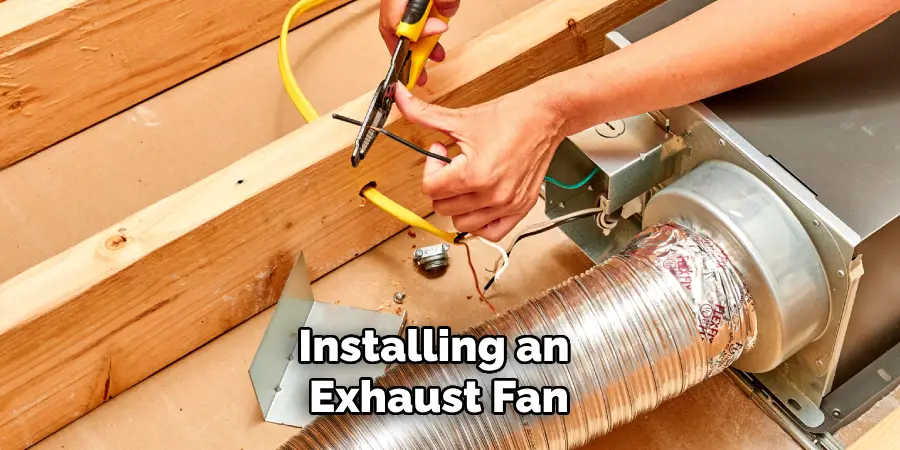
Installing an exhaust fan is also important to manage humidity and prevent mold growth. Engaging a licensed electrician for this part of the project is crucial for ensuring safety and compliance with electrical codes.
5. Insulate and Drywall the Space
Proper insulation is essential for making your new bathroom comfortable and energy-efficient. Install insulation in the walls and ceiling to regulate temperature and prevent moisture issues. Choose moisture-resistant drywall or cement board for areas exposed to high humidity, such as around the shower and sink.
After insulation, proceed with hanging drywall and taping the seams. Ensure that all drywall work is finished with a smooth surface and painted with moisture-resistant paint to protect against damp conditions. Proper insulation and drywall installation contribute to the durability and comfort of your new bathroom.
6. Install Bathroom Fixtures
Once the walls are prepared, you can begin installing the bathroom fixtures. Start with the toilet, ensuring that it is properly connected to the drainage system and securely anchored to the floor. Install the shower or bathtub, making sure that it is sealed correctly to prevent leaks. Attach the sink and its accompanying faucet, and connect it to the water supply lines and drainage system.
Consider installing built-in storage such as shelves or cabinets to maximize space and functionality. Pay attention to details such as proper alignment and secure fittings to ensure that everything operates correctly and looks polished.
7. Add Ventilation and Heating
Effective ventilation and heating are crucial for a bathroom’s functionality and comfort. Install an exhaust fan to remove moisture and odors, preventing mold and mildew growth. The fan should be properly ducted to the outside to ensure efficient air exchange.
If your garage is not connected to your home’s heating system, consider adding a dedicated heating source, such as a space heater or a radiant floor heating system, to keep the bathroom warm and comfortable. Proper ventilation and heating will enhance the usability of your new bathroom year-round.
8. Finish the Flooring and Tiling
Selecting and installing the right flooring and tiles is important for both aesthetics and functionality. Choose flooring materials that are durable and water-resistant, such as ceramic tiles, vinyl, or waterproof laminate.
For the shower or bathtub area, use waterproof tiles or stone to prevent water damage. Ensure that all tiles are properly grouted and sealed to avoid moisture infiltration. Consider adding a non-slip surface for safety, especially in wet areas. The finishing touches on flooring and tiling will contribute to the overall look and durability of your new bathroom.
9. Install Bathroom Fixtures and Accessories
With the main construction complete, focus on installing bathroom fixtures and accessories. Mount mirrors, towel racks, and other hardware in their designated locations. Install any additional features such as shelves, cabinets, or a medicine cabinet for storage.
Choose fixtures and accessories that complement the style of your bathroom and enhance its functionality. Adding decorative elements such as a shower curtain, rugs, and artwork can also help personalize the space and make it feel welcoming.
10. Finalize the Space and Perform a Walk-Through
After all installations are complete, perform a final walk-through of your new bathroom to ensure everything is in working order and meets your expectations. Check for any leaks, electrical issues, or cosmetic imperfections that need addressing. Test all fixtures and ensure that ventilation and heating systems are functioning properly. Make any necessary adjustments or repairs before using the bathroom.
Once everything is in order, clean the space thoroughly to remove construction dust and debris. The final touches will ensure that your new bathroom is both functional and aesthetically pleasing, ready for use.
Conclusion
Transforming your garage into a functional bathroom can significantly enhance your home’s value and livability. By following the essential steps—ranging from plumbing and electrical work to the careful selection of fixtures and finishes—you can create a stylish and efficient space tailored to your needs.
Attention to detail throughout the process will ensure that the new bathroom is not only aesthetically pleasing but also practical and compliant with relevant codes. Thanks for reading, and we hope this has given you some inspiration on how to add a bathroom to a garage!
I am Rick. I grew up helping my dad with his handyman service. I learned a lot from him about how to fix things, and also about how to work hard and take care of business. These days, I’m still into fixing things- only now, I’m doing it for a living.
I’m always looking for new ways to help people grow and develop. That’s why I have created this blog to share all my experience and knowledge so
that I can help people who are interested in DIY repair.

