Installing a garage door opener can significantly enhance the convenience and security of your home. The Genie Chain Drive 550 is a robust and reliable option known for its durable construction and easy-to-use features.
This guide on how do you install genie chain drive 550 garage door opener will walk you through the installation process step-by-step, ensuring you have the necessary tools and knowledge to set up your new garage door opener successfully. Whether you’re a seasoned DIYer or a first-time installer, our instructions will help you navigate the installation with confidence.
What is Genie Chain Drive 550 Garage Door Opener?
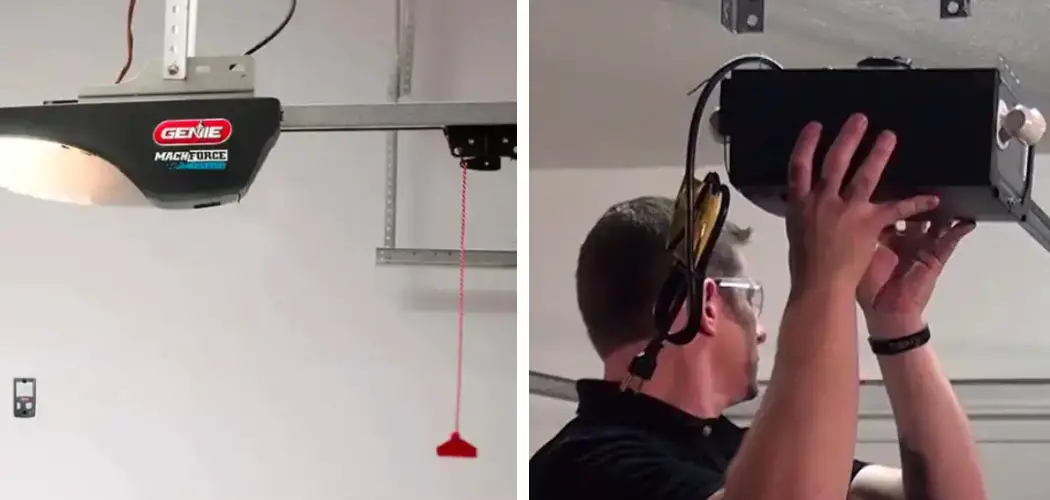
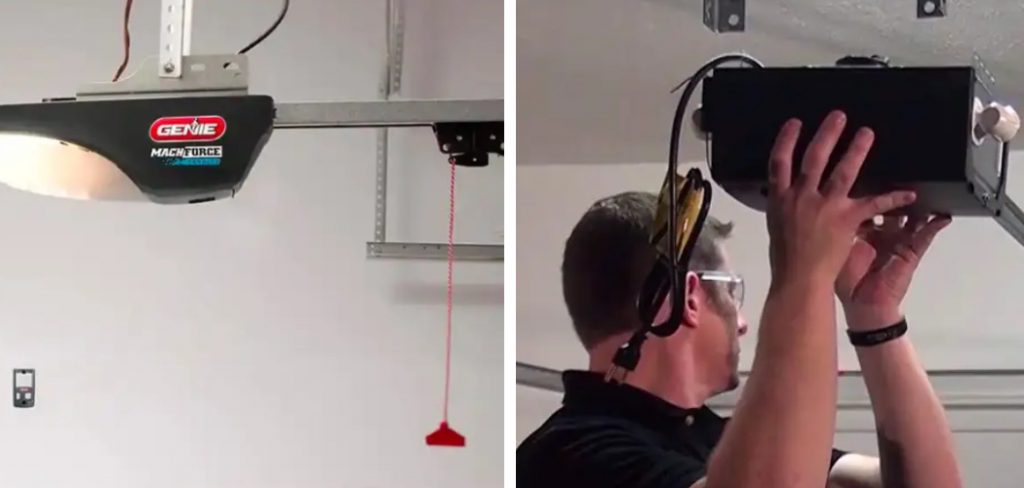
The Genie Chain Drive 550 Garage Door Opener is an efficient and powerful electric opener designed to facilitate the smooth and reliable operation of sectional garage doors. This model features a robust chain drive system, which provides strong lifting power and is suitable for heavier doors. Equipped with a ½ horsepower motor, the Genie Chain Drive 550 can effortlessly handle standard garage door sizes while ensuring quiet and smooth operation.
Additionally, it comes with safety features such as a safety reversing system that detects obstructions and stops or reverses the door’s motion, promoting a safe environment. With its user-friendly remote controls and compatibility with various smart home systems, the Genie Chain Drive 550 stands out as a practical choice for modern homeowners looking to enhance their garage accessibility and security.
Why Choose the Genie Chain Drive 550 Garage Door Opener?
When it comes to selecting a garage door opener, several factors come into play. The Genie Chain Drive 550 offers unique benefits that make it a preferred choice among homeowners and contractors alike.
Durability:
Constructed with high-quality materials and designed for heavy-duty use, the Genie Chain Drive 550 is built to last. Its chain drive system is sturdy and reliable, ensuring smooth operation even with frequent use.
Ease of Installation:
Unlike some other garage door openers, the Genie Chain Drive 550 comes with detailed installation instructions and all necessary hardware included in the package. This makes the installation process straightforward and hassle-free for both professionals and DIY enthusiasts.
Security Features:
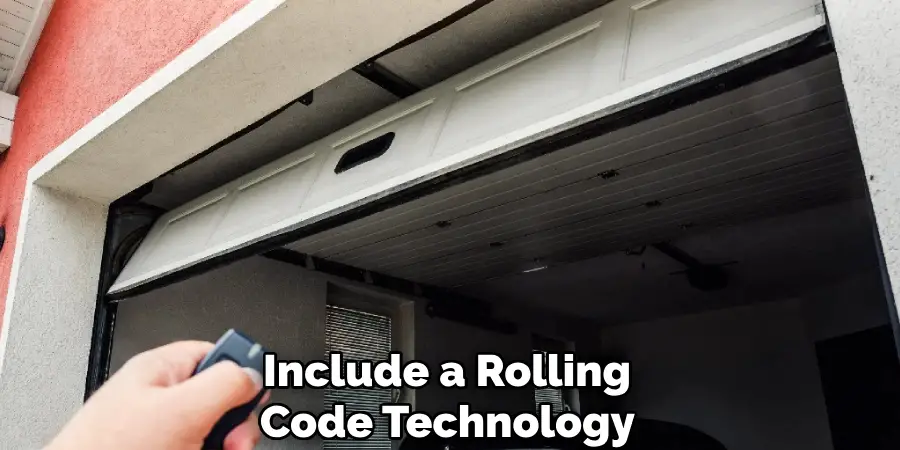
The Genie Chain Drive 550 is equipped with several security features to keep your home safe. These include a rolling code technology that changes the access codes every time you use the remote, preventing unauthorized entry. It also has an Intellicode encryption technology that prevents hacking attempts on your opener’s frequency.
9 Step-by-step Guides on How Do You Install Genie Chain Drive 550 Garage Door Opener
Step 1: Gather All Necessary Tools and Materials
Before you start installing your Genie Chain Drive 550, make sure you have all the tools and materials required for the job. These include:
- Ladder
- Drill
- Hammer
- Screwdriver (Flat and Philips Head)
- Tape Measure
- Pliers
- Level
- Step Ladder
- Stepladder
- Wire Cutters
- Safety Glasses
You will also need the following materials:
- Genie Chain Drive 550 Garage Door Opener Kit (Includes Rails, Motor Unit, and Mounting Hardware)
- Angle Iron (if Installing on an Uneven Ceiling)
- Support Bracket (if Installing on a Finished Ceiling)
- Power Drill Bits (3/16” and 1/2”)
- Socket Set
Step 2: Inspect the Garage Door
Before proceeding with the installation of the Genie Chain Drive 550 Garage Door Opener, it is crucial to inspect your garage door to ensure it is in good working condition. Check for any signs of damage, such as bent tracks, broken springs, or misaligned panels, as these issues can affect the performance of the opener.
Ensure that the door opens and closes smoothly without any hindrance. If you notice any problems, address them before proceeding with the installation. Additionally, verify that the door’s weight is compatible with the Genie Chain Drive 550’s lifting capacity. This inspection step is vital for a successful installation and optimal operational performance of your garage door opener.
Step 3: Install the Rail and Trolley Assembly
The rail and trolley assembly serves as the backbone of the Genie Chain Drive 550 Garage Door Opener. Follow these steps to install it correctly:
- Locate the powerhead unit, which is typically a long rectangular box with an attached motor.
- Position the rail on top of your garage door’s horizontal track, securing it in place with an angle iron (if needed).
- Slide the trolley onto the rail by aligning its front wheel with the notch at one end of the rail.
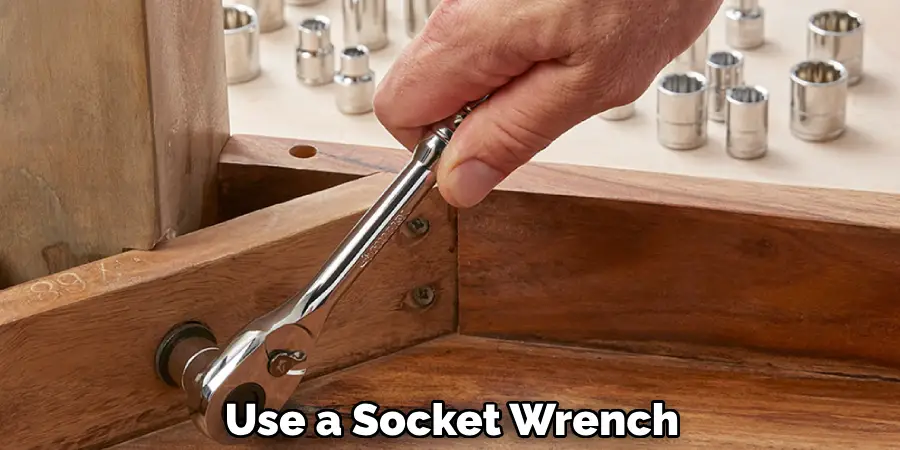
- Use a socket wrench to tighten the bolt that holds the trolley onto the rail.
- Fit one end of the chain onto the trolley, ensuring it is properly aligned with the sprocket.
- Run the other end of the chain over the motor unit’s gear and secure it using a master link or tensioner bolt.
Step 4: Attach the Header Bracket
The header bracket is what connects your garage door opener to your garage door. Follow these steps to attach it correctly:
- Position the header bracket above and behind your garage door’s top center section.
- Mark the location of the bracket’s holes on both sides of your garage door’s header.
- Pre-drill holes into the header at each marked location.
- Attach the bracket in place using lag screws.
- Ensure the bracket is securely attached but can still move slightly to accommodate the opener’s motion.
Step 5: Install the Safety Reversing Sensor
The safety reversing sensor is an essential component of your Genie Chain Drive 550 Garage Door Opener, as it prevents accidents by detecting any obstructions in the door’s path and stopping or reversing its movement. Follow these steps to install it correctly:
- Locate the two sensors included in your opener kit.
- Place one sensor on each side of the garage door, about six inches above the floor.
- Use screws to attach them to their brackets securely.
- Run wires from both sensors towards the motor unit, attaching them to the designated terminals.
- Test the sensors by placing an object in their path and closing the door. The door should stop or reverse its movement when it reaches the object.
Step 6: Connect the Power Supply
Once the physical installation of your Genie Chain Drive 550 Garage Door Opener is complete, the next crucial step is to connect the power supply. Follow these instructions carefully to ensure a safe and effective connection:
- Locate the power cord that comes with the garage door opener.
- Ensure that the power is turned off at the circuit breaker before proceeding to avoid any electrical hazards.
- Feed the power cord through the power head unit of the opener and into a suitable power outlet located near the unit. If you need to extend the power cord, use a heavy-duty extension cord rated for the opener’s power requirements.
- Securely connect the power cord to the garage door opener, ensuring there are no loose connections.
- Once connected, plug the power cord into the electrical outlet.
- Restore power at the circuit breaker and ensure the opener has power by checking for indicator lights on the unit.
- At this point, it’s advisable to run a quick test to confirm the opener is functioning properly before proceeding to configure any settings or remote controls.
Step 7: Program the Remote Controls
Most Genie Chain Drive 550 Garage Door Openers come with two pre-programmed remote controls. However, if you need to program additional remotes or replace a lost one, follow these steps:
- Locate the “Learn” button on the motor unit and press it.
- Within 30 seconds, press and hold the desired button on your remote until the opener’s light flashes twice.
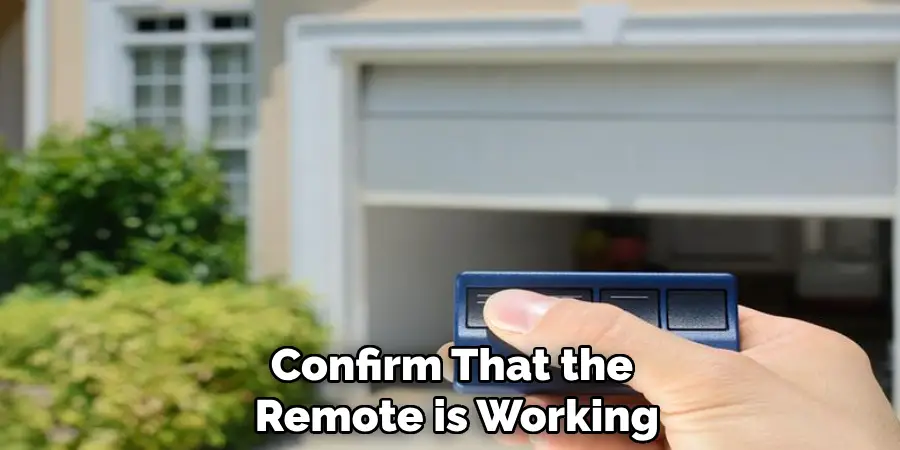
- Release the button and confirm that the remote is working by pressing it again to open or close the door.
Step 8: Configure Additional Settings
The Genie Chain Drive 550 Garage Door Opener has several customizable settings, such as the open/close force and speed, light delay time, and vacation lock. Refer to the instruction manual for specific steps on how to adjust these settings according to your needs.
Regularly checking and maintaining your garage door opener is also recommended to ensure it continues to function properly. This includes lubricating moving parts, checking for loose bolts or chains, and cleaning any debris that may accumulate in the tracks or sensors.
Step 9: Enjoy Your New Garage Door Opener
Congratulations on successfully installing your Genie Chain Drive 550 Garage Door Opener! With the installation complete and settings configured, it’s time to enjoy the convenience and ease that your new system provides. Take a moment to test the garage door operation using the remote controls and wall switch, ensuring everything functions smoothly.
Appreciate the enhanced security and efficiency it brings to your daily routine. Regularly perform maintenance checks to keep the opener in optimal condition and consider setting reminders for periodic upkeep. Now, you can effortlessly access your garage with just the push of a button!
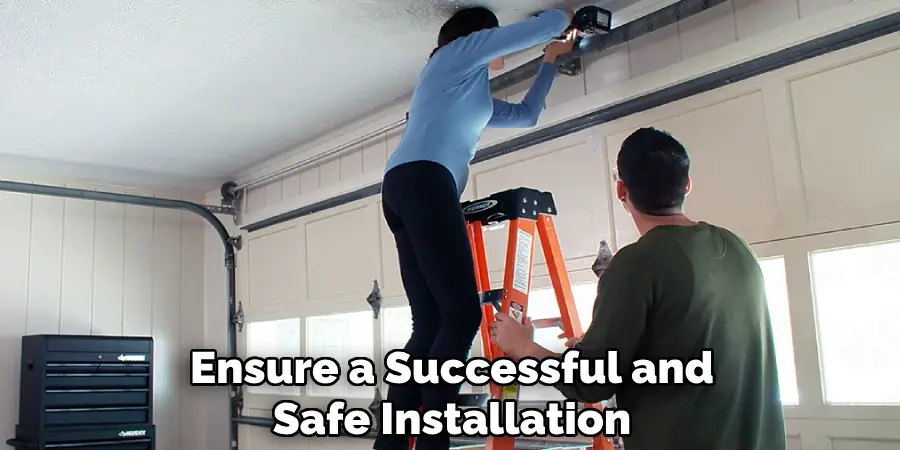
Following these steps on how do you install genie chain drive 550 garage door opener will ensure a successful and safe installation of your Genie Chain Drive 550 Garage Door Opener, allowing you to reap its benefits for years to come.
Conclusion
In conclusion, the installation of your Genie Chain Drive 550 Garage Door Opener not only enhances the convenience of accessing your garage but also adds an essential layer of security to your home. By following the outlined steps on how do you install genie chain drive 550 garage door opener carefully, you’ve ensured a successful setup that allows for optimal performance.
Remember, regular maintenance is key to longevity and reliability, so make it a habit to check and service your opener periodically. With everything now in place, you can enjoy the ease of operation and the peace of mind that comes with a well-installed garage door system. Thank you for choosing Genie, and welcome to a more efficient way of managing your garage space!
I am Rick. I grew up helping my dad with his handyman service. I learned a lot from him about how to fix things, and also about how to work hard and take care of business. These days, I’m still into fixing things- only now, I’m doing it for a living.
I’m always looking for new ways to help people grow and develop. That’s why I have created this blog to share all my experience and knowledge so
that I can help people who are interested in DIY repair.