Reprogramming your garage door opener is a valuable skill that can enhance your security and convenience. Whether you’ve recently moved into a new home, lost your remote, or simply want to update your access codes, understanding the recoding process is essential.
This guide will take you through the necessary steps to effectively how do i recode my garage door opener, ensuring that only you and those you trust have access to your garage. With the right tools and a little patience, you can complete this task with ease, providing peace of mind for you and your family.
What It Means to Recode a Garage Door Opener
Recoding a garage door opener involves changing the existing access codes that allow the remote control or keypad to communicate with the garage door system. This process is crucial for maintaining security, especially if a remote control is lost or if you suspect unauthorized access.
By recoding, you essentially reset the system to recognise new codes while erasing any previous codes, thereby enhancing the safety of your property. This ensures that only individuals with the new codes can operate the garage door, effectively protecting your garage and belongings from potential intruders.
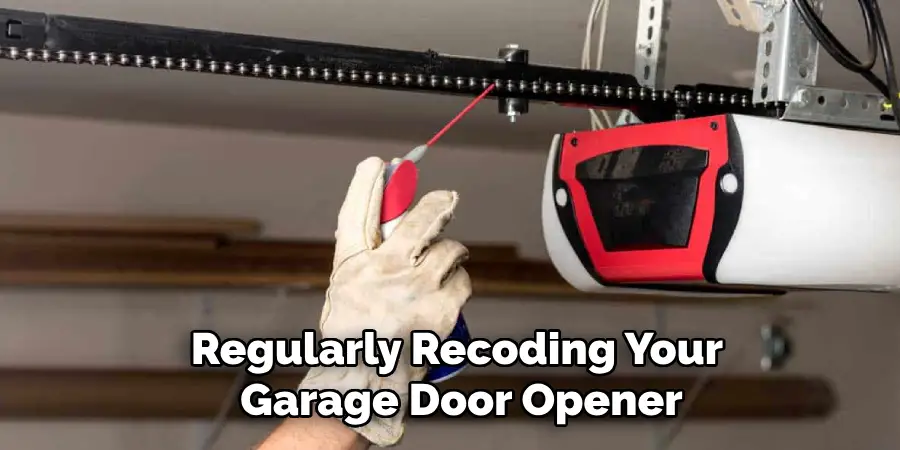
Importance of Regular Recoding
Regularly recoding your garage door opener is a key practice in maintaining security for your home and property. Over time, remotes can be lost, stolen, or even accessed by unauthorised individuals, which may compromise the safety of your garage. By periodically updating the access codes, you reduce the risk of unwanted entry, ensuring that only you and trusted individuals can operate the garage door.
Additionally, regular recoding is a proactive measure that safeguards against potential vulnerabilities in your security system, giving you peace of mind. It’s advisable to establish a routine for recoding—such as every few months or after hosting guests—to keep your home secure and under your control.
10 Methods How Do I Recode My Garage Door
1. Understand the Need to Recode
Before beginning the recoding process, it’s important to understand why you might need to recode your garage door opener. Common reasons include losing a remote, changing the batteries, experiencing interference, or upgrading to a new remote.
Reprogramming the code helps ensure that your garage door opener continues to operate securely and reliably. Understanding the purpose of recoding helps you approach the task with the right mindset, ensuring that you address any potential security or functionality issues effectively.
2. Locate the Garage Door Opener’s Learn Button
The first step in recoding your garage door opener is to locate the Learn button on the opener unit. This button is often found on the back or side of the garage door opener’s motor unit and is typically labeled “Learn,” “Program,” or something similar.
Depending on your opener model, it may be behind a light cover or near the antenna. Identifying the Learn button is crucial because it initiates the programming mode, allowing you to reset and program a new code for the remote. Knowing its exact location ensures you can proceed with the recoding process smoothly.
3. Clear Existing Codes
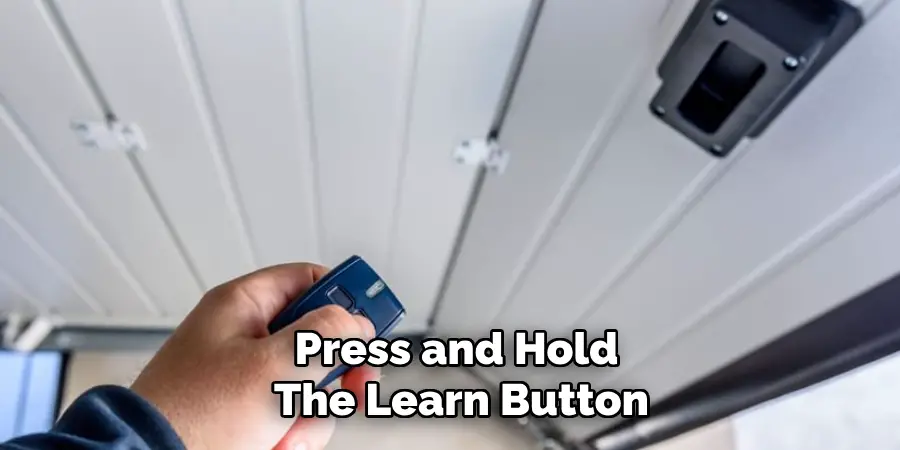
To prevent any interference or conflicts, it’s often recommended to clear the existing codes before programming a new one. Press and hold the Learn button on the garage door opener until the indicator light turns off or starts flashing, depending on your model.
This action clears all existing remote codes from the opener’s memory. Clearing old codes ensures that the new code you program will be the only one recognized by the opener, which enhances security and prevents unauthorized access.
4. Prepare the New Remote
With the old codes cleared, prepare your new or replacement remote for programming. Ensure that the remote has fresh batteries installed and is functioning correctly. If the remote is a universal type, consult the remote’s manual to understand its specific programming requirements.
Preparing the remote involves making sure it is in good working order and ready to be synchronized with the garage door opener. Proper preparation is essential for successful recoding and ensures that the new remote will work effectively with the opener.
5. Put the Garage Door Opener into Programming Mode
To begin programming the new code, press and hold the Learn button on the garage door opener until the indicator light turns on or begins flashing. This signals that the opener is now in programming mode and is ready to accept a new code from your remote.
You typically have about 30 seconds to complete the next steps before the opener exits programming mode. Entering programming mode is a critical step in the recoding process, as it allows the opener to learn the new code from the remote.
6. Program the New Remote
Once the garage door opener is in programming mode, press and hold the button on your new remote that you want to use to operate the garage door. Hold the button until you see the indicator light on the garage door opener either blink off or turn off, indicating that the opener has successfully learned the new code.
This step links the new remote with the opener, allowing it to operate the door. Properly programming the remote ensures that it is synchronized with the garage door opener and will work reliably.
7. Test the New Remote
After programming, it’s important to test the new remote to ensure that it operates the garage door correctly. Stand a short distance from the garage door and press the remote’s button to open or close the door. The door should respond promptly to the remote’s commands.
If the door does not respond, check the batteries in the remote, ensure that the remote is properly programmed, and repeat the programming process if necessary. Testing ensures that the recoding process was successful and that the remote functions as intended.

8. Program Additional Remotes
If you have multiple remotes that need to be programmed, repeat the programming process for each one. Press and hold the Learn button on the garage door opener to enter programming mode, then press and hold the button on each remote that you wish to use.
Ensure that each remote is programmed separately and tested to confirm that it operates the garage door. Programming additional remotes allows multiple users to control the garage door and ensures that all remotes are synchronized with the opener.
9. Reprogram Keypad (if applicable)
If your garage door opener is equipped with a wireless keypad, you may also need to reprogram it to work with the new code. Follow the manufacturer’s instructions for your specific keypad model to enter programming mode and set a new code.
This usually involves pressing a sequence of buttons on the keypad and entering a new PIN or code. Reprogramming the keypad ensures that it also works with the newly recoded garage door opener, providing a complete solution for controlling the door.
10. Secure and Maintain Your System
Once all programming and testing are complete, secure your garage door opener system by ensuring that all codes are functioning properly and that no old remotes or devices are still programmed. Store any spare remotes or keypads in a secure location.
Regularly check the system to ensure that all components are working correctly and replace batteries in remotes and keypads as needed. Maintaining your system helps prevent future issues and ensures that your garage door opener continues to operate securely and efficiently.
Things to Consider When Recoding Your Garage Door Opener
When recoding your garage door opener, there are several important factors to keep in mind to ensure a smooth and effective process. Firstly, always consult the owner’s manual of your specific garage door opener model, as different models may have unique programming steps or security features.
Secondly, be mindful of the range and compatibility of your new remote; not all remotes are compatible with every garage door opener. Additionally, consider the security implications of your coding; ensure that old remotes are cleared from the system to avoid unauthorized access.
Finally, take note of any interference that may arise from nearby electronic devices or structures, as this can affect the remote’s performance; positioning yourself closer to the opener during testing can help mitigate this issue.
Common Mistakes to Avoid
When recoding your garage door opener, there are several common mistakes that can lead to frustration and complications. One frequent error is failing to clear old codes properly before programming the new remote. This can result in interference, causing the opener to recognize multiple remotes, which can compromise security.
Additionally, overlooking the need for fresh batteries in the new remote is a common oversight; weak batteries can lead to unreliable performance during the programming process.
Another mistake is not timing the programming steps correctly; entering programming mode and programming the remote must occur within the specified time frame to avoid having to restart the process. Lastly, neglecting to test the remote after programming can lead to assumptions about functionality that may not hold true.

Conclusion
Recoding your garage door opener is a straightforward process that enhances the security and functionality of your system.
By following the outlined steps—from locating the Learn button to programming new remotes and keypads—you can easily ensure that only authorized devices operate your garage door. Thanks for reading, and we hope this has given you some inspiration on how do I recode my garage door!
I am Rick. I grew up helping my dad with his handyman service. I learned a lot from him about how to fix things, and also about how to work hard and take care of business. These days, I’m still into fixing things- only now, I’m doing it for a living.
I’m always looking for new ways to help people grow and develop. That’s why I have created this blog to share all my experience and knowledge so
that I can help people who are interested in DIY repair.